Last year when we were at our absolute FAVORITE resort in Scottsdale, Arizona we hit up the spa every day. Since we frequent that place quite often we were upgraded and seriously being upgraded to anything is AWESOME! Let’s just say we are both now considerably spoiled when it comes to traveling. I’m completely fine flying coach but my sleeping arrangements – I want plush. I want pampered. I want Princess treatment. I earned it damn it… right? *wink* Well at this spa they had snacks, teas and such that were extremely healthy for you. Now some of the things were okay (I gave advice to their chefs actually how to make them more desirable while healthy and I worked with them on incorporating protein powder into their desserts).
I mean you know me by now I will take every opportunity I can to get myself in a professional kitchen or talk to the resident chefs. I love ‘shop talk’ and honestly learning new techniques and sharing things I’ve learned throughout the years. I’m a firm believer that there are kitchen secrets that just can’t be taught in the classroom. Some lessons just take trial and error, actual hands on experience.
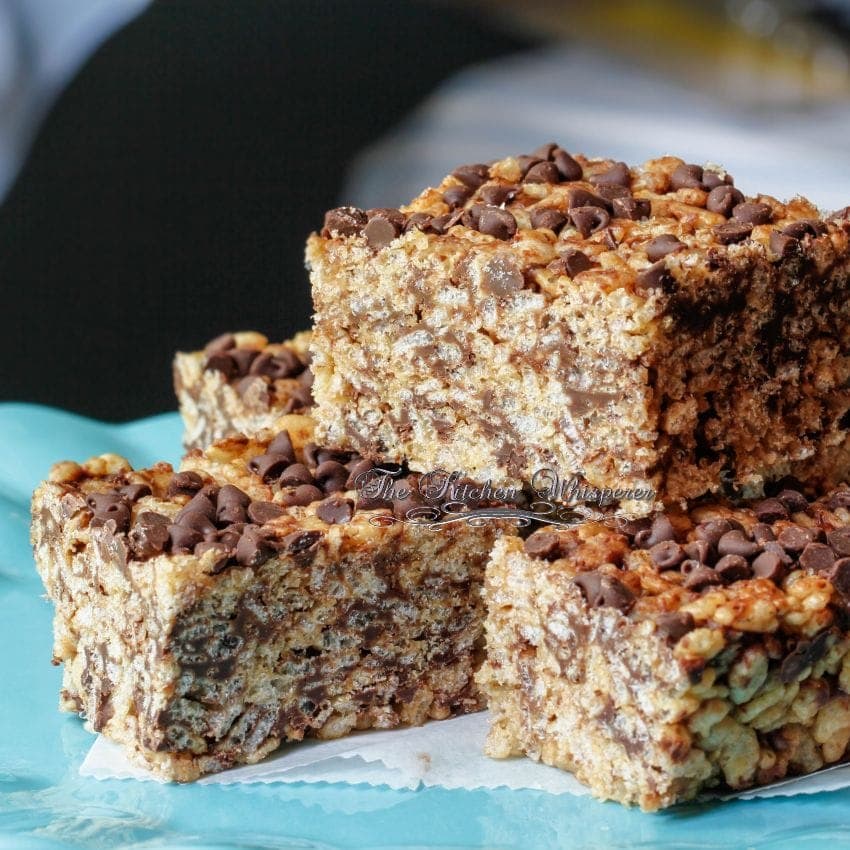
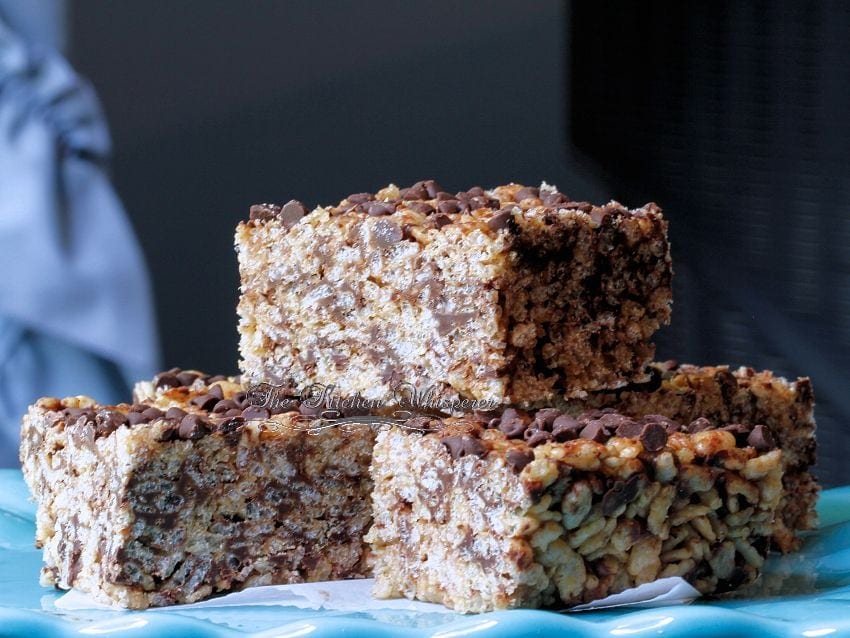
Now one thing you’ll come to learn about these Rice Crispy bars is that they are anything but traditional. There is no butter, no marshmallows. Nope, none of that stuff. I wanted to healthify these. Before you go on like Mr. Fantabulous and give the comment of “Why’d you go and have to modify a perfectly good thing?” let me tell you why. I can’t stand traditional rice crispy treats. They are uber sickening sweet and so fattening. Plus I’m not a big marshmallow fan. It’s ok but it’s not something I have ever craved. Plus while I do like certain junk foods I do maintain a healthy diet. No I don’t deprive myself of ‘bad stuff’ as society sees it (seriously bacon, Fritos and chocolate ice cream are the best things EVER!) but I have you guys to think about. The bigger our TKW family grows the more requests I get on how to tweak classic favorites. Consider this one tweaked.
As we were at that spa I begged, and begged for their recipe but theirs was with butter and other stuff that yeah made them awesome but not as healthy as I’d like. The biggest thing for me was to figure out how to make this sweet and stick together without using butter or honey. Introduce Brown Rice Syrup! This stuff is uber thick, thicker than honey but better for you than even honey. Brown rice syrup raises your blood sugar, but doesn’t make you crash the way other sweeteners do. Because it’s a complex carb, it delivers a more mellow taste that still satisfies your sweet tooth. Brown rice syrup is a sugar derived from fermented cooked rice by treating it naturally with enzymes from sprouted barley. It is free from fructose. It has a low glycemic level, and will therefore not spike your blood sugar levels the same way as white sugar does.
This stuff is great for baking, and can be replaced by refined sugar 1:1. One cup refined sugar can be replaced with one cup brown rice syrup. As it brings moist to the baking, you might have to reduce some of the other wet ingredients. The brown rice syrup will give the baked goods a crispy texture. And this is why these bars stay crisp and stick together.
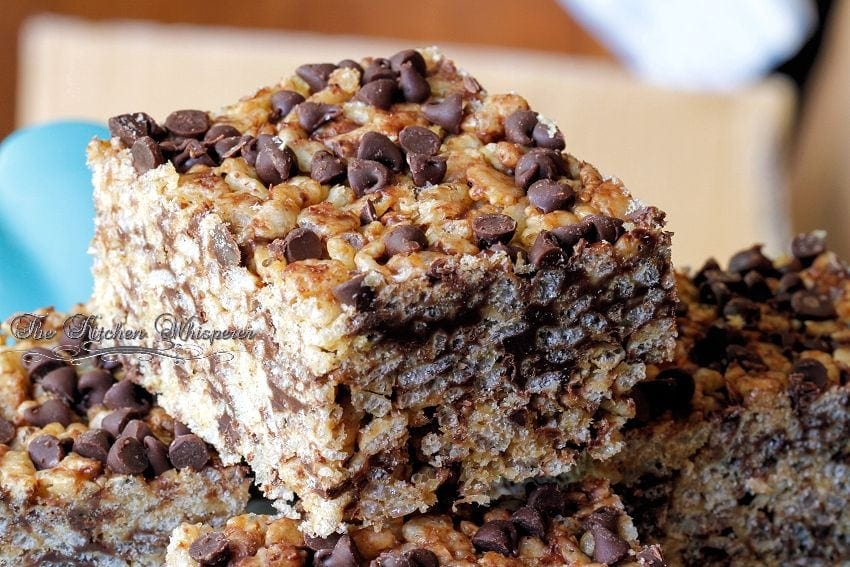
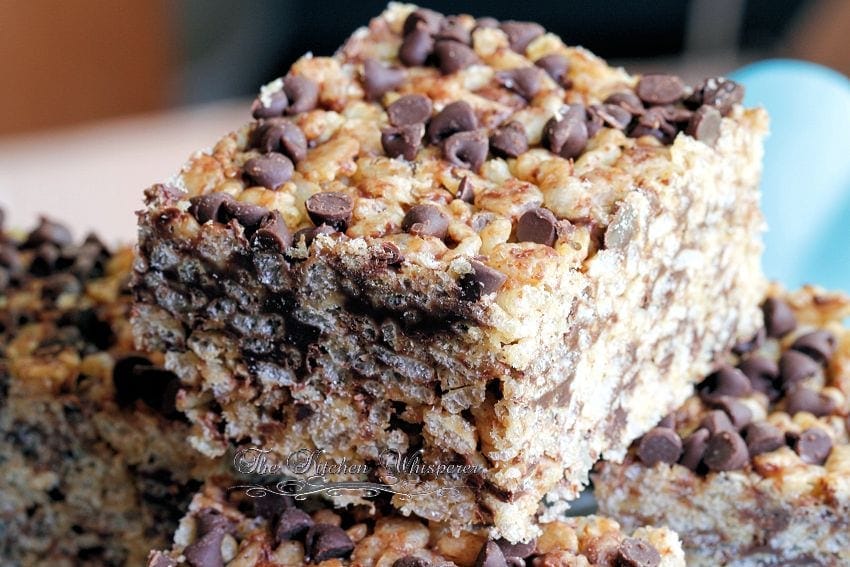
So I took their base recipe and pretty much cut out most of the crap and kept this recipe pretty simplistic. Gluten Free Brown Rice Cereal, Rice Syrup, Peanut Butter, some vanilla and mini chips. You can most certainly leave out the chocolate chips but that’s what they had in their and that’s why I wanted. To even make them more healthy you could use Cacao Nibs as they are AWESOME! You will get a super intense chocolate flavor from them which means you don’t have to use a lot.
What I loved about these (other than the taste) is that mixing them was a breeze. See one thing I HATE about making the traditional ones is they are a PITA to mix together. Maybe it’s me but I fight with my spoon when mixing them. These no fighting.
However where you will have fighting is resisting to dive in immediately and then fighting over not eating the entire pan yourself. I seriously am in love with these and already have plans on making other variations of these. The big test however was what Mr. Fantabulous thought about them though truth be told I was secretly hoping he hated them as that meant they were all for me!
Now normally he hates peanut butter desserts and since this was made with peanut butter I thought I had a good shot of him not liking them however…
<sigh> yes, you know where this is headed. He really liked them. A LOT! Now he still prefers his sugar-laden traditional ones that I loathe making but these, after his 2nd bite I got “Huh, these aren’t bad”. By 4th bite, “Honey these are really good. These are a great change in flavor. Yeah make these again but can you make the other ones too?” The man is a bottomless pit I tell you.
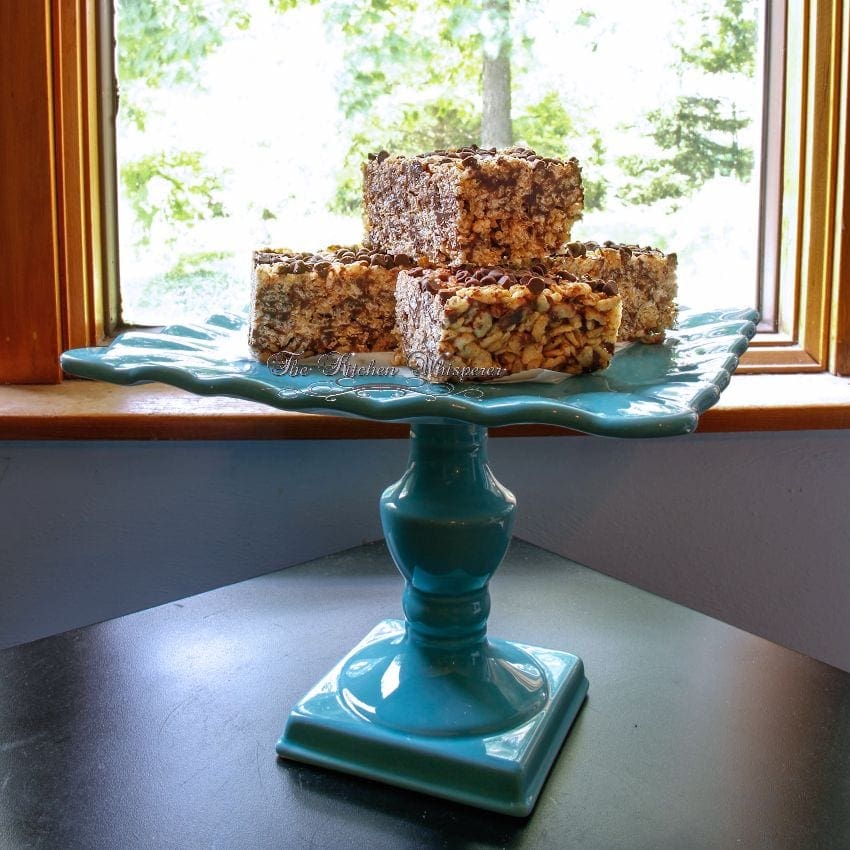
What I did end up doing was splitting these up into 2 containers – his and hers. His stays out on the counter in a covered container as he likes his stuff like this room temperature. Mine are in a container in the fridge as I like mine cold. Either way you want to store them just be sure you have enough on hand as you’re going to have to share these. I wish it wasn’t true but it is. Well wait you could make these and not tell a soul and hide them. I wouldn’t tell … that is if you weren’t going to share with me *wink*. LOL
PrintAmazing Brown Rice Crispy Bars
Find more fantabulous recipes, tips and tricks at www.thekitchenwhisperer.net. Also, join our TKW Family on Facebook
Ingredients
- 2/3 cup creamy peanut butter
- 2/3 cup Brown Rice Syrup
- 1/2 teaspoon salt
- 1 teaspoon vanilla
- 6 cups gluten free brown rice cereal
- 1 cup mini chocolate chips
- 1 cup chopped chocolate, melted
Instructions
- Line a 9×13” pan with parchment paper and lightly spray.
- Place the cereal in a large bowl.
- In a small sauce pan over medium heat melt the peanut butter and brown rice syrup until smooth and creamy.
- Remove from the pan from the heat and add in the salt and vanilla stirring quickly to incorporate.
- Pour the mixture over the cereal and using a sturdy mixing spoon mix well to coat evenly.
- Add in the chocolate chips and stir in just to combine trying not to let the chocolate melt.
- Dump the mixture into the prepared pan and press down evenly and firmly. I find placing another piece of parchment on to and then using the weight of the palm of my hands to push it down even helps. You can also use a rolling pin or the back of a measuring cup.
- Place in the fridge uncovered for 1 hour.
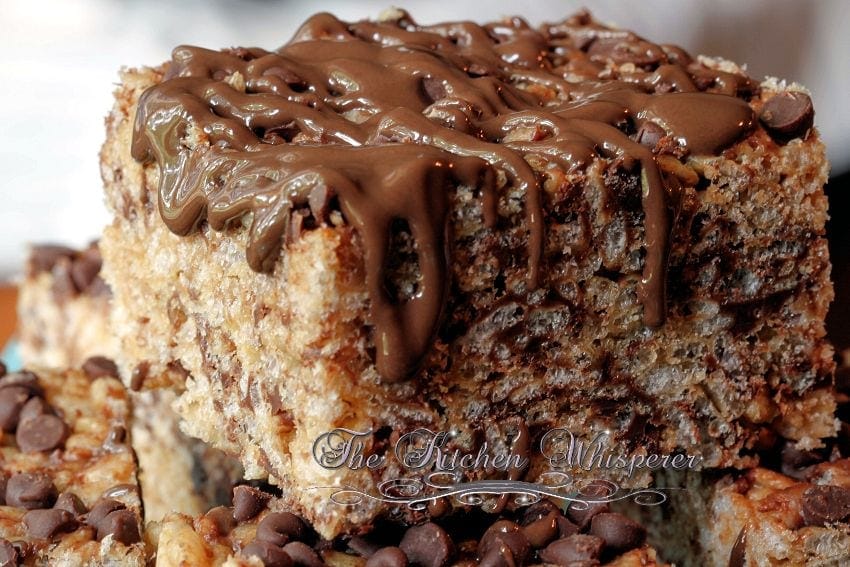
- Remove from the fridge and cut into even squares. *optional drizzle with melted chocolate. Can be left at room temperature covered or in the fridge covered.





Leave a Reply