So by now your “Mother” is well on her way of becoming a gorgeous Sourdough starter provided you did all the steps in Day 1 correctly. Today’s steps are seriously super simple but VERY necessary.
All you have to do is one thing…ready?
Sourdough Starter – Day 2
Find more fantabulous recipes, tips and tricks at www.thekitchenwhisperer.net. Also, join our TKW Family on Facebook
Ingredients
- Wooden Spoon
- Clean Linen
- … patience
Instructions
- Uncover, stir with a wooden spoon (~5 minutes) or until it’s a thick smooth pancake batter again.
- Recover with clean linen.
- Set aside another 24 hours.
Okay so I lied, it’s a few things but it’s all related and takes only 5 minutes.
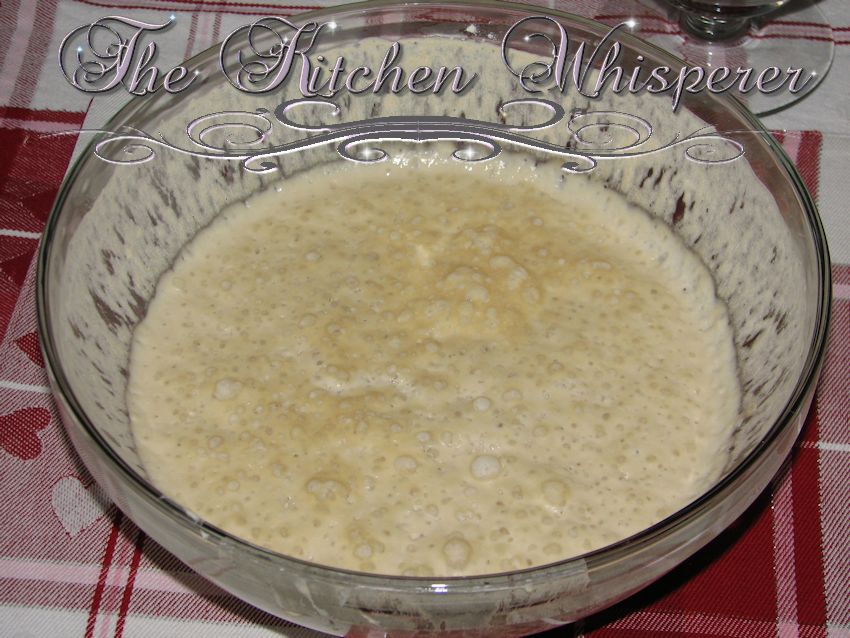
So let’s uncover Sally (I’ve affectionately named my new starter)..
Looks pretty icky, right? I mean.. is there.. is that a CRUST that formed??? WTH? Relax.. that’s normal and it should happen. The crust means the surface dried out (I mean it’s only covered with a porous linen, right?). What you want to do is take a wooden spoon. If you don’t have one then use plastic. Never use metal. Metal reacts with the starter and it can ‘turn the starter’.
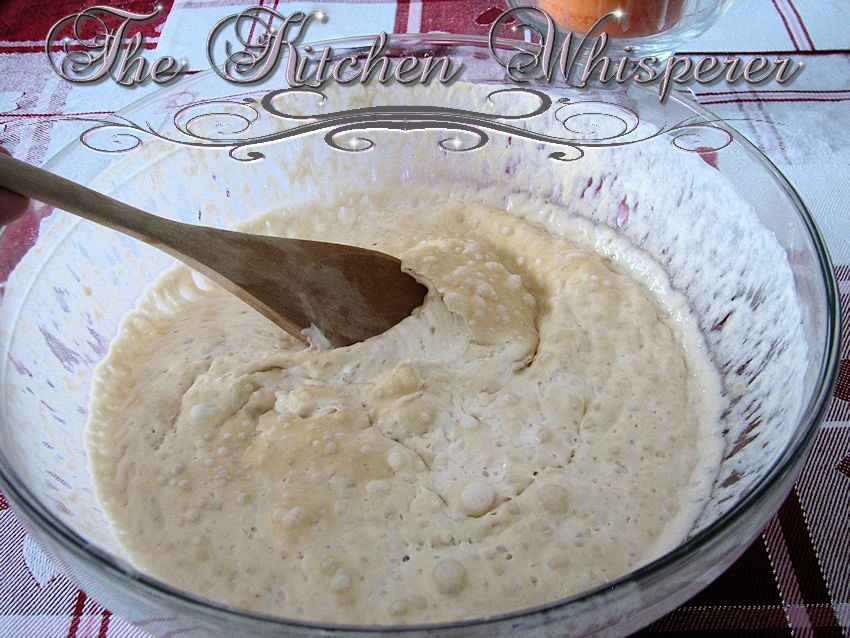
Again, deep breaths! This is OK. Just slowly work to break up the ‘crust’ and incorporate it into the mixture. It will blend back in. Just keep stirring.
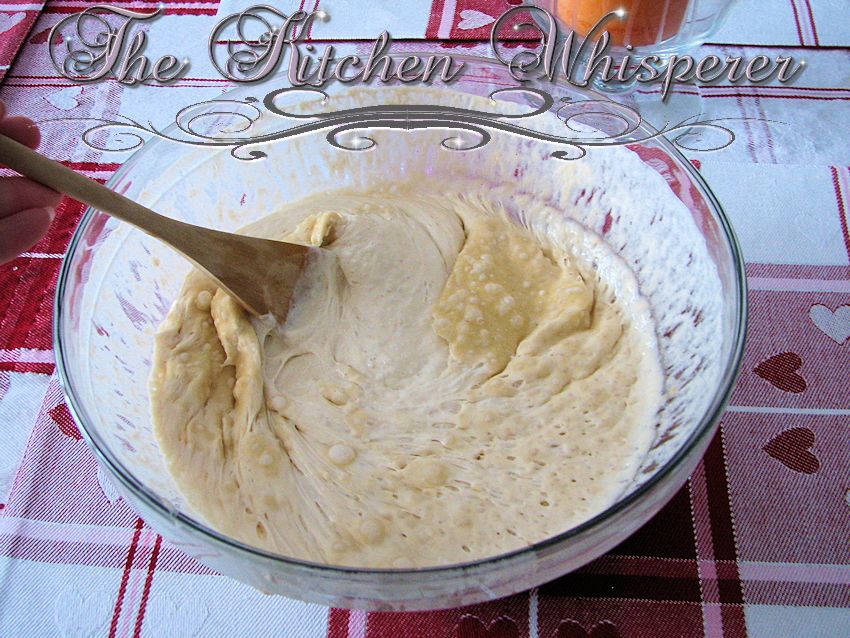
Notice how as I’m moving the spoon the dough seems to ‘sstretch’ and pull towards the spoon. You want to loosen this up. You need to keep mixing, breaking up the hard layer so it will become pancake batter-like. Trust me, it’ll get to that part.
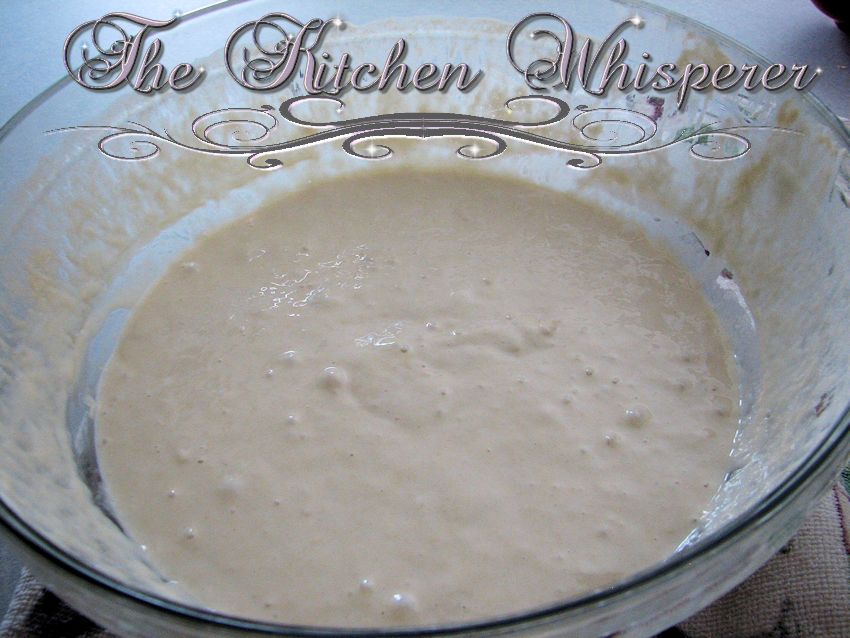
See!!! To ya so! *sticks her tongue out!* I mixed it with the spoon for eh… 5-6 minutes. No lumps, no crusty layers and as you can see, bubbles are starting to form again. Between now and the next few days the ‘sour’ yeasty aroma will develop and the bubbles will subside.
Now, recover Sally, of what you’ve named yours and go spend some time with your loved ones 🙂







Leave a Reply