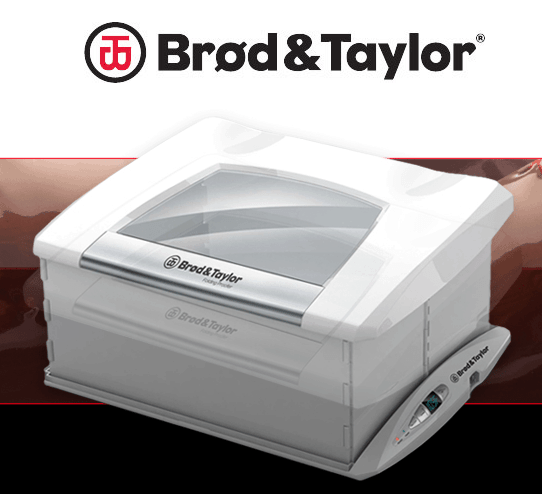
You NEED this in your life!!! Folding Brod & Taylor Bread Proofer
So about 5 or 6 months ago one of our TKW Family members sent me an email asking me my thoughts on the Brod & Taylor Folding Bread Proofer. This was the first I really had heard of this company or the product however after looking at the website I immediately became interested. Being an engineer by trade I was in awe of the simplicity of the design. From an engineering standpoint, I know just how difficult it can be to make something appear simplistic to the end-user – you want something that is user-friendly while state of the art. This my dear readers is rather difficult to achieve. I can just imagine the countless hours that went into the CAD (Computer Aided Drafting)-type drawings and schematics to design this. It is so well engineered. Honestly, it’s pure genius!
While doing my research I reached out to several professional bakers and those that are avid home bakers to get their thoughts on it. Most bakeries use the behemoth sized proofers as they are baking hundreds of breads per day. The avid home bakers either already had this machine and loved it OR were thinking of getting one themselves. Those that worked in the commercial bakeries wanted one for home personal use; same with the avid home bakers. The common factor here is that both parties that used a proofer swore by them as part of the reason why their breads were just so incredible.
Now THAT got me excited. See I fashion myself a really good bread baker. I understand the how’s & why’s behind making real bread, the temperature factors and the little nuances that come with making bread. Making bread from scratch is not hard at all – realistically it’s mostly water, flour, salt and yeast with a few other additions depending on your desired bread type, however it’s the process of making bread that makes the world of a difference. I had to try out one of these machines; just had to!
Being old school, I learned to make bread from my Mom & Grandma. Knead by hand, get flour all over your face/shirt/pants/gutchies (don’t ask), get sore arms from kneading it for so long, and put it in a dough bucket to rise for hours. Typically we would set it out on the one furnace grate with a pan of water near it. As I got older, made my own money and became educated in the ways of the kitchen I invested in some hardcore kitchen mixers (my kitchen porn) but still kept to my trusty dusty dough bucket. I mean my doughs were always great, breads were good. If it ain’t broke, don’t fix it! Right?

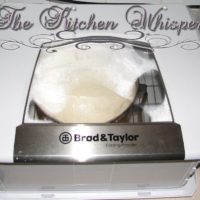
Well, when I received one for review I was surprised by the compact design
Everything was all contained in maybe a 2-3″ high unit. It’s super light and pretty straight forward to set up. Literally, I had this set up in 5 minutes, if that. After I read the instructions it was game on.
I decided to put this machine through the mill making several types of bread, bagels, doughs, and pizzas. These are the standards that I know I rock in the kitchen using my standard bread making ways with the dough-bucket proofing.
The first batch I made was a standard sesame sourdough loaf. Now I’ll be honest, I was pretty skeptical at first as like I said, I only ever used the dough bucket to proof it. But being an engineer, part of what I do is analyze things and figure out how they work.
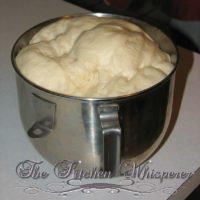
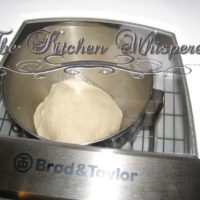
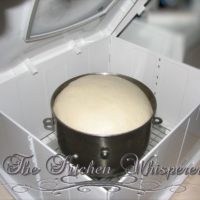
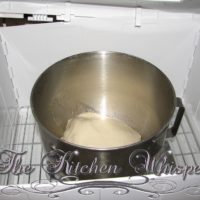
I preheated the machine with about a 1/4 cup of water under the rack inside. I set the temp to 80F and put the mixing bowl full of dough in it.
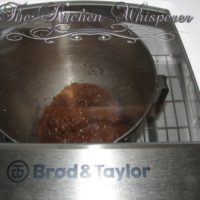
What I loved about this is the digital display that showed you what the temperature was and as the LED light went from green to red the instruction book explained that if the light does that, it’s the machine heating itself up to allow for an even moist temperature. … something the dough bucket does not!
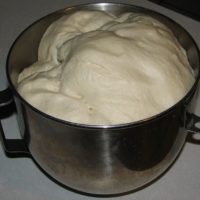
Typically this dough takes about 2-3 hours to double in size. I checked on the dough in this machine about an hour and a half later and it was so full and billowy; ready to be shaped.
So far I was really, REALLY impressed. What I noticed instantly was the texture of the dough seemed different from the dough bucket method. It was tender and almost soft. Baking as long as I have, I’ve developed a pretty good sense of smell and touch. I can tell when things are done just by smell or can tell if the dough isn’t right just by feeling it.
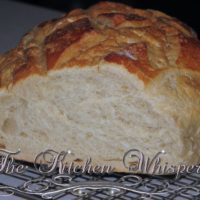
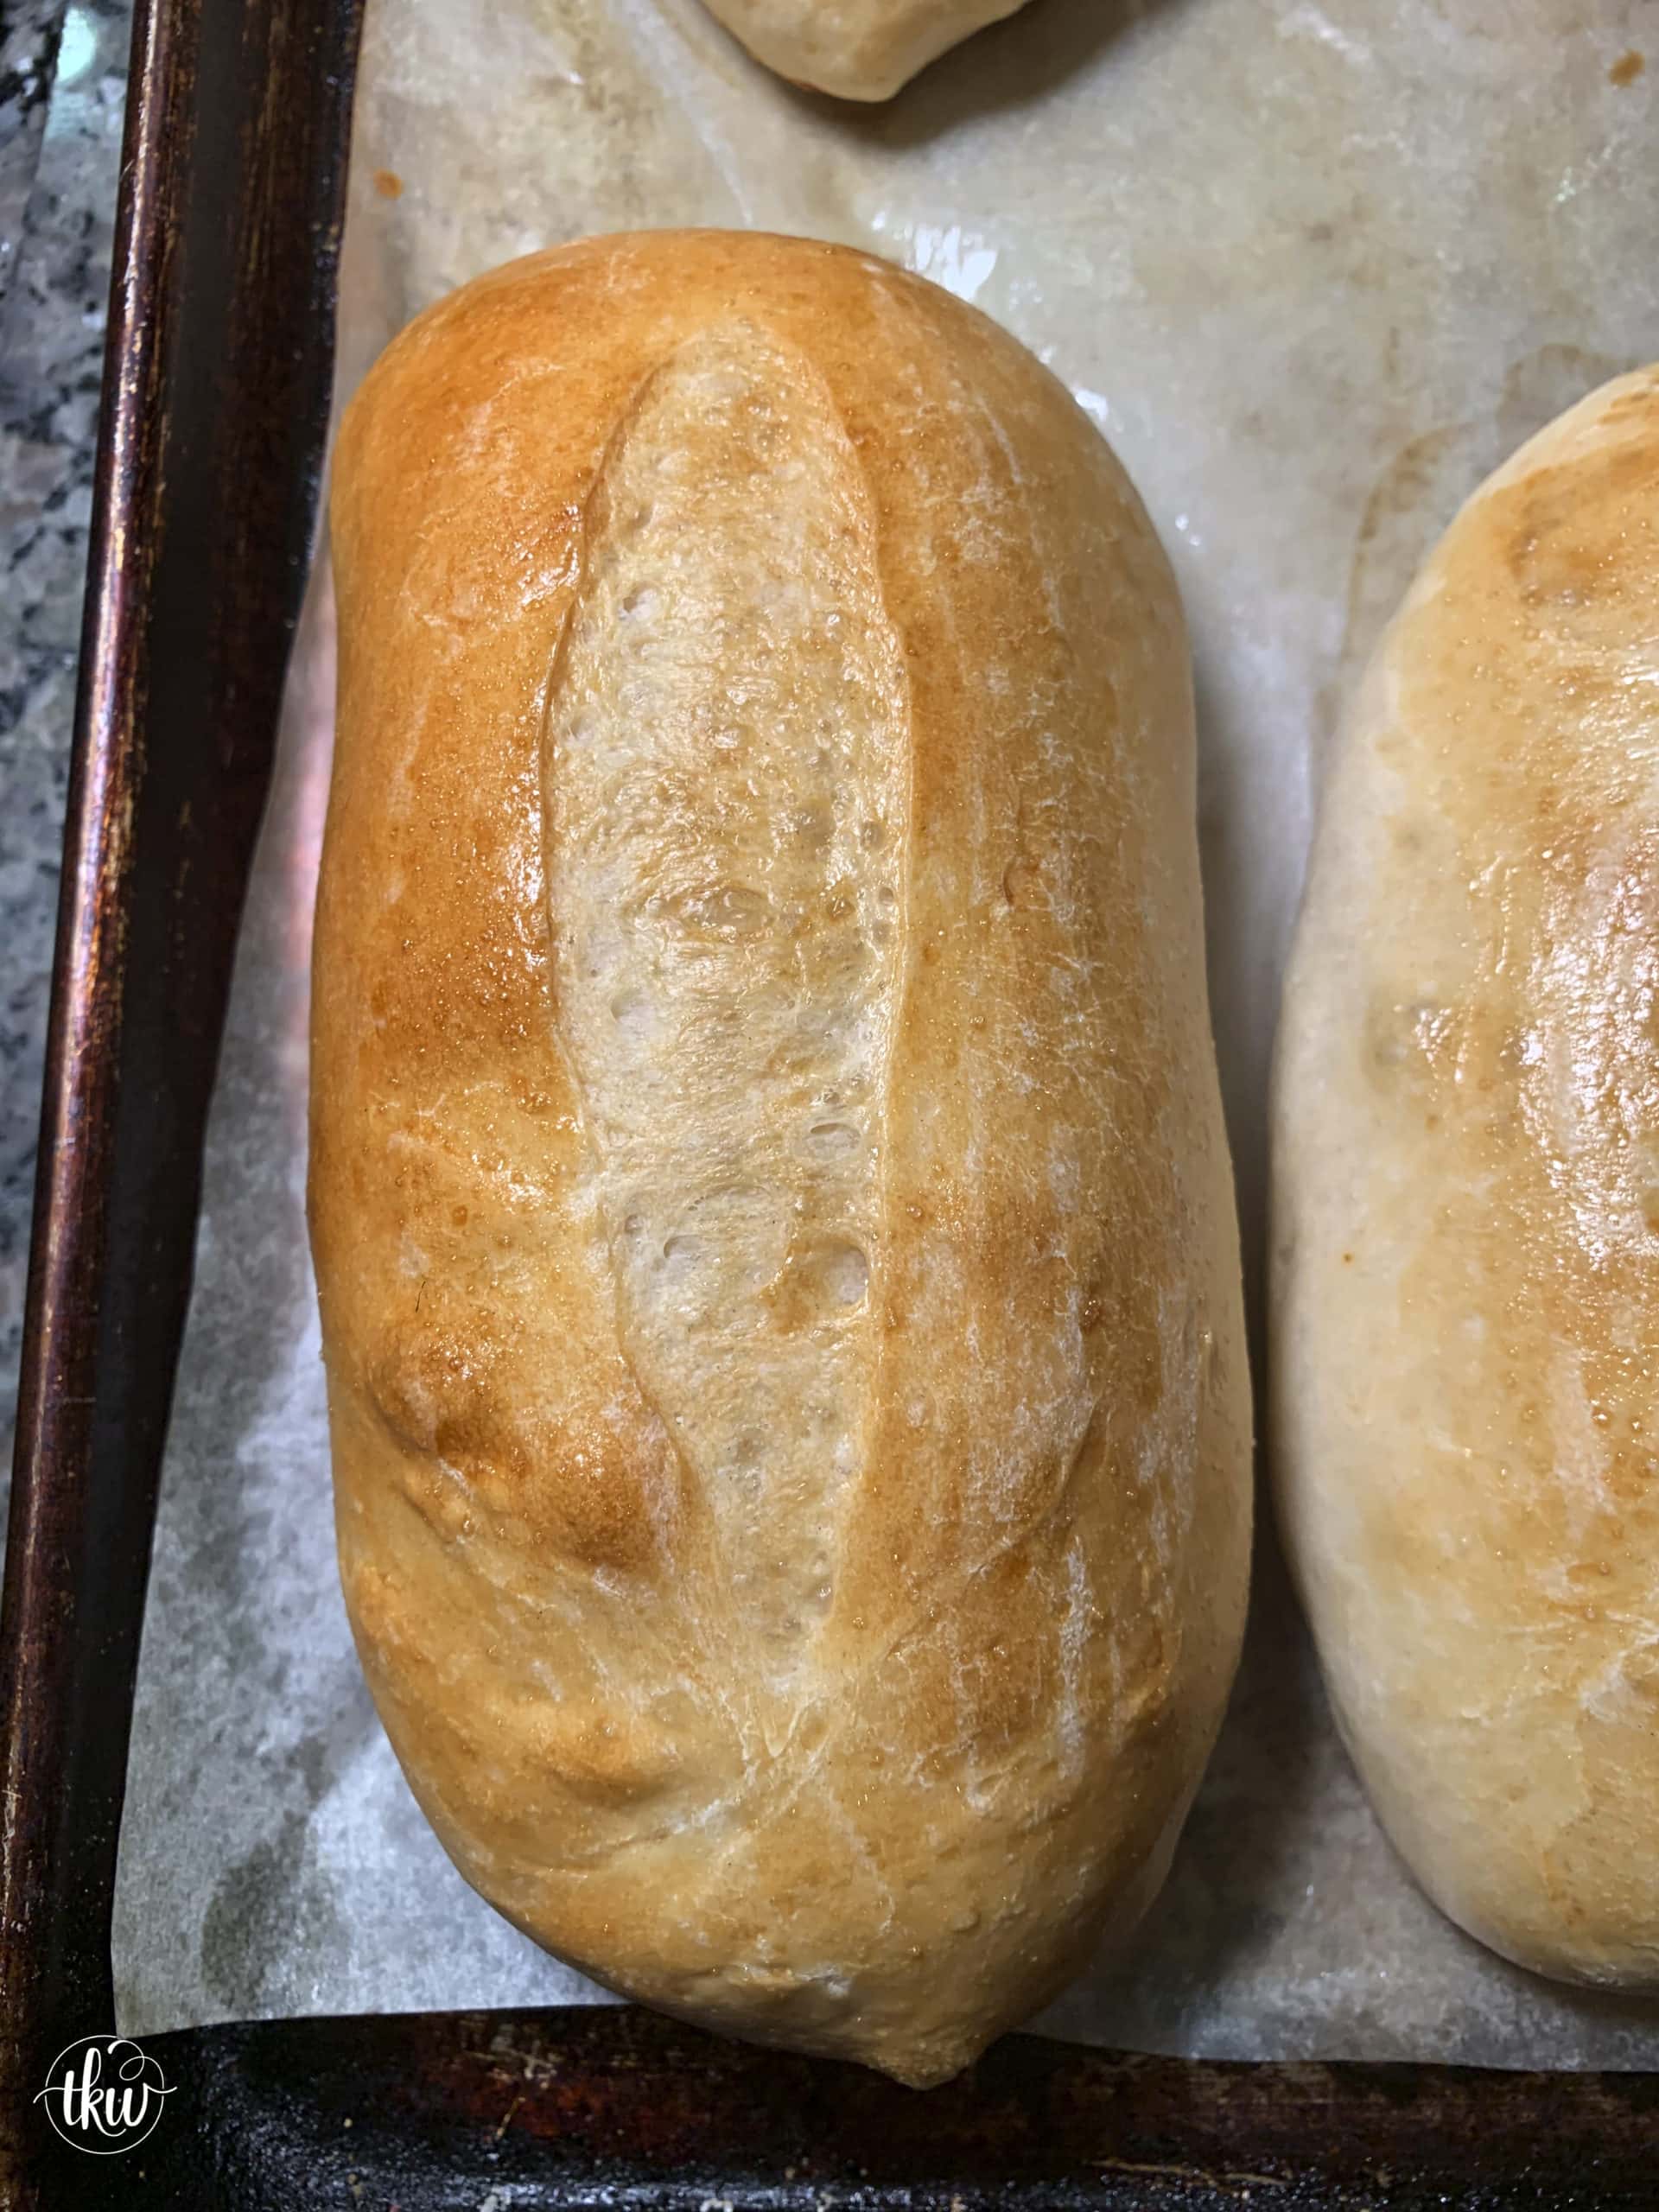
After another proof, I baked the bread. OMG people, this bread was better than fantastic! It was so tender but so crusty on the outside. It wasn’t dense or heavy but just so soft. This bread was perfect!
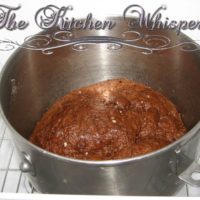
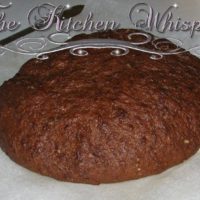
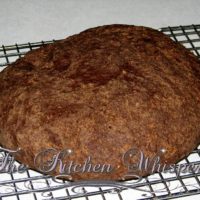
Next, I made some Pumpernickel Bread as that’s Mama Fantabulous’s favorite bread I make. If I could rock this bread out in the proofer OR make it better then I was sold!
Now pumpernickel is a finicky bread to make. I wanted to make this more like Foccacia – big and only about 2-3″ high. It’s easier to cut it for slices. Well, the dough rose beautifully in the machine. And when it baked up. My GOD, it was amazing! The texture was spot on and again, the flavor seemed almost more intense. Mama Fantabulous LOVED this bread!
SCORE!
Next.. pizza! Now above all else, I’ve not strayed from my pizza dough recipe or cooking method for probably 20 years. I’ve perfected it and honestly, it’s probably one of the best things I make dough-wise.
So I made my dough and decided to make 2 types of pizzas – Margherita and Deep Dish. This dough rose so unbelievably well that I was amazed. To stretch it was flawless. The dough had the perfect amount of elasticity and when they both baked up we literally ate both pizzas for dinner! And when you see the pictures you can see they were anything but small!
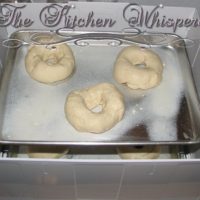
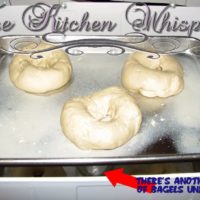
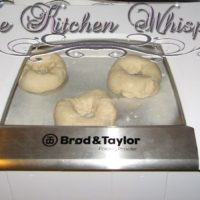
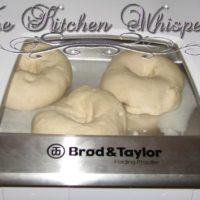
Next, I tackled bagels. Now bagels take some time as you have to make the biga “the starter” the night before, prep the dough, let it sit, and then cool rise it for several hours or overnight in the fridge. I formed the bagels and put them into the device to proof. Now, this is where I had a slight problem. NOT WITH THE MACHINE but with the fact that it only had 1 rack and I had 2 trays of bagels that needed to be proofed. To solve this I put one tray of bagels on the rack but in the middle of the pan I put a tall glass (about 4″ high) then I set the 2nd tray of bagels on top of that. Problem solved! This allowed both trays of bagels to proof with even airflow and allowing the moisture to remain constant. I turned the temp to the lowest setting and about 4-5 hours later these bagels were so big and fluffy and perfect for boiling/baking. A few minutes in the water bath and then 10-15 min in the oven and what came out of the oven was PURE MAGIC! Now Mr. Fantabulous is from New York so he knows a good bagel. One bite of the first (note he ate 2 in a row) bagel he immediately said “OMG honey! These taste just like the ones I got off of Fresh Pond Road (Ridgewood Queens, New York). These are PERFECT!” Honestly, I think he swallowed 2 whole. Now if I can make a bagel that rivals one from NY then I’m golden!
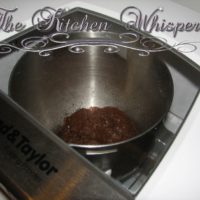
But wait… there’s more! Not only does this machine-proof dough, it also makes yogurt, tempers chocolate (no more burnt or seized chocolate! ), acts as a plate warmer, cookie/cracker crisper, and so forth. This one machine can replace your yogurt maker, chocolate melter, and warming tray and you no longer have to turn on your oven to re-crisp up stale crackers!
Let’s see some pics before I get to my overall review:
The Verdict
Home Baker – YOU WILL LOVE THIS! It’s light and simple to use! You can set it up and tear it down within minutes. Clean-up is a breeze and it can sit right on your counter out of the way. The unit stays cool to the touch so if you have little kids (or a big clutzy husband like I do) you don’t have to worry about them getting burned. When you’re done with it, it folds up compactly and can be stored easily in a cupboard. You don’t have to worry about breezes or trying to keep an even temperature for your doughs to rise. It’s economical and is very aesthetically pleasing. It looks great on your counter! You’ll get that professional quality dough without having to pay someone else to make it for you!
Commercial Bakers: We all know that using a proofer is the BEST WAY to control the rise of your dough to get that amazing outcome. However, not all of us can afford to have a commercial proofer at home. This system is a fraction of the cost and perfect for making bakery-quality bread/dough at home. This is a great addition to your home kitchen porn and you will thank me for recommending this! It’s big enough to hold 2 quarter sheet pans (when stacked) or a 6qrt dough bucket.
From an Engineering Standpoint: The design is simple yet very well-engineered. The digital panel is easy to use and self-explanatory. Essentially you’re proofing in a controlled environment that produces repeatable results. You remove all erroneous variables from the equation allowing for consistency. I actually had another engineer review this machine with me (Mr. Fantabulous is a Mechanical Engineer by trade) and said it was well thought through. He was thoroughly impressed by how well the unit was designed and manufactured.
Cost: The unit lists for under $150 and you can purchase it here: Folding Brod & Taylor Bread Proofer.
I have a few suggestions for future enhancements or add-ons:
- Offer a 2nd rack to the end-user acting as a bridge; i.e., , have legs that fold up when not in use and that, when unfolded, can be set inside the unit (1/2 the height). By having this, it gives the user the option to proof 2 pans at once; i.e., bagels or breadsticks.
- Implement an LED light inside the unit or window panels on the sides to allow for more light to enter the contained box. This would allow for ease of viewing so you don’t have to lift the lid. Though the window on top is quite large, it would be nice to have a lighter/brighter internal viewing space.
- Timer and Auto Shut Off.
I HIGHLY recommend the Brod & Taylor Folding Bread Proofer for a beginner bread baker to the most well-seasoned baker. You will fall in love with this and say goodbye to your trusty ol’ dough bucket!
I absolutely love this machine and use it easily 1-2 times a week.










Leave a Reply