Blanching fresh vegetables is a perfect way to keep that garden-fresh flavor for months to come!
Happy Tuesday TKW Family! It’s time for Tuesday’s Tip with The Kitchen Whisperer! Are you excited? I hope so. Today is all about how to blanch vegetables.
You’ve dug up, you’ve rototilled, you’ve gotten down in the dirt, planted your seedlings and gave your vegetable your undying love.
You’ve fenced it in, you’ve watered, fed, killed nasty creepy bugs and did everything in your power from keeping all those pesky animals out. FINALLY, your garden is starting to repay you for all those hours of love you put into it by providing you gorgeous fresh produce and vegetables.
You cook it however you get distracted (Oh! Something shiny!!!) and you overcook it.
All of your blood, sweat and hours you put in and you’re left with overcooked/burnt/soggy/mushy vegetables. Sucks huh? Well, today I want to teach you about blanching those gorgeous vegetables. I LOVE LOVE LOVE cooking vegetables this way. The colors are vibrant and the flavors are intense.
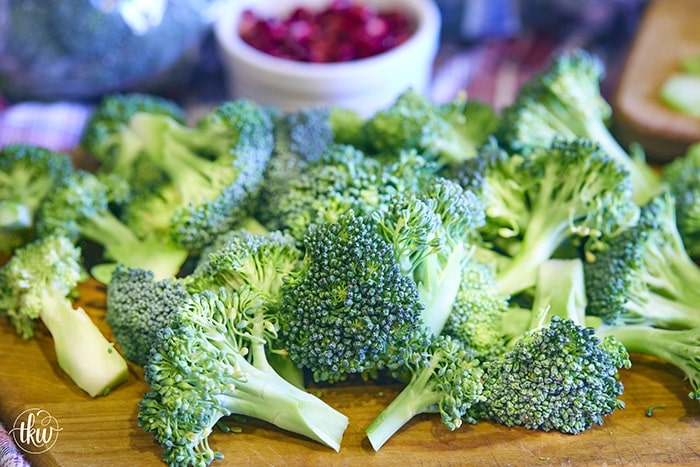
What does Blanching Mean?
Blanching is a cooking process wherein the food substance, usually a vegetable or fruit, is plunged into boiling water, removed after a brief, timed interval, and finally plunged into iced water or placed under cold running water (shocking or refreshing) to halt the cooking process.
With blanching you either blanch and eat immediately or blanch to freeze (fresh veggies properly).
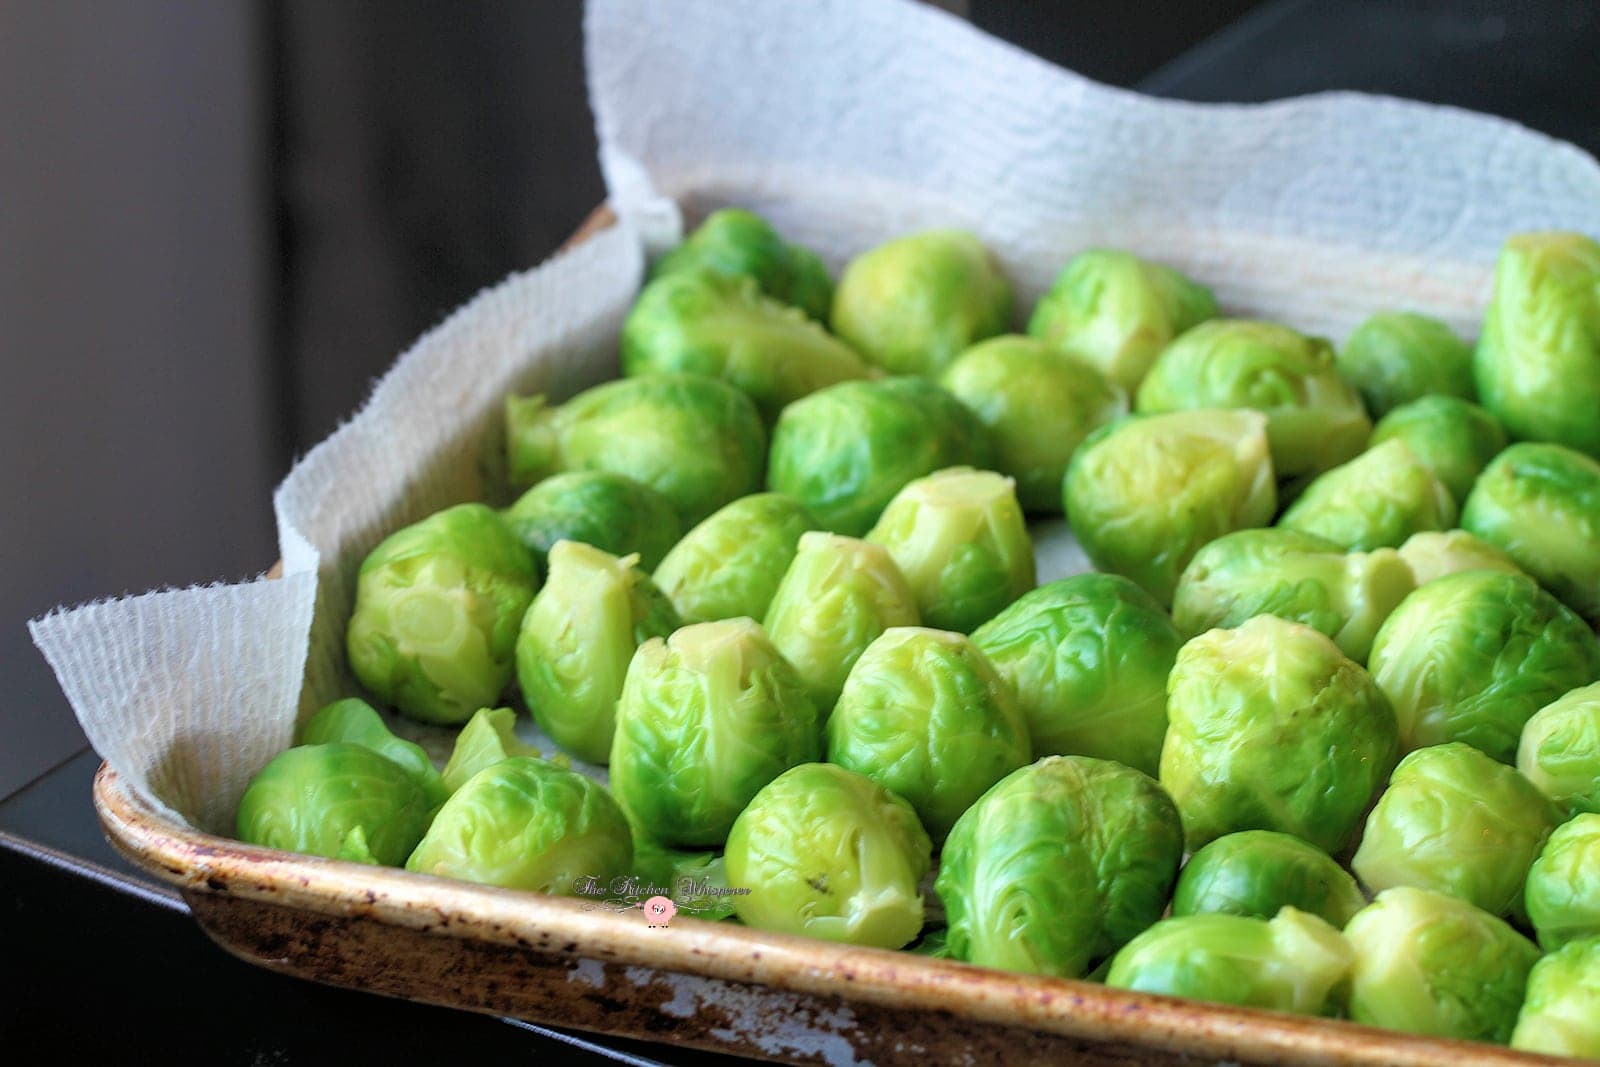
Blanching to Eat Immediately
- Bring a large pot of generously salted water to a vigorous boil.
- While it heats up to boil, set a bowl of ice water next to the sink.
- Add your vegetables to the boiling water and cook, or “blanch,” until crisp-tender, about 45 seconds for smaller vegetables (green beans, snap peas, peas) and about 2 minutes for bigger ones (carrots, cauliflower, broccoli).
- Drain and immediately transfer the vegetables to the ice water to stop them from cooking (this is called “shocking”). So yes you’re going to be putting the vegetables in the actual ice water bath. This stops the cooking process immediately. By doing this you’re able to retain the color and crispness.
- Let cool completely
- Drain, pat dry, and inhale!
Blanching for Freezing
Following the same instructions above, as soon as the vegetables are cooled, drained and dried immediately place in a freezer-safe container and plop into the freezer!
Important Chef Tips about Blanching
Onions, peppers, and herbs do not need to be blanched. Squash, sweet potatoes and pumpkin should be fully cooked before freezing. All other vegetables should be blanched.
How to Blanch Vegetables
Blanching fresh vegetables is a perfect way to keep that garden-fresh flavor for months to come!
Ingredients
Fresh garden vegetables like carrots, broccoli, cauliflower, Brussels Sprouts, beans, asparagus and so forth
Instructions
Blanching to Eat Immediately
- Bring a large pot of generously salted water to a vigorous boil.
- While it heats up to boil, set a bowl of ice water next to the sink.
- Add your vegetables to the boiling water and cook, or “blanch,” until crisp-tender, about 45 seconds for smaller vegetables (green beans, snap peas, peas) and about 2 minutes for bigger ones (carrots, cauliflower, broccoli).
- Drain and immediately transfer the vegetables to the ice water to stop them from cooking (this is called “shocking”). So yes you’re going to be putting the vegetables in the actual ice water bath. This stops the cooking process immediately. By doing this you’re able to retain the color and crispness.
- Let cool completely
- Drain, pat dry, and inhale!
Blanching for Freezing
Following the same instructions above, as soon as the vegetables are cooled, drained and dried immediately place in a freezer-safe container and plop into the freezer!







Leave a Reply