Cut the carbs but not the flavor with THE BEST Spaghetti Squash Pizza Crust! Keeping pizza delicious but with a healthier twist!
So do you remember my sharing with you how to make perfect oven-roasted spaghetti squash each and every time? And do you remember my teasing you on facebook and instagram telling you that I was taking it beyond the standard squash dish, casserole or pasta substitute recipe?
Well, what you didn’t know was I kinda went nuts making that how-to recipe because I ended up with about 14 cups, yes 14, of roasted spaghetti squash. And while I love the stuff, there is only so much a person can eat as a casserole or a pasta dish. So I had to become creative.
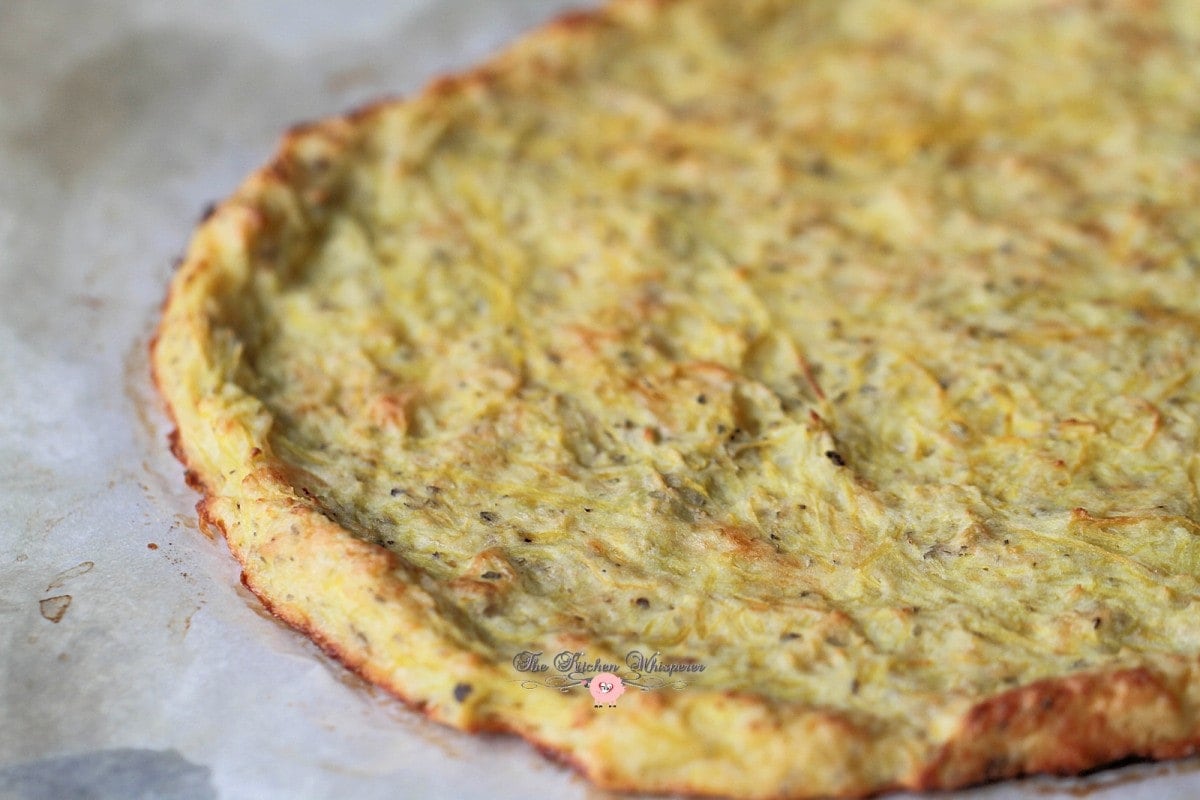
By now you all know my absolute FAVORITE food in the ENTIRE world is pizza. Like we’re talking if I had to choose a single food I had to live on for the rest of my life it would be pizza.
Now don’t get me wrong it has to be good pizza and yes before you say “even bad pizza is still good pizza because it’s pizza” um, no! NO NO NO! How do I know? Because I had BAD pizza when I was in Arizona. It was worse than wretched if that’s even possible. We’re talking I couldn’t even eat one bite bad and Mr. Fantabulous refused to eat it. That man would eat rocks covered in marinara if he could but he couldn’t even eat that pizza.
HOWEVER this pizza, you’re gonna want to make this every day, forever. PLUS those of you that live or need gluten-free you’re in luck! Yes, this has flour in it but from doing my research rice flour is naturally gluten-free. You don’t need the gluten in this recipe.
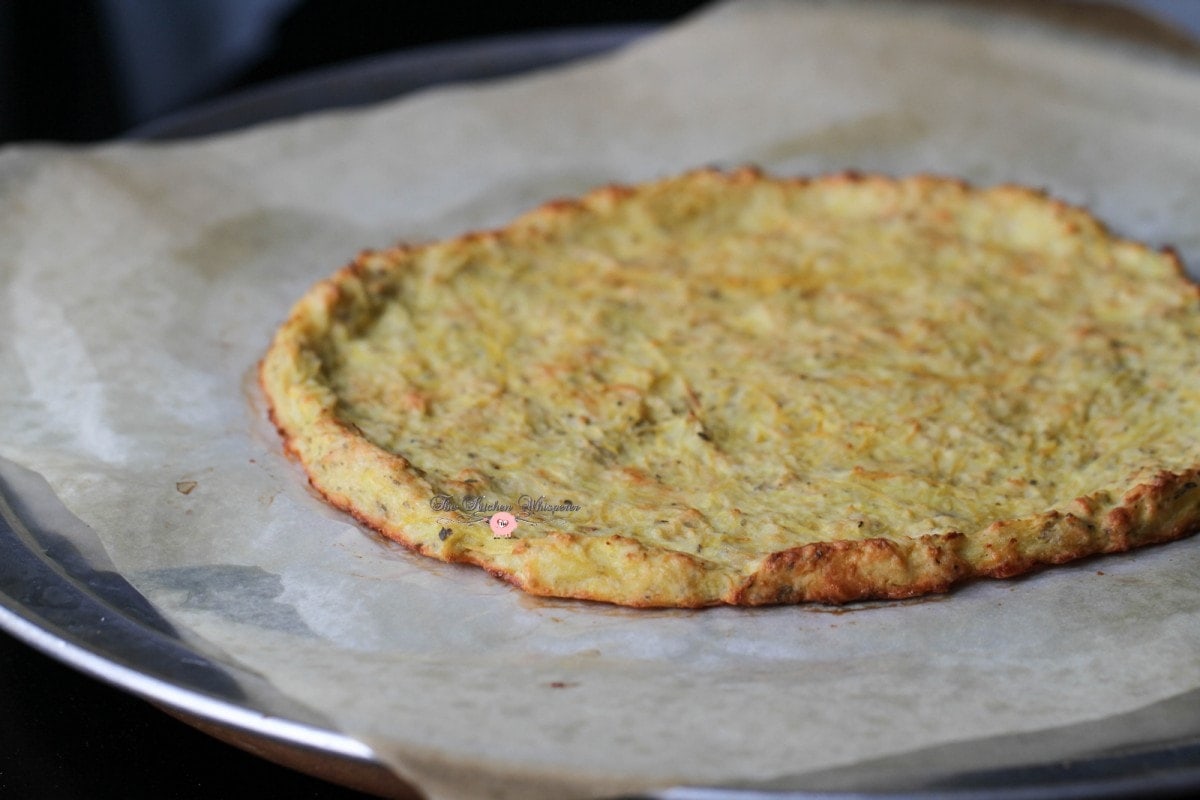
Chef’s Advice about this crust
When you make this crust the most important bit of advice I can give you is to squeeze out as much liquid from the squash as possible.
The drier it is, the crispier your crust will end up. Just put the cooked squash in a strainer and press and press and press down to get the water out.
Or put the squash in a clean dish towel (not terry cloth btw… trust me, I learned the hard way) and squeeze it like you’re squeezing the sexiest booty out there. Wha? LOL
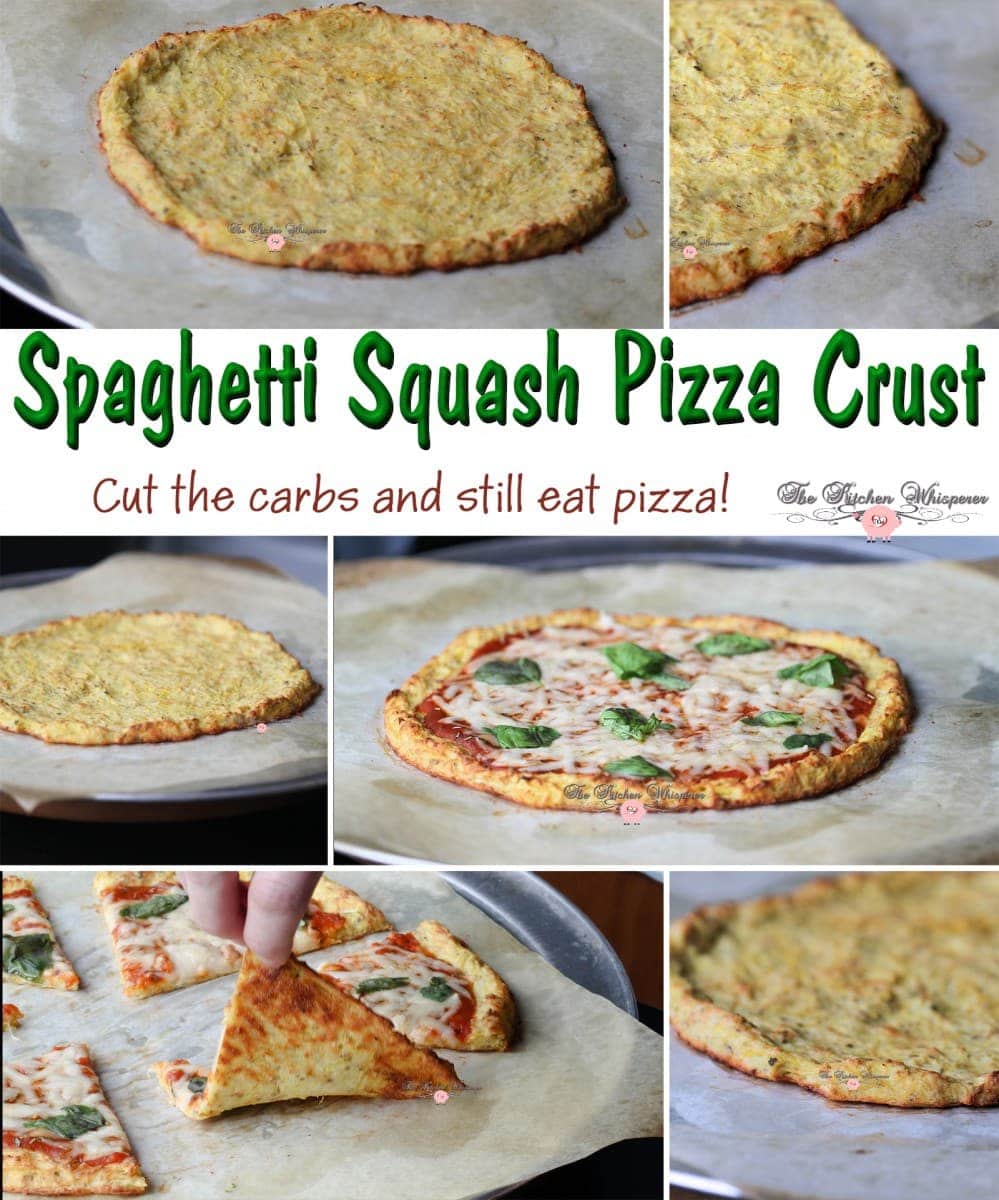
No Yeast
What you’ll also notice is there is no yeast or leavening in the recipe. There’s no need to.
Because the noodles are sturdy you really don’t want to create a ‘doughy’ crust that rises with strands of squash in it. You want the squash to meld together to form the crust.
Next, spaghetti squash is pretty bland so by adding in some basic seasoning you can really amp up the flavoring. Remember this is just the crust. However you top it, those flavors will infuse into the crust.
How to make this Keto-Friendly/Gluten-Free Pizza crust
- Once the squash is drained, put all of the ingredients into a bowl and mix it together.
- Next, you’ll want to spread it out on lightly sprayed parchment paper.I would advise against putting it directly on a baking sheet only because one, I haven’t tested it, and two it may stick. With the parchment, I know it doesn’t. And since this isn’t a dough crust you don’t roll it out or stretch it. Instead, you spread it out and then shape it with damps hands.
- When you spread it out, you want to give a lip all the way around the edges. This gives it that ‘puffed’ crust appeal.
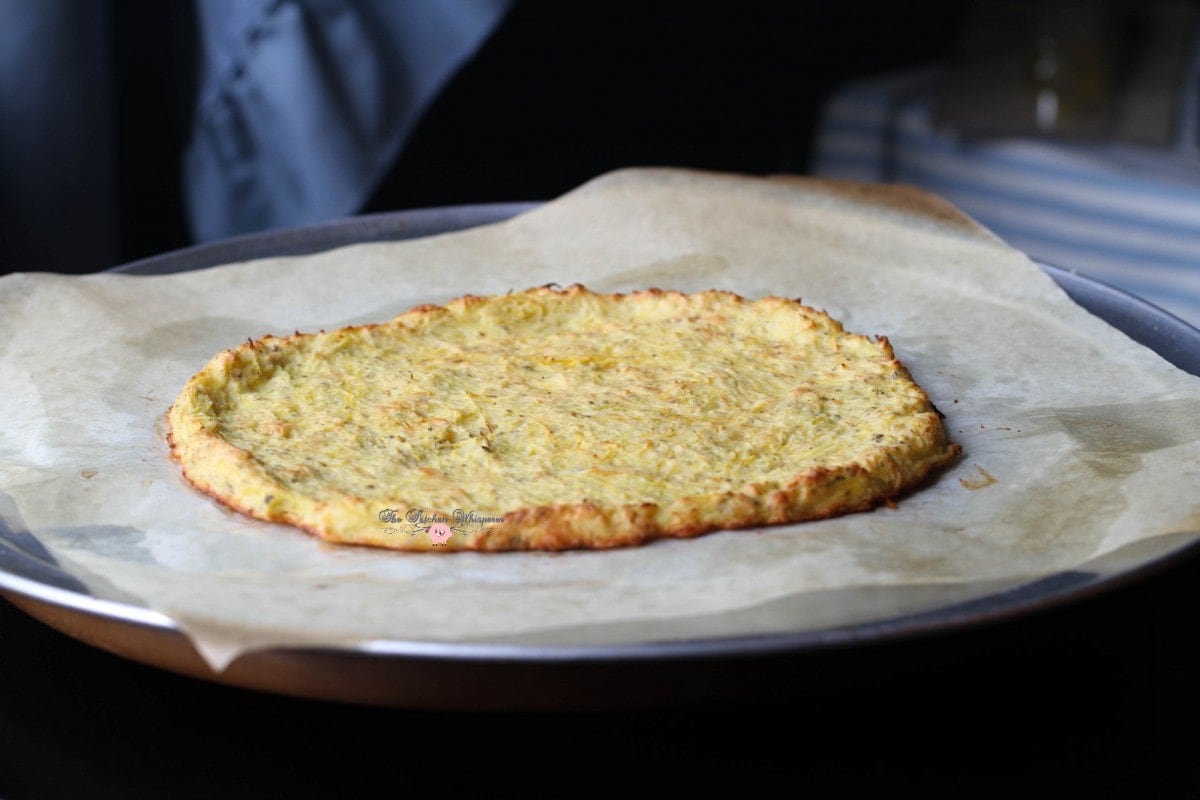
- Next, pop it into the oven and bake.In my oven, my crust takes between 20-30 minutes to get to that desired crust look. I like mine golden brown around the edges. When you pull it out it should be firm to the touch. AND you can pick up the side/crust and look at the base crust. If it’s gorgeous golden brown and ‘stiff’ then you’re good to go! The only reason why it wouldn’t brown up is if you didn’t squeeze most of the liquid out. Did I mention that this is super important???
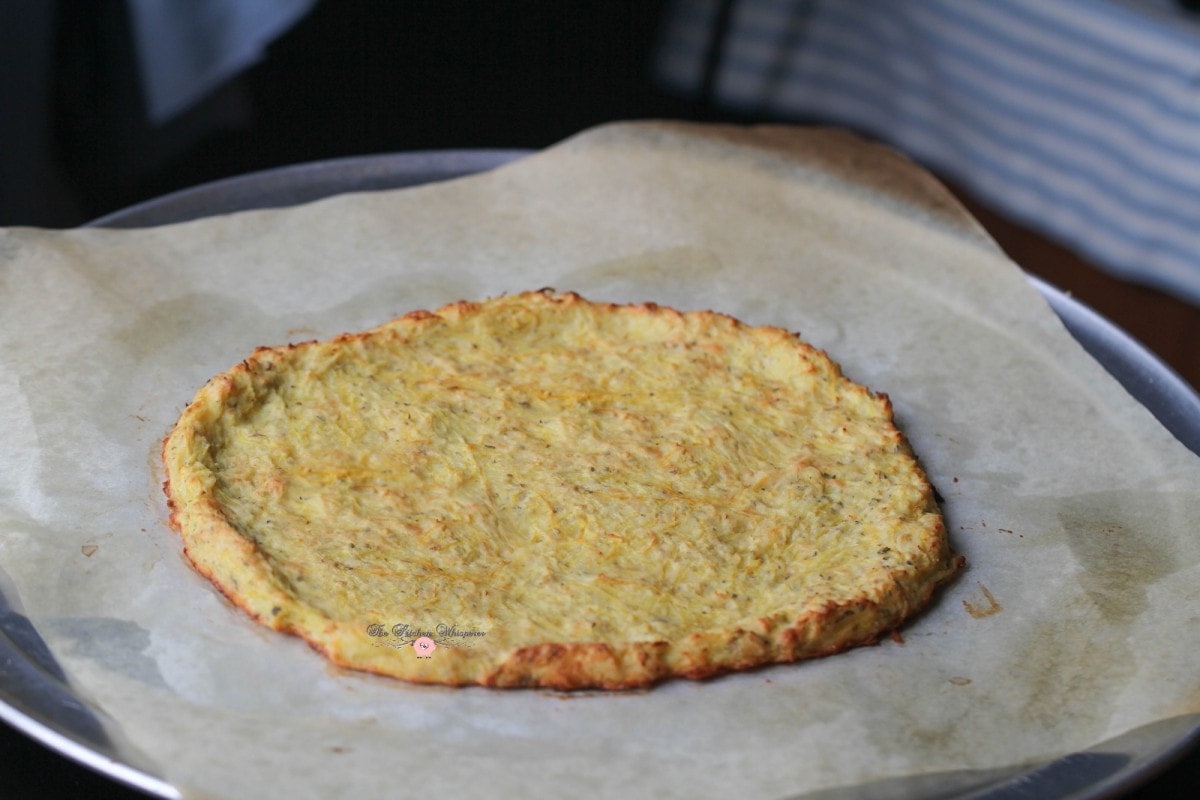
Once it’s cooked you can top however you want with whatever you want. Now if you’re eating this type of crust I’m “assuming” you are going more for a healthier pizza. HOWEVER, you don’t have to! For me my favorite topped pizzas are:
– pizza sauce, variety of cheese and basil
– bbq shredded chicken, cheddar, caramelized onions and crispy bacon – yes I said bacon. I never said you had to keep it healthy but remember everything in moderation!
– roasted veggies, drizzle of olive oil, crumbled feta and pumpkin seeds
– um… anything cause it’s pizza, duh! LOL
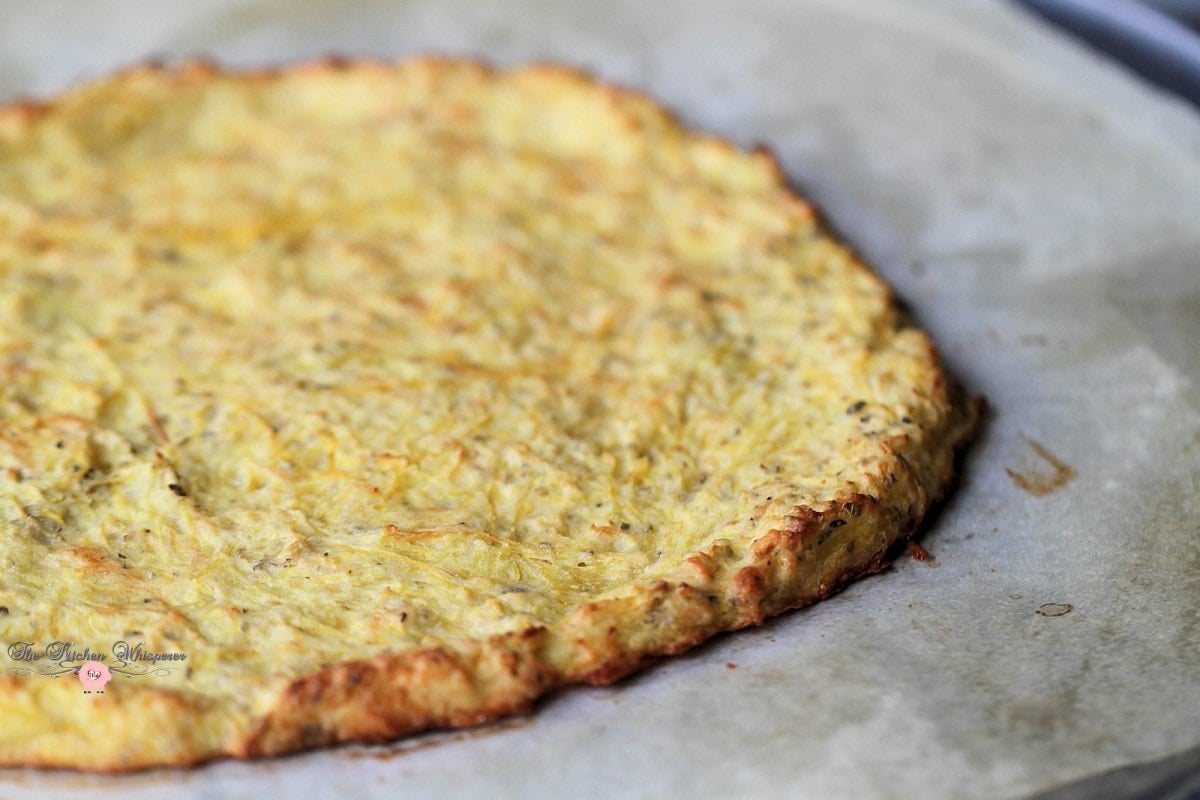
Now stay tuned for future recipes featuring this crust in various pizza recipes! So for now if you gave up carbs for Lent go make this and eat your pizza!
Keto-Friendly Substitutions
Rice Flour is not keto-friendly even though it’s gluten-free. You can use Almond or another keto-friendly flour in place of rice flour.
PrintThe BEST Spaghetti Squash Pizza Crust – Keto Friendly and Gluten Free
Cut the carbs but not the flavor with THE BEST Spaghetti Squash Pizza Crust! Keeping pizza delicious but with a healthier twist!
- Prep Time: 20
- Cook Time: 30
- Total Time: 50
- Category: Healthy
- Method: Oven
- Cuisine: Pizza
Ingredients
- 2 cups Oven Roasted Spaghetti Squash, cooled *Note – this is measure after you squeeze the liquid. Before you squeeze the liquid, go with 3-3/12 cups prior to squeezing.
- 2 tablespoon rice flour (can use AP flour or Almond flour) – *rice flour & Almond Flour are naturally gluten-free. Almond flour is Keto Friendly
- 1 large egg, slightly beaten
- 1/4 cup grated parmesan cheese
- 1/2 teaspoon salt
- 1/2 teaspoon oregano
- 1/4 teaspoon pepper
Instructions
- Preheat oven to 400F, rack in the middle.
- In a strainer place the spaghetti squash and press down to get as much liquid out as possible. You can also place the squash in a clean towel and squeeze to get the liquid out.
- Place the strained squash in a bowl, add in the rice flour, beaten egg, salt, parmesan cheese, oregano and pepper.
- Using a mixing spoon, mix the stuff together until well combined. The mixture will be tacky. If it’s too runny, add a tablespoon or 2 more flour.
- Place a piece of parchment paper on a baking sheet; lightly spray.
- Dump the mixture into the middle of the parchment paper and using damp hands gently spread out the mixture into a 12” circle building up the edges to form a crust. The crust should be about 1/4-1/2” thick.
- Bake for 20-30 minutes or until the crust edges and bottom are golden brown. The crust should be firm to the touch with little to no give.
Notes
Once the crust is made just top with your favorite toppings and bake for 5-8 minutes until your cheese is melted!




Leave a Reply