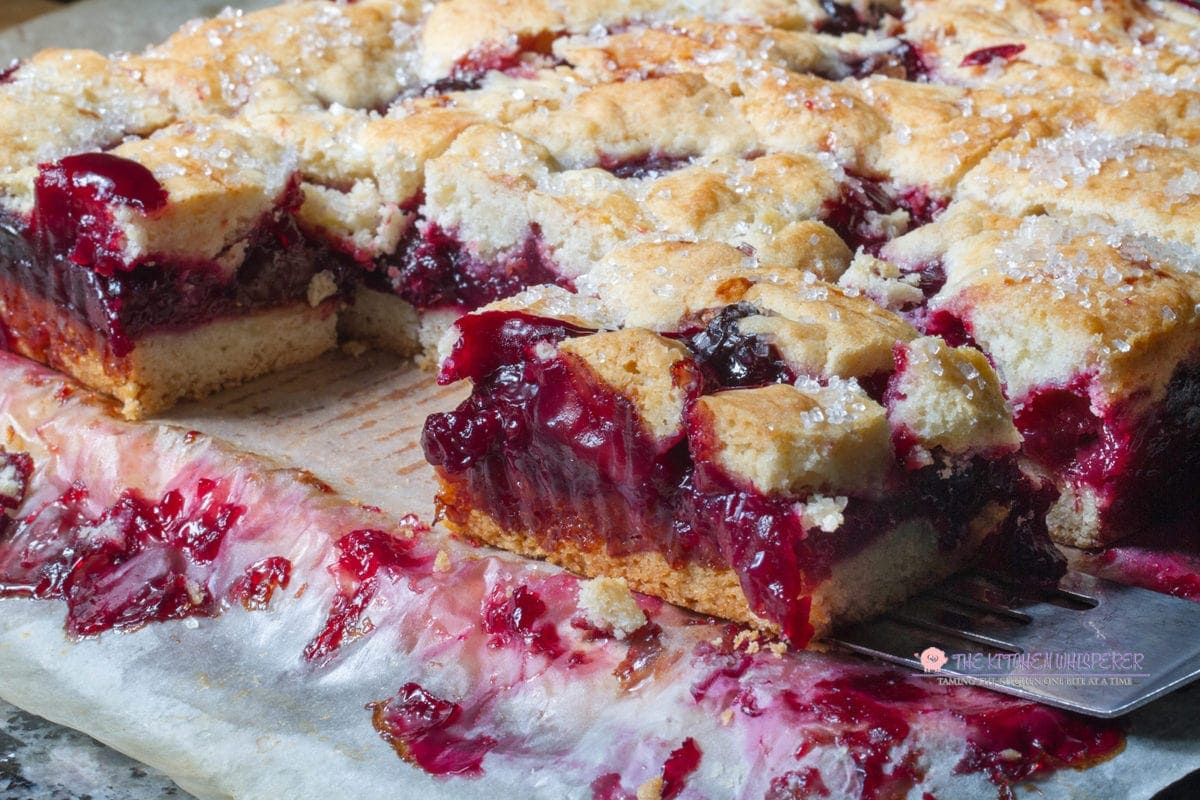
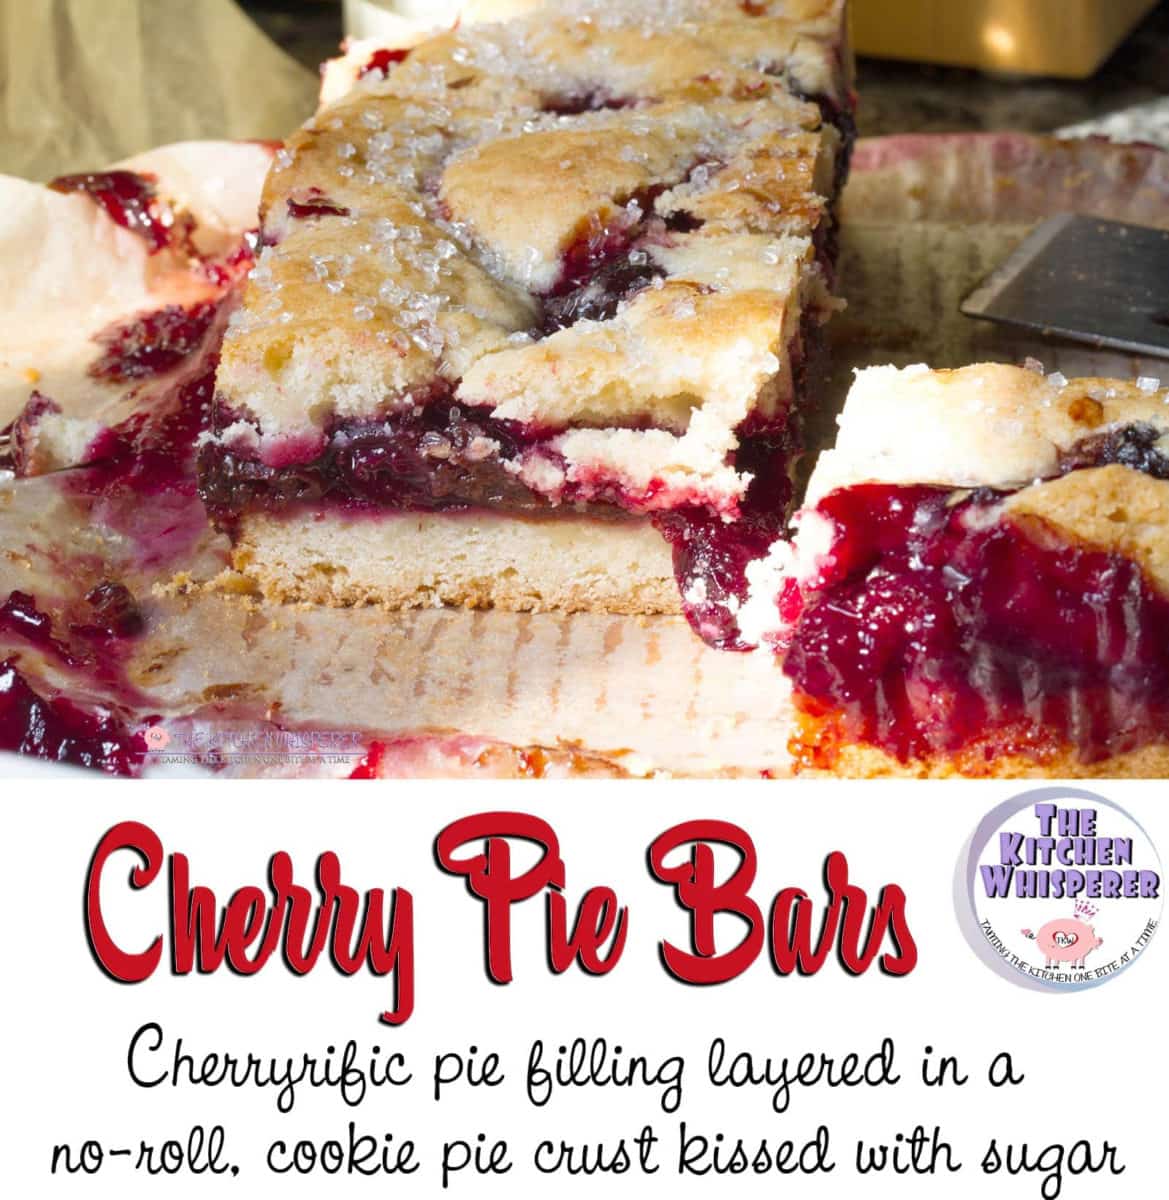
These cherry pie bars are filled with cherryrific pie filling layered in a no-roll, cookie pie crust. Perfect for parties as you can hold a drink in one hand and a cherry pie bar in the other!
Okay no, hell did not freeze over nor did yours truly hit her head. No, I wasn’t abducted by aliens, or is someone impersonating me. It’s me, Lori… for real. Yes, I posted yet another cherry recipe.
I know what you’re all thinking…‘ but you hate cherries, Lori. Like to the point you call them Demon Seeds from the gates of hell!’. And you’re completely right. I hate those things BUT that doesn’t mean you guys do.
It’s just I realized that by not sharing cherry recipes that my family loves is well, unfair to the world. You all should be able to share in the deliciousness even though yours truly won’t.
And yes, for the record I did try it. I kinda have to. I can’t publish something without ever trying it; that is just well, rude, and misleading. What I will tell you is that everyone that has tried this throughout the years, LOVES IT! Like to the point, it’s almost obsessive.
Ingredients Needed
- Flour
- Baking Soda & Salt
- Butter
- White Sugar
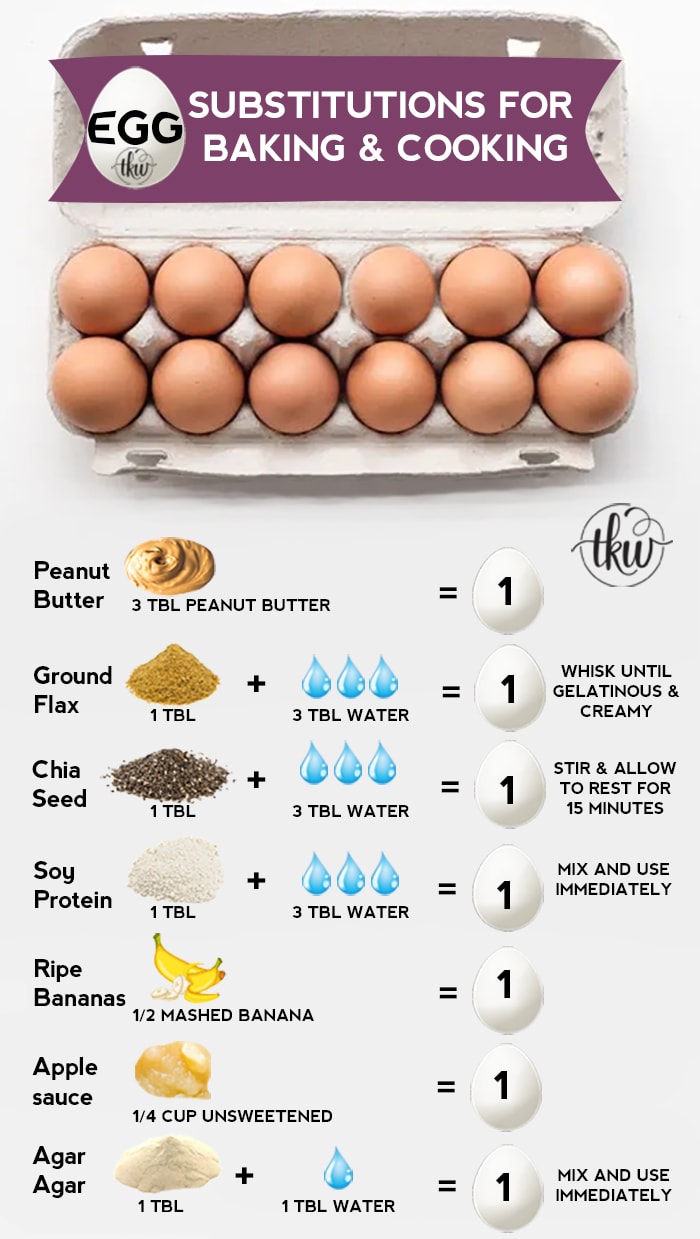
- 1 Egg
- Almond Extract (this helps with the cherry flavor in the crust)
- Cream
- Homemade Cherry Pie Filling
These types of pie bars recipes have been in my family for generations (i.e., multi-generations peeps). They are faster to make than a traditional pie as there is no rolling involved. These are also portable which meant they were perfect for picnics, cookouts, and lunches. These bars were a huge hit with my dad at the mill.
Homemade Cherry Pie Filling is a must
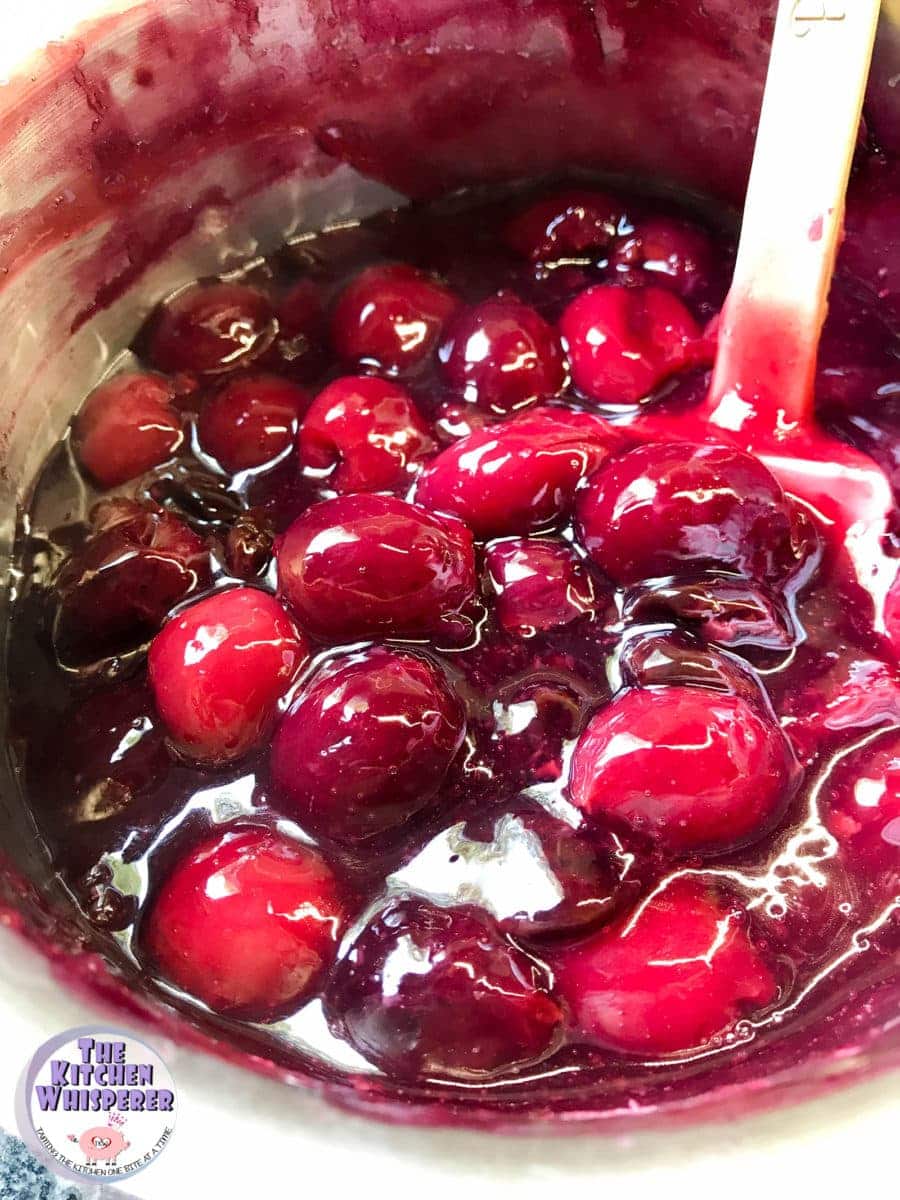
I’m not a fan of any type of canned pie filling. It’s not hard to make your own and you can control what you put into it!
I have a full recipe post on how to make your own cherry pie filling on my blog.
It just calls for 6 ingredients and takes maybe 20-25 minutes total to make.
How To Make Shortbread Cherry Pie Bars
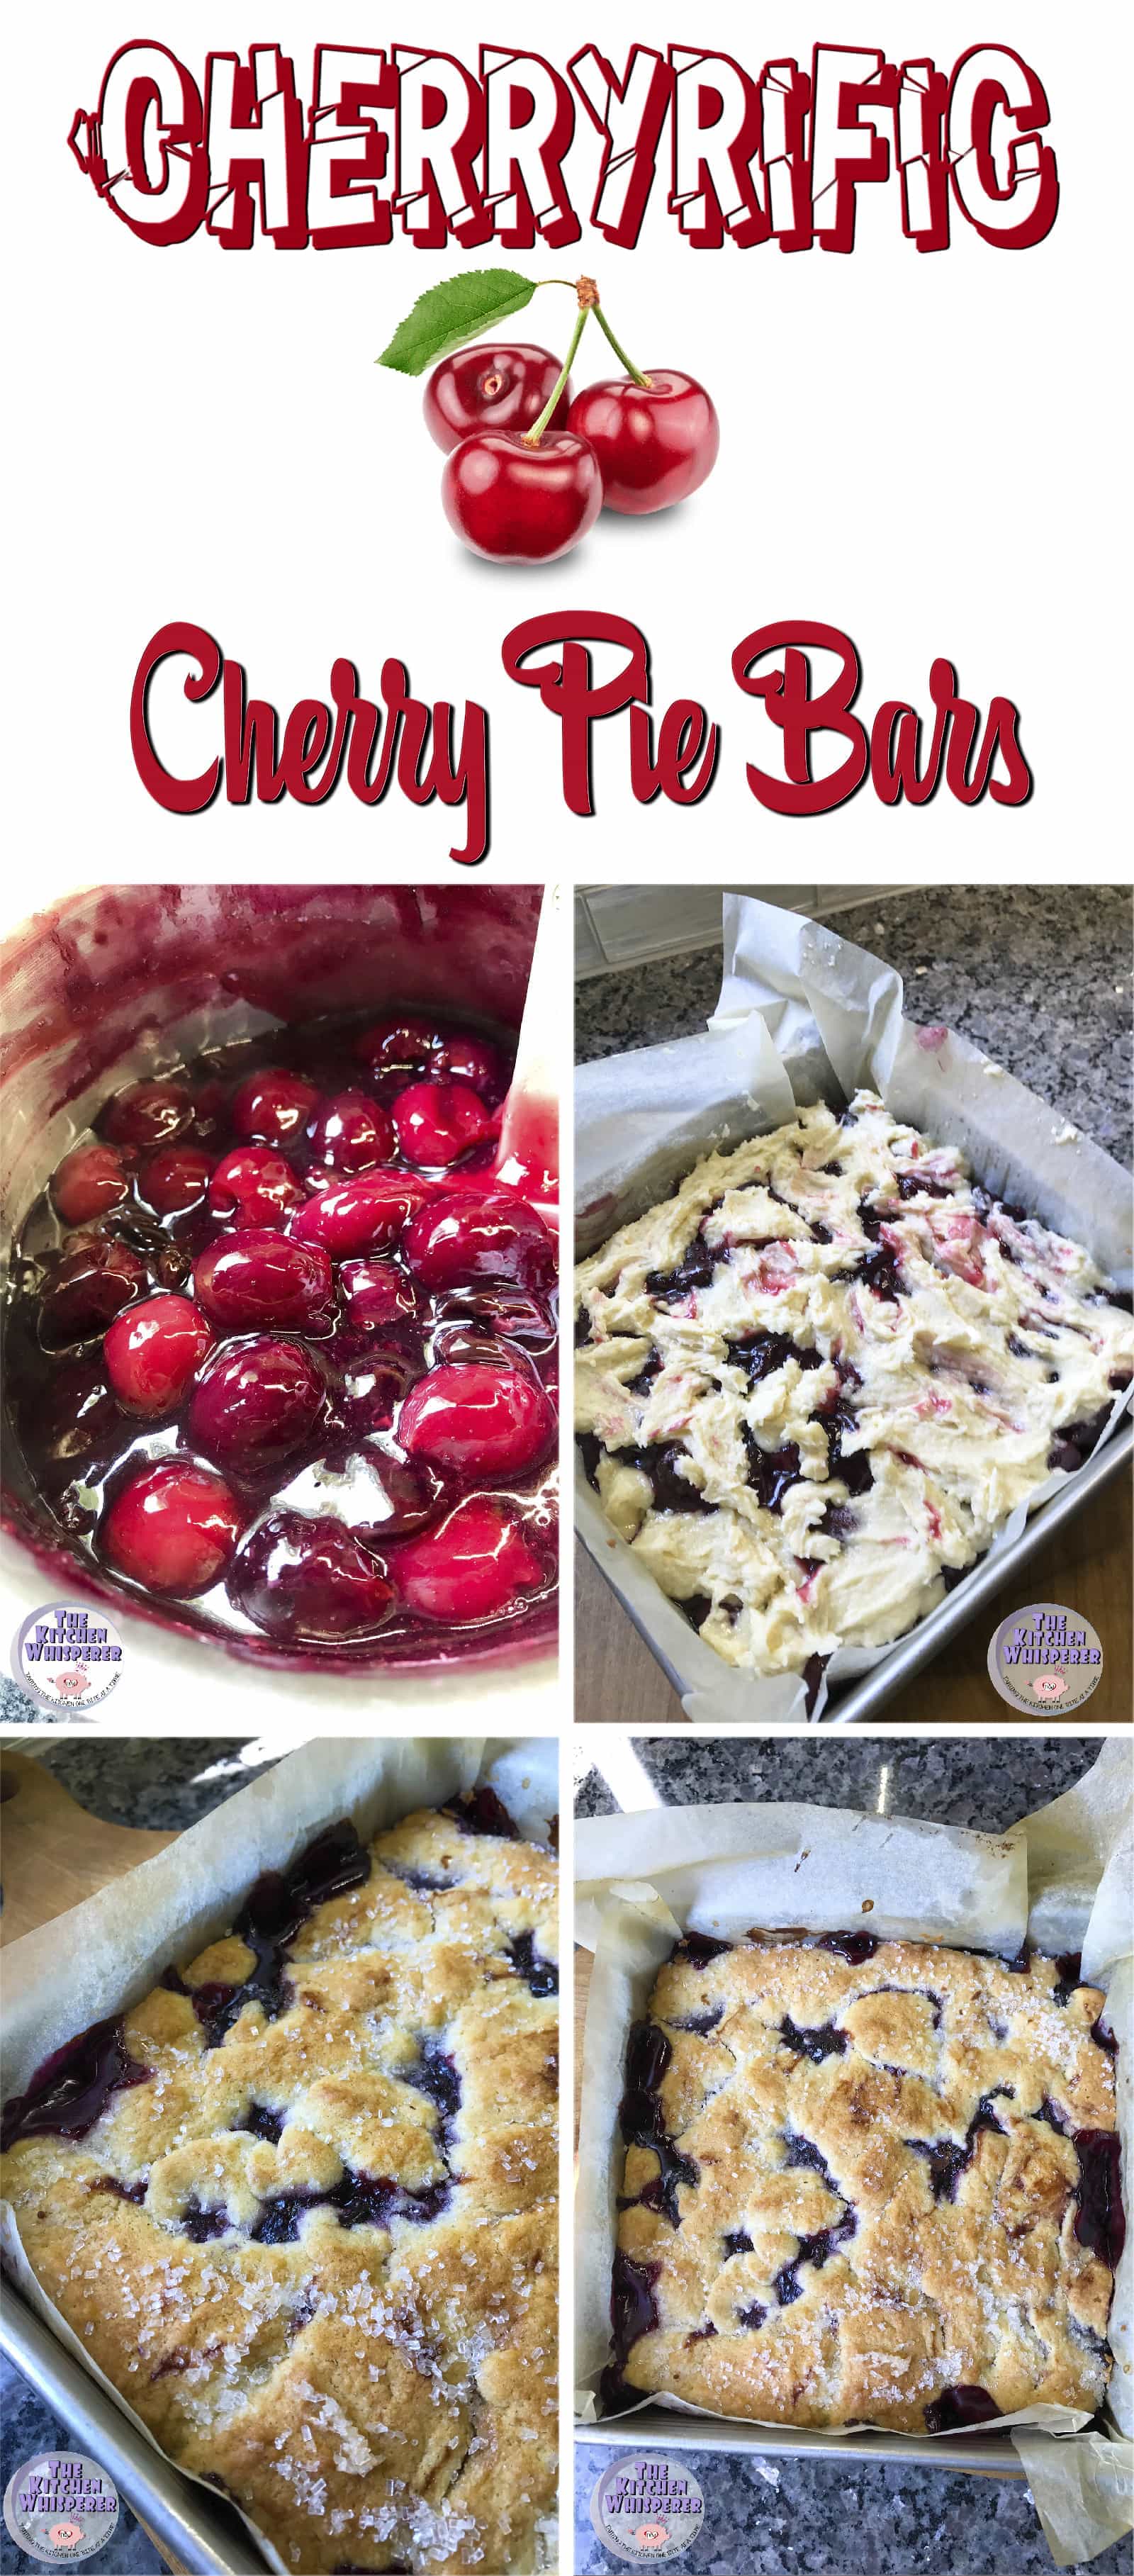
- Preheat your oven and line an 8×8 pan with parchment.
- Sift the dry ingrediets together and, in a separate bowl, whisk together the egg, extract, cream and butter.
- Dump the wet mixture into the flour and mix until it forms a wet sand. Remove a cup and set aside.
- Press the sand mixture into the pan and par-bake the crust.
- Add the homemade cherry pie filling, add the reserved sandy crust, top with coarse sanding sugar and bake for 22-27 minutes or until golden brown.
Once done.. LET IT COOL completely!
I know you want it now but it needs to set before you do! Trust me, it’s worth the wait!
A Story About These Bars and My Dad
Growing up, my Dad worked in the steel mill here in Pittsburgh. It was hard, but honest, work. I can remember sitting on our front porch waiting, what seemed like forever, for him to drive down our driveway. I’d see the cloud of dust kick up as he’d pull in at the top of the hill and follow the car as he finally pulled in down by the spring house.
Yes, we had a spring house. Our house was fed by natural springs and because we lived so far back in the woods we didn’t have public water or sewer. And no well either so in the bone-dry months of summer, we’d ration water. He’d get out of the car, covered in dirt and grime where pretty much the only clean part on him were the outlines of his eyes where his safety goggles sat.
He’d walk up the sidewalk kind of slow, beaten from work with his metal lunch box hanging down by his side. I’d run as fast as my chubby little legs would take me just so I could give him the biggest hug. His worn, exhausted face would liven up and he’d smile. Those ocean blue eyes of his would just twinkle. Later that night, while he was putzing around the house Mom would pack his lunch box and I got to help. I’d pretend I was a waitress and go take his order using the prettiest of papers I had and the most awesomest of pens ever (like it had 4 different colors you could choose from!).
Once I got his order I’d go back and give it to mom. She’d smile and tell me what my job was. She’d make the sandwiches and I’d get the snacks. Always, always, Mom put in a dessert or two as that was one thing Mom never skimped on for Dad. Mom tried putting cut slices of regular pie but it just got all messy and it was hard to eat. Most slices of traditional pie you can’t really hold in your hand.
So she went back to her roots and starting making pie bars (or slab pies as they are traditionally known). Mom made her in a large sheet pan as there were 8 of us in the house plus a ton of drop-in folks. And Mom’s number one house rule “Always have enough for everyone, plus 1!”
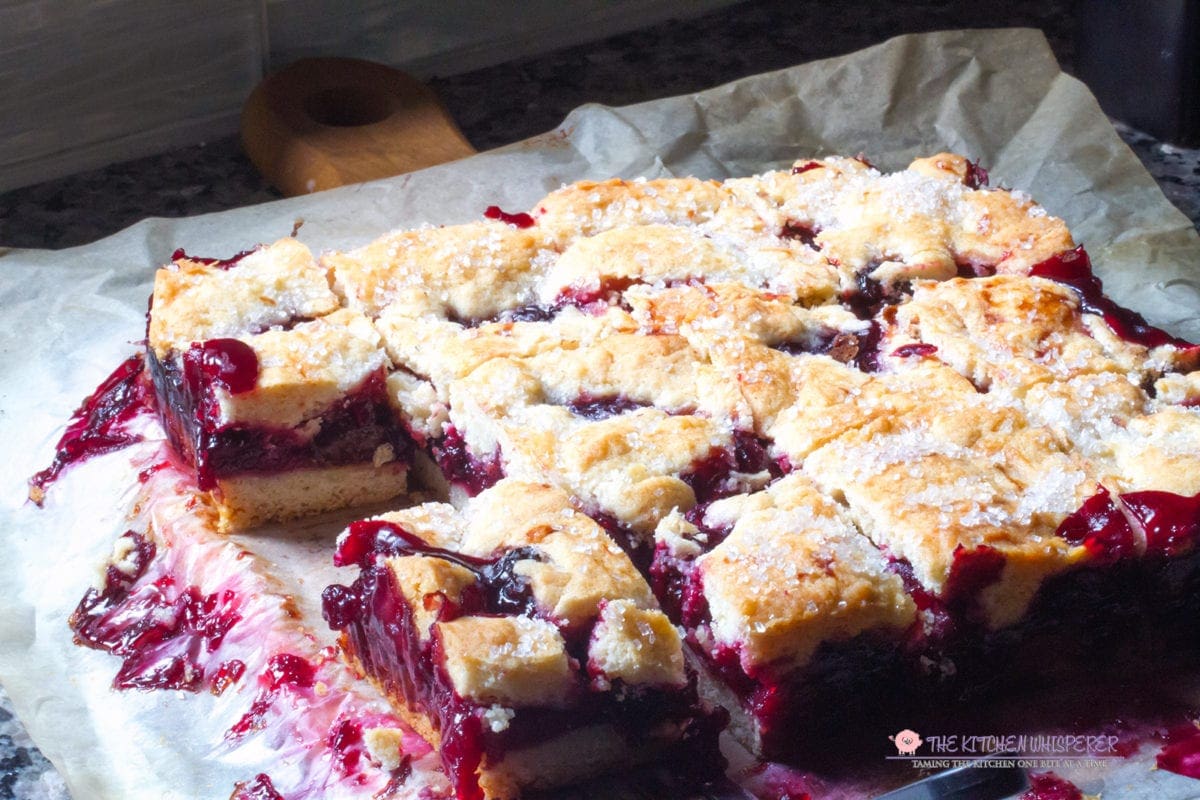
Portable & Perfect For a Crowd!
These types of pie bars recipes have been in my family for generations (i.e., multi-generations peeps).
- They are faster to make than a traditional pie as there is no rolling involved.
- These are also portable which meant they were perfect for picnics, cookouts, and lunches.
- Perfect for gatherings and dropping off to a friend just to say hi!
Using other pie flavors in this recipe
- Lemon Pie Filling
- Blueberry Pie Filling
- Raspberry Pie Filling
- Strawberry Pie Filling
- Peach Pie Filling
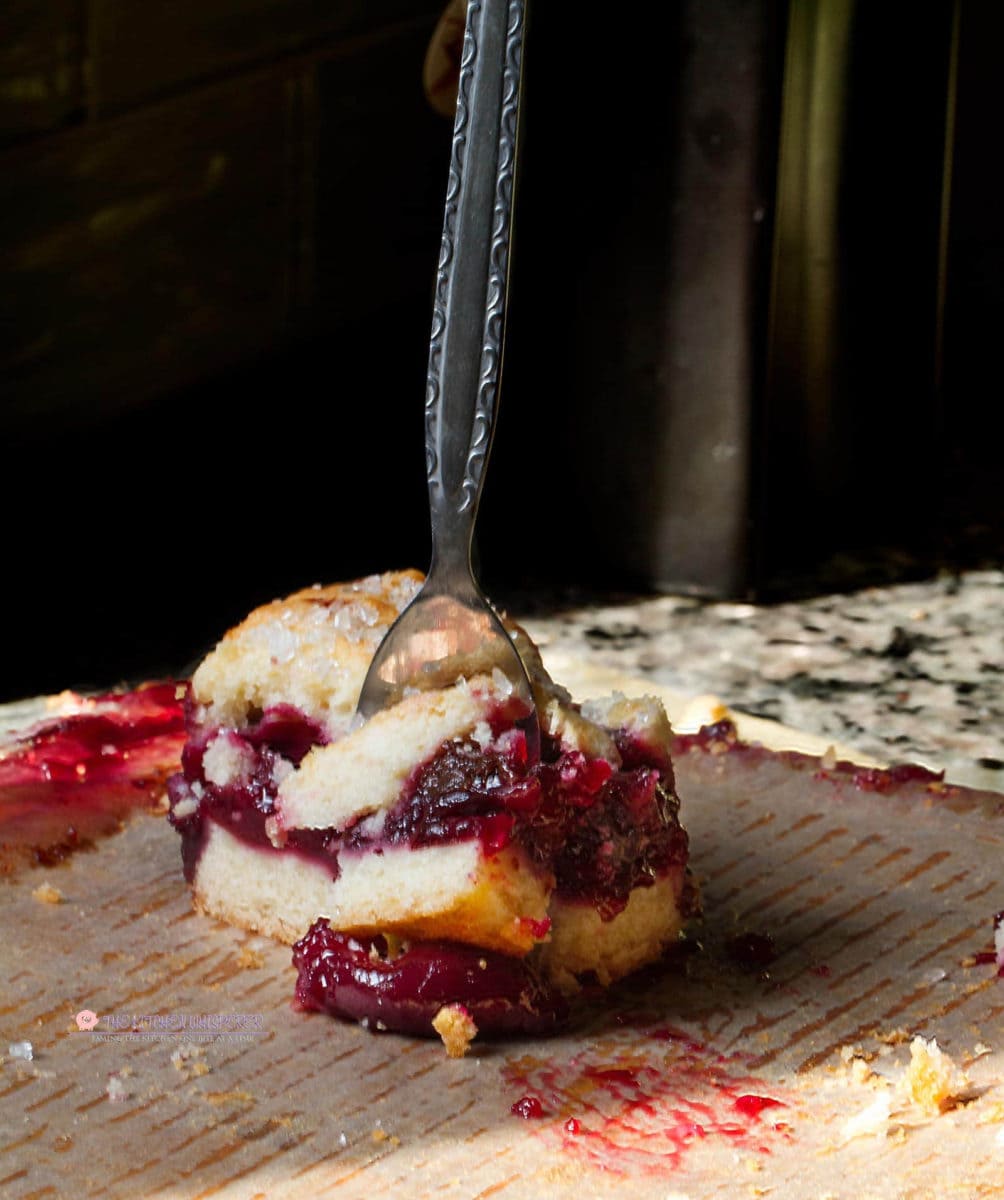
Storing Cherry Pie Bars
These cherry pie bars are easy to make, and easy to store.
Counter /Fridge
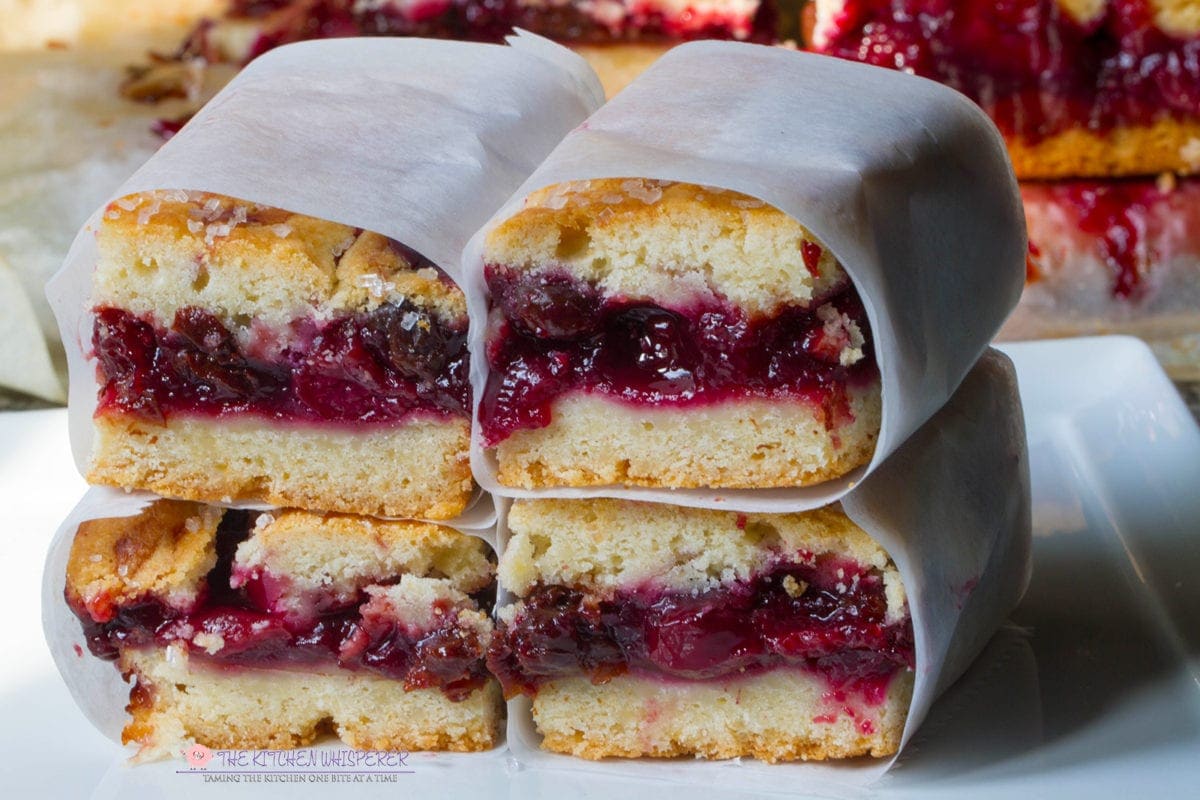
Wrap tightly and store either in the fridge or on the counter for up to 5 days.
Freezer
Slice, wrap in parchment or wax paper between the bars, and store in an airtight container in the freezer, or in an airtight freezer bag. They are good for up to a month or so in the freezer.
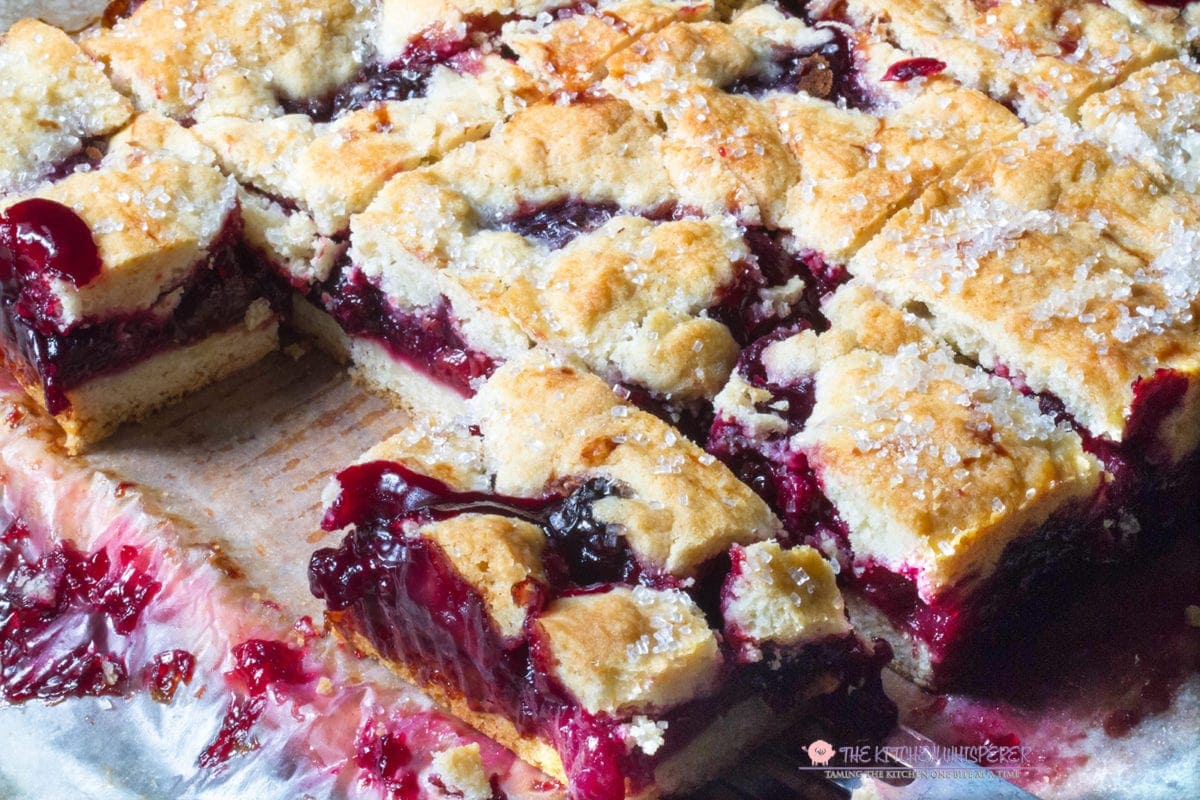
How to Serve these bars
- Sliced and Room temperature
- Warmed at 350 F topped with ice cream or whipped cream
- Straight from the fridge
…there’s really no wrong way to serve these. Heck you don’t even have to cut them if you don’t want to share! Just take a fork and dive in!
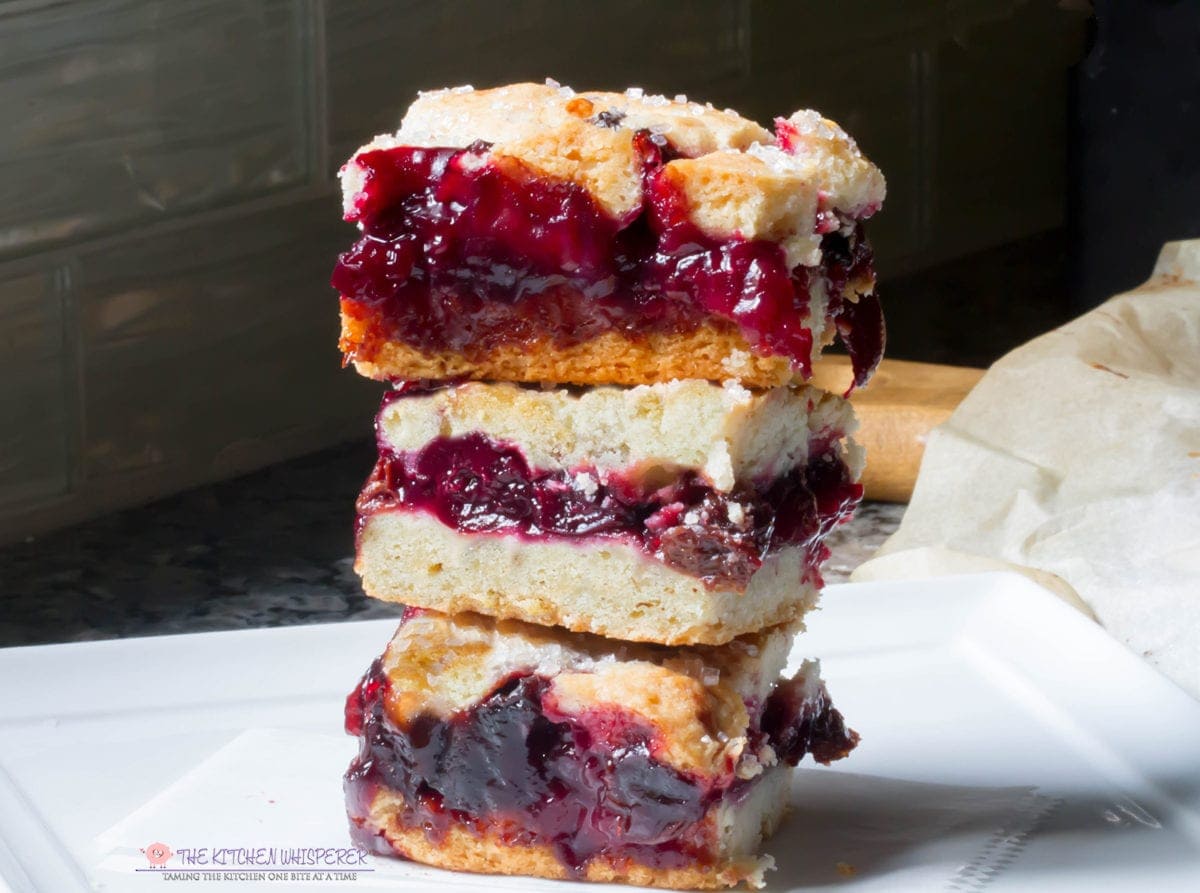
So with all of the pie fillings options out there, what flavor will you make?
PrintSuper Easy Cherry Pie Bars
These cherry pie bars are filled with cherryrific pie filling layered in a no-roll, cookie pie crust. Perfect for parties as you can hold a drink in one hand and a cherry pie bar in the other!
- Yield: 16
Ingredients
Shortbread Pie Crust
- 2 cups flour
- 1 teaspoon baking soda
- 1/4 teaspoon salt
- 2 sticks (16 tablespoon) unsalted butter, melted and slightly cooled
- 1/2 cup white sugar
- 1 XL egg, room temperature
- 2 teaspoon almond extract
- 3 tablespoon cream
Filling
- 4–5 cups Homemade Cherry Pie Filling (1 recipe portion)
Topping
- 2 tablespoon White Coarse Sanding Sugar
Instructions
- Preheat oven to 350 F, rack in the middle. Line an 8×8” pan with parchment leaving a 1” overhang. Set aside.
- In a bowl, stir flour, baking soda, salt and sugar together. In a separate bowl, whisk together the egg, almond extract, cream and butter.
- Pour the wet mixture into the flour and mix until the well moistened (like wet sand). Remove 1 cup of the mixture and set aside.
- Grab the pan, lightly spray and press remaining crust mixture into the bottom of the pan and bake for 10-12 minutes or until slightly golden brown.
- Remove the crust from the oven and spread the cherry pie filling evenly over the crust.
- Take the reserved crust topping and drop pieces over the pie filling. Don’t worry if it doesn’t cover the whole thing. Next sprinkle the coarse sanding sugar on top and put the pan back in the oven. topping over top and pop it back in the oven.
- Bake for 22-27 minutes or until the top crust is golden brown.
- Remove from the oven and allow to cool completely in the pan. ~2 hours
- Once completely cooled, grab the parchment overhang and pull the cherry pie bar out of the pan. Using a sharp knife, cut the pie into 16 slices.
- Store in an airtight container.






Leave a Reply