Fall is here and it’s the perfect weather for my Beef & Beer Texas-Style Chili! Loaded with beef tips, short ribs, bacon, beer and lots of rich chili spices, you’ll fall in love with this recipe!
Chili is one of those dishes that I absolutely love. It’s so versatile and honestly anything can go into a chili pot. It was always that dish Mom made weekly in the winter months when we were snowed in and couldn’t get to the store. She’d go with what she had on hand whether it was all meat, all veggies, a mixture of both or whatever else was accessible. Mom even put fresh fruit in it which, honestly peaches and pears in a super spicy chili (Mom was not well versed in spice-balancing), would help balance out the flavors. One thing she never strayed from was that her chili must always, ALWAYS contain Redpack Tomatoes! Mom was a true canned tomato snob. She wanted, no, demanded the best products for her recipes. And Mom was right, Redpack Tomatoes are the best!
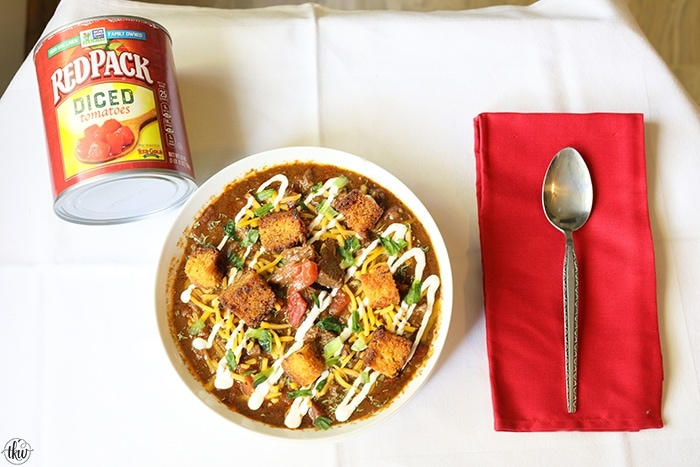
Mom knew that Redpack Tomatoes produces the highest-quality, freshest, best-tasting tomatoes. You can see the difference even when you open up the can! Their tomatoes are bright, red and bursting with freshness! Bright, red tomatoes in the can means that the tomatoes were picked at the peak of freshness! Redpack tomatoes and the rest of the Red Gold Brand family tomatoes are the only brand tomatoes I trust in my dishes!
Since fall is here, though at night it feels like full-blown winter, it’s all about comfort foods; foods that stick to your ribs and give you that food hug on the inside! Chili is my go-to cold weather comfort food. Now Mom, as I mentioned was one of those folks that always made chili. And if I’m being fully transparent here, it was ok. It wasn’t great but it was ok. Hers had huge chunks of peppers and onions and for those that know me, you know I totally hate that. It took me years to actually fall in love with cooked onions and red/orange peppers. However Mom never used those peppers, she only ever used green peppers and those I’m not a fan of. So I set out decades ago to create an awesome chili base that I could then adapt to the items I had on hand. “Red” chili always had 3 things in it: cinnamon, cocoa powder and Redpack Tomatoes. Anything else after that was just a bonus.
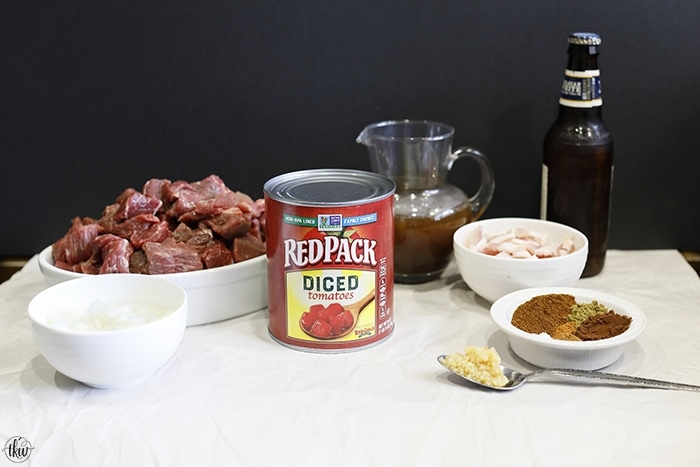
Care about your product! Non GMO verified!
With me as you know, quality matters. And call me old-fashioned but I want a company that I can trust and have faith in. Redpack is that company! If you look at the cans you’ll see the official Butterfly Logo on their cans. This means your family can trust that their family has taken the steps necessary to ensure your safety. This means that only the best, naturally derived ingredients go into their recipes. Their tomatoes are picked when they are absolutely vine ripe red thus eliminating the need to add artificial flavors, colors or preservatives in their cans.
Additionally, they’ve even taken further actions to ensure that your family is kept in mind. Their products are packed in non-BPA/BPS lined cans as well! Plus they are Certified Kosher, Sustainably Produced, Gluten Free, Made in the USA, Vegan, Cholesterol & Fat-Free and Allergy Friendly towards the 8 most common food allergies.
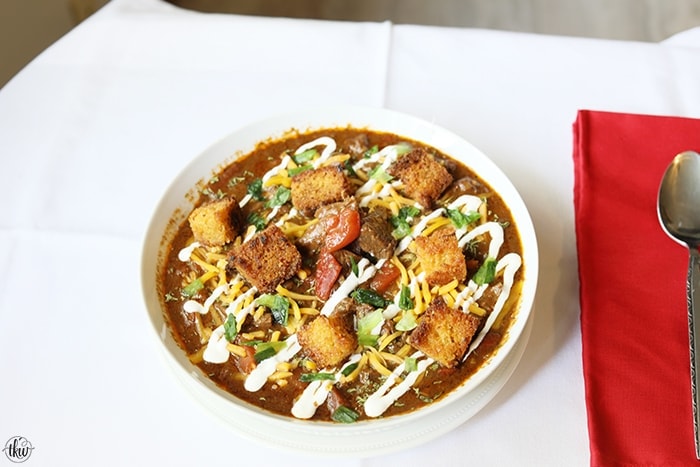
Beans vs No Beans
When it comes to chili there is a huge split amongst chili fans – beans vs no beans. Which side of the chili fence are you on? Are you a beans-in-your-chili fan or a get-those-beans-out-of-my-chili lover? I’ll be honest, I tend to prefer lots of beans in my chili but I wanted to make this a recipe challenge for me. Could I fall in love with a chili that had no beans in it? Beanless chili has a few names but most know it as “Texas-Style” chili. It’s hearty, thick, packed with meat, and absolutely zero beans. To create this beanless chili I wanted to go with quality ingredients that matched my Redpack Tomatoes. Since I did not want to use ground beef (because everyone uses that) I went to my freezer to see what other meats I had on hand. Since I was in the mindset of Texas-Style I started thinking about Texas, cowboys, cows, beef, steaks… you get the gist. I wanted to have real chunks of beef versus ground beef. In the freezer is where I found a chuck roast and a package of boneless beef short ribs. From having those meats a million times before I knew they would impart the most amount of flavor to the pot.
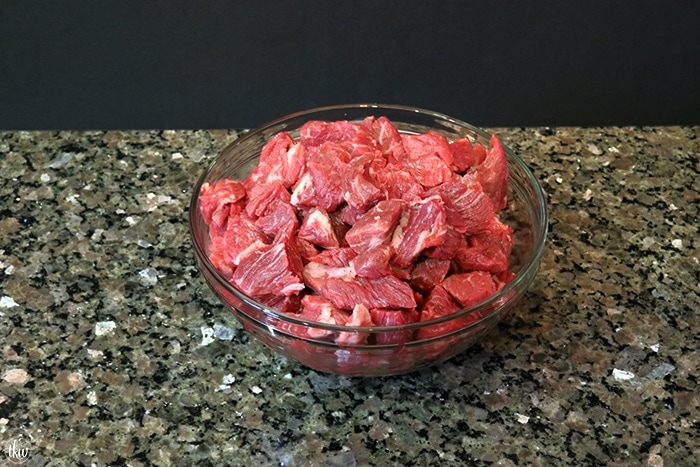
And since I was going full-on rough and rugged here, I knew I had to add beer and bacon to my chili pot. I mean, why wouldn’t I? Now this recipe is super easy and really only needs one pot. Since we’re all so busy I decided to create this recipe for a pressure cooker but you could totally make this in a crock pot or on the stove. The crockpot, after you browned your onions, bacon and meats, I would set to low for 6-8 hours or until the meat just falls apart. For the stovetop, go with 2-3 hours on low as you want that meat to just melt in your mouth. But let’s be honest here, most of us nowadays don’t have hours to set by the stove or kitchen while something cooks. We want speed without compromising flavor!
Hello pressure cooker!
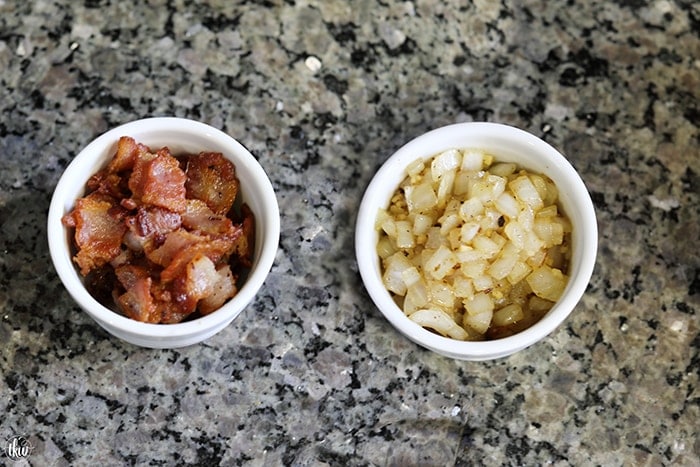
This recipe is crazy easy and took maybe 15-20 minutes to get chop, brown, saute and add to the pot before closing the lid. The biggest tip I need to share with you guys is when you add tomato products to a pressure cooker avoid stirring them in. Tomato products, along with any real high acidic item, you want to layer them on top. This way they flavors meld down into the ingredients below and you don’t risk that dreaded “burn” message on your pressure cooker. Exposing acidic items to high heat/temps can cause them to burn. However if you add them to the top and do not stir, you’re totally fine!
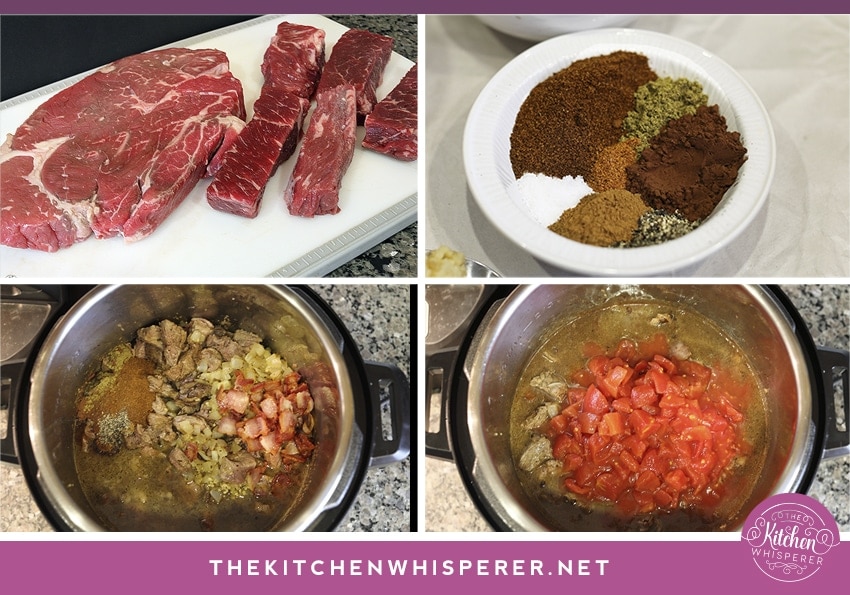
Since everything was made in the pressure cooker there really was little clean up. With a single piece of kitchen equipment I could:
- crisp up the bacon
- sauté the onions
- brown the meat
- deglaze the pressure cooker scraping up all of those good bits
- finally cook the layered ingredients
- have 45 minutes of free time to myself while the pot did the work for me!
While the chili was cooking I decided to whip up some cornbread croutons to top the chili with. I simply took some stale cornbread, cube it up, coated them with some olive oil and then toasted them in the oven for about 15-25 minutes at 400F until crisp and toasty.
Thickening the chili
Now unlike a crock pot or cooking this on the stove top, a pressure cooker locks in liquid therefore a chili in the pressure cooker never really thickens up. To fix this is totally a breeze! Once you remove the lid (safely) spoon out about a 1/4 cup of the liquid to a bowl (or if you have leftover beer you can use that). To that add in 2-3 tablespoon of Masa Harina (corn flour) and whisk. This mixture is then put into the pot, stirred in and the chili will thicken up. Just be gentle when stirring as you don’t want to break up the chunks of uber soft meat. I prefer to use the Masa as it lends a corn flavor undertone that adds another layer of flavor and complexity. 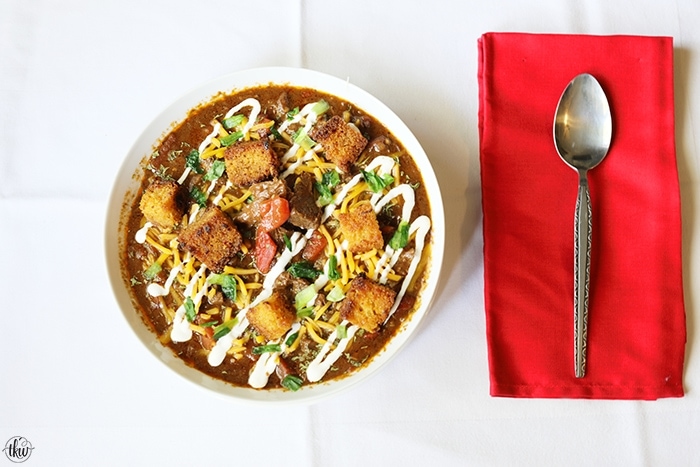
Could I make a beanless chili that I loved?
Absafreakingloutely! I didn’t miss the beans at all! This chili had so many layers of flavor was so complex that honestly, adding beans to it would have taken away from the incredible taste of the chili. Trust me, that’s hard for me to even say (er um.. type out) but it’s true! By deglazing with pot with the beer, it adds an almost caramelized note to the chili. The cinnamon and cocoa gave it an almost umami presence. The masa added such depth while the meats were just melt-in-your-mouth tender. The Redpack Tomatoes plus the addition of the Redpack Tomato paste truly is the key to what brought this recipe together! The fresh tomato taste just shined through not only give it texture but also great taste! It just married so perfectly well to the rest of the ingredients.
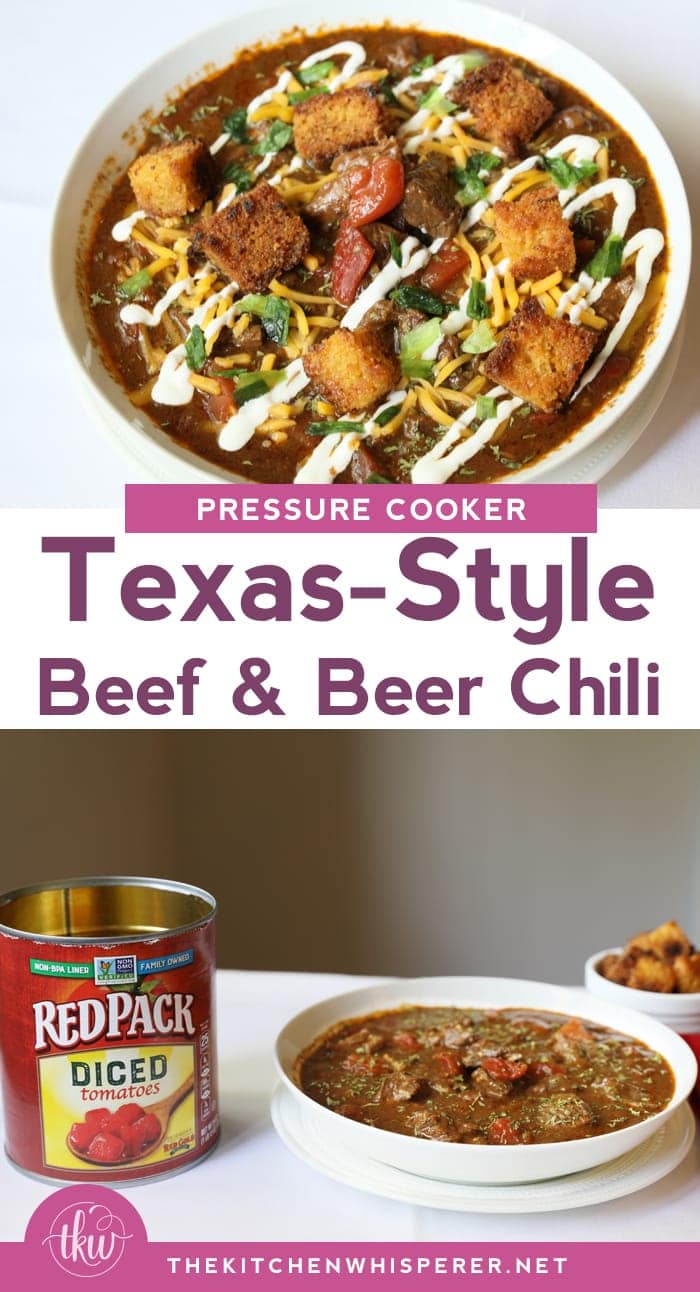
Make this recipe your go-to recipe for your favorite chili dish! I know it will be mine for sure!
This post is being sponsored by Redpack Tomatoes featuring their Diced Tomatoes. All opinions of these ABSOLUTELY AMAZING tomatoes are mine. Thank you for supporting the brands that I love!
PrintTexas-Style Beef & Beer Chili
Fall is here and it’s the perfect weather for my Beef & Beer Texas-Style Chili! Loaded with beef tips, short ribs, bacon, beer and lots of rich chili spices, you’ll fall in love with this recipe!
Ingredients
Chili
- 1 28 ounce can Redpack Tomatoes Diced Tomatoes
- 4 thick slices of bacon, chopped
- 3 pounds chuck roast, cut into cubes
- 1 1/2 pounds boneless beef short ribs, cut into cubes
- 1 cup chopped yellow onion
- 1 tablespoon minced garlic
- 8 ounces of wheat beer (or any dark beer)
- 1 1/2 cups beef stock
- 2 tablespoon Redpack Tomatoes Tomato Paste
- 4 tablespoon chili powder
- 1 1/2 tablespoon cumin
- 3/4 teaspoon cayenne
- 1 tablespoon cocoa powder
- 1/2 teaspoon cinnamon
- 2 tablespoon Adobo (use less if you want less heat)
- 2 tablespoon olive oil
- 2–3 tablespoon Masa Harina (depending on thickness preference)
Toppings
- Crema/sour cream
- Chopped green onions
- Cornbread Croutons
Instructions
- Set an 8 quart pressure cooker to sauté/brown function. To the bottom of the pan add the chopped bacon. Cook for a few minutes each side until crispy. Remove from the pan and place on paper towels. Add in the meat a little at a time as you do not want to layer or crowd the pan. Cook for 3-5 minutes or until browned on all sides. Repeat until all the meat is sautéed. If necessary, add the 2 tablespoon of oil. When the meat is all browned add in the chopped onion and cook for 5 minutes, carefully moving around. Add in the garlic, stir and sauté for 2 minutes.
- Pour in the beer and, using a wooden spoon, carefully scrape up the brown bits at the bottom of the pan. The pan should be smooth and no bits remaining on the bottom before adding the ingredients. This should take ~2 minutes.
- To the beer add in the browned meat, bacon, onions/garlic, spices, stock, tomato paste and entire can of Redpack Tomatoes Diced Tomatoes. Do not stir. Place the lid on, seal and set the pressure cooker to High, 30 minutes. Once the 30 minutes is done, allow the pressure to do release naturally for 15 minutes.
- Carefully remove the lid and spoon out 1/2 cup of the chili liquid to a bowl and add the Masa Harina. Whisk to combine. Add the mixture to the chili and carefully stir to help thicken. *Note if you started with a 12 ounce bottle of beer you can totally use the 4 ounces of beer with 4 ounces of chili liquid here.
- Plate the chili and top with favorite toppings. Store in the fridge in an airtight container for 5-7 days or freeze for up to 2 months.





Leave a Reply