Sourdough It Up! with Red Star Yeast and learn master pizzaiolo techniques to make an amazing sourdough hand-tossed pizza at home!
This post is being sponsored by Red Star featuring their Platinum Instant Sourdough Yeast As always, all opinions my own. Thank you for supporting partnerships with brands I trust and believe in.
Whether you’re brand new to my blog or have been with me for years, 2 things are pretty evident:
- I absolutely LOVE Red Star and will only use their yeasts in my doughs.
- Pizza is considered a food group in my world.
I literally have homemade pizza in some fashion every single day. Nowadays folks want to cook like the pros and use what they use. Well today, along with the help of some friends I’m going to share some tricks of the trade. After this post, you’ll be slinging pies better than your local shop! So let’s get started!

But first I NEED to tell you about my sponsor and a baking breakthrough!
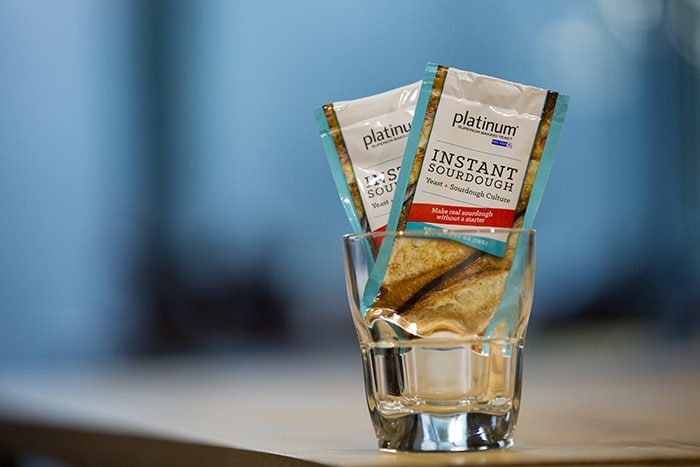
My family and I have been brand loyal to Red Star for decades. Their superior quality stands the test of time and is a brand I trust from both a home baker setting to a commercial chef environment. From my various pizza recipes to my bread recipes, they are all I use. A week or so ago they had me and a few other bloggers get together to help kick off the launch of their brand new Platinum Instant Sourdough Yeast!
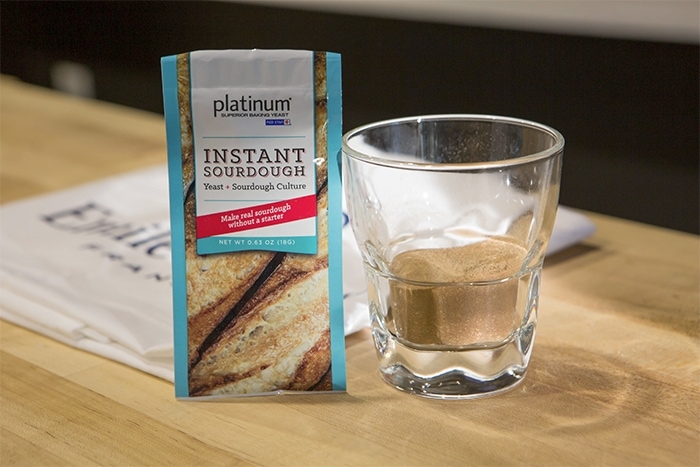
Now if you recall, I did a full blog series years ago on making your own sourdough starter. This is great for folks that have the time to take care of the starter and the discard. But let’s be honest, not everyone has the time (or patience) to feed or tend to their starter to keep it alive. I’ve killed a few in my life simply because I forgot about it. Now, thanks to Red Star, I can use their new Platinum Instant Sourdough Yeast and get the flavor of an authentic sourdough culture – thanks to the convenience of yeast! No longer do you have to mess with temperamental starters! *note, this yeast is not intended for use in a recipe that uses a traditional sourdough starter.

Guys, this is HUGE in the world of bread, dough and pizza making!
Speaking of pizza, Pizza Pro Dough Tips
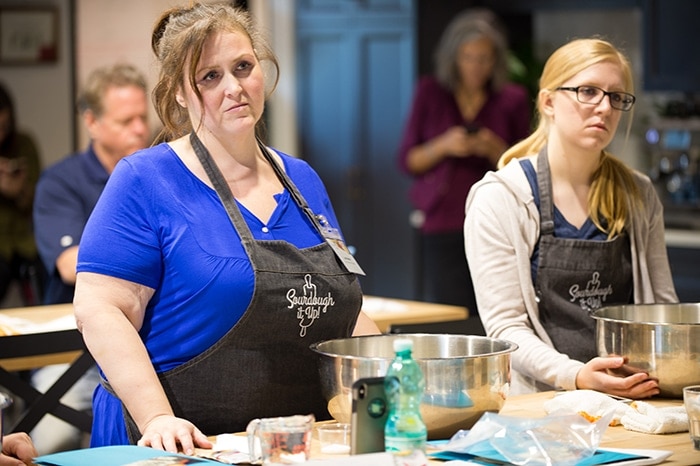
So back to their product kickoff. I attended a Pizzaioli Masterclass at the North American Pizza and Culinary Academy with Master Pizzaioli, Leo Spirrizzi to help show how this amazing new yeast worked in a pizza dough recipe. For me, meeting Leo and learning from him was a bucket list item. I don’t think I stopped smiling the whole time I was there.

During our masterclass, Leo shared his tips of the trade to make an amazing homemade pizza from scratch.
- Flour – when making pizza you want to use high gluten flour. The preferred flour is a 00 flour which means it’s milled to the smallest and that most of the bran and germ have been removed. If you run your fingers through it, it will feel silk-like.
- Water – If you do not have “good” tap water, use distilled water – not bottled water. What he means by “good” tap water is water that is not heavily full of chemicals or chlorinated. Bottled water, while delicious to drink often contains softening agents that can alter the dough and cause it to not set or work properly. If you’re not sure about your tap water, you can just use a test strip and check the Ph level. It should be ~6.5-6.8.
- Oil – use high-quality olive oil.
- Sea Salt – Your sea salt should taste almost like the ocean. This little ingredient will truly elevate your dough flavor profile to the next level!
- Yeast – Only use Red Star. Whether it’s their Platinum Instant Yeast or their new Platinum Instant Sourdough Yeast, use those!
- Pizza Stone – Use 2 Emile Henry Baking stones in your oven. Place one rack on the lower third with a pizza stone there and another rack on the upper section with the other pizza stone on that rack. You’re essentially now trapping and controlling the heat between the 2 stones, where your pizza cooks!
Pizza dough by hand – no mixer required!
As you can see below, Leo uses a wooden dough box. In all of my years of making pizza, I have never seen this. It intrigued me, to be honest. Most of us are used to either making the dough in a stand mixer or in a large bowl by hand but never a wooden box. The reason he does this as that’s how the Italian masters have done it. The purpose behind the box is that the wood removes the moistness from the bottom of the dough which results in a pizza being more crisper. Once the dough is made and shaped, it’s then put into a plastic bin.
As Leo walked us through the session, he shared several secret tricks that anyone can use to make the perfect hand-tossed pizza at home!
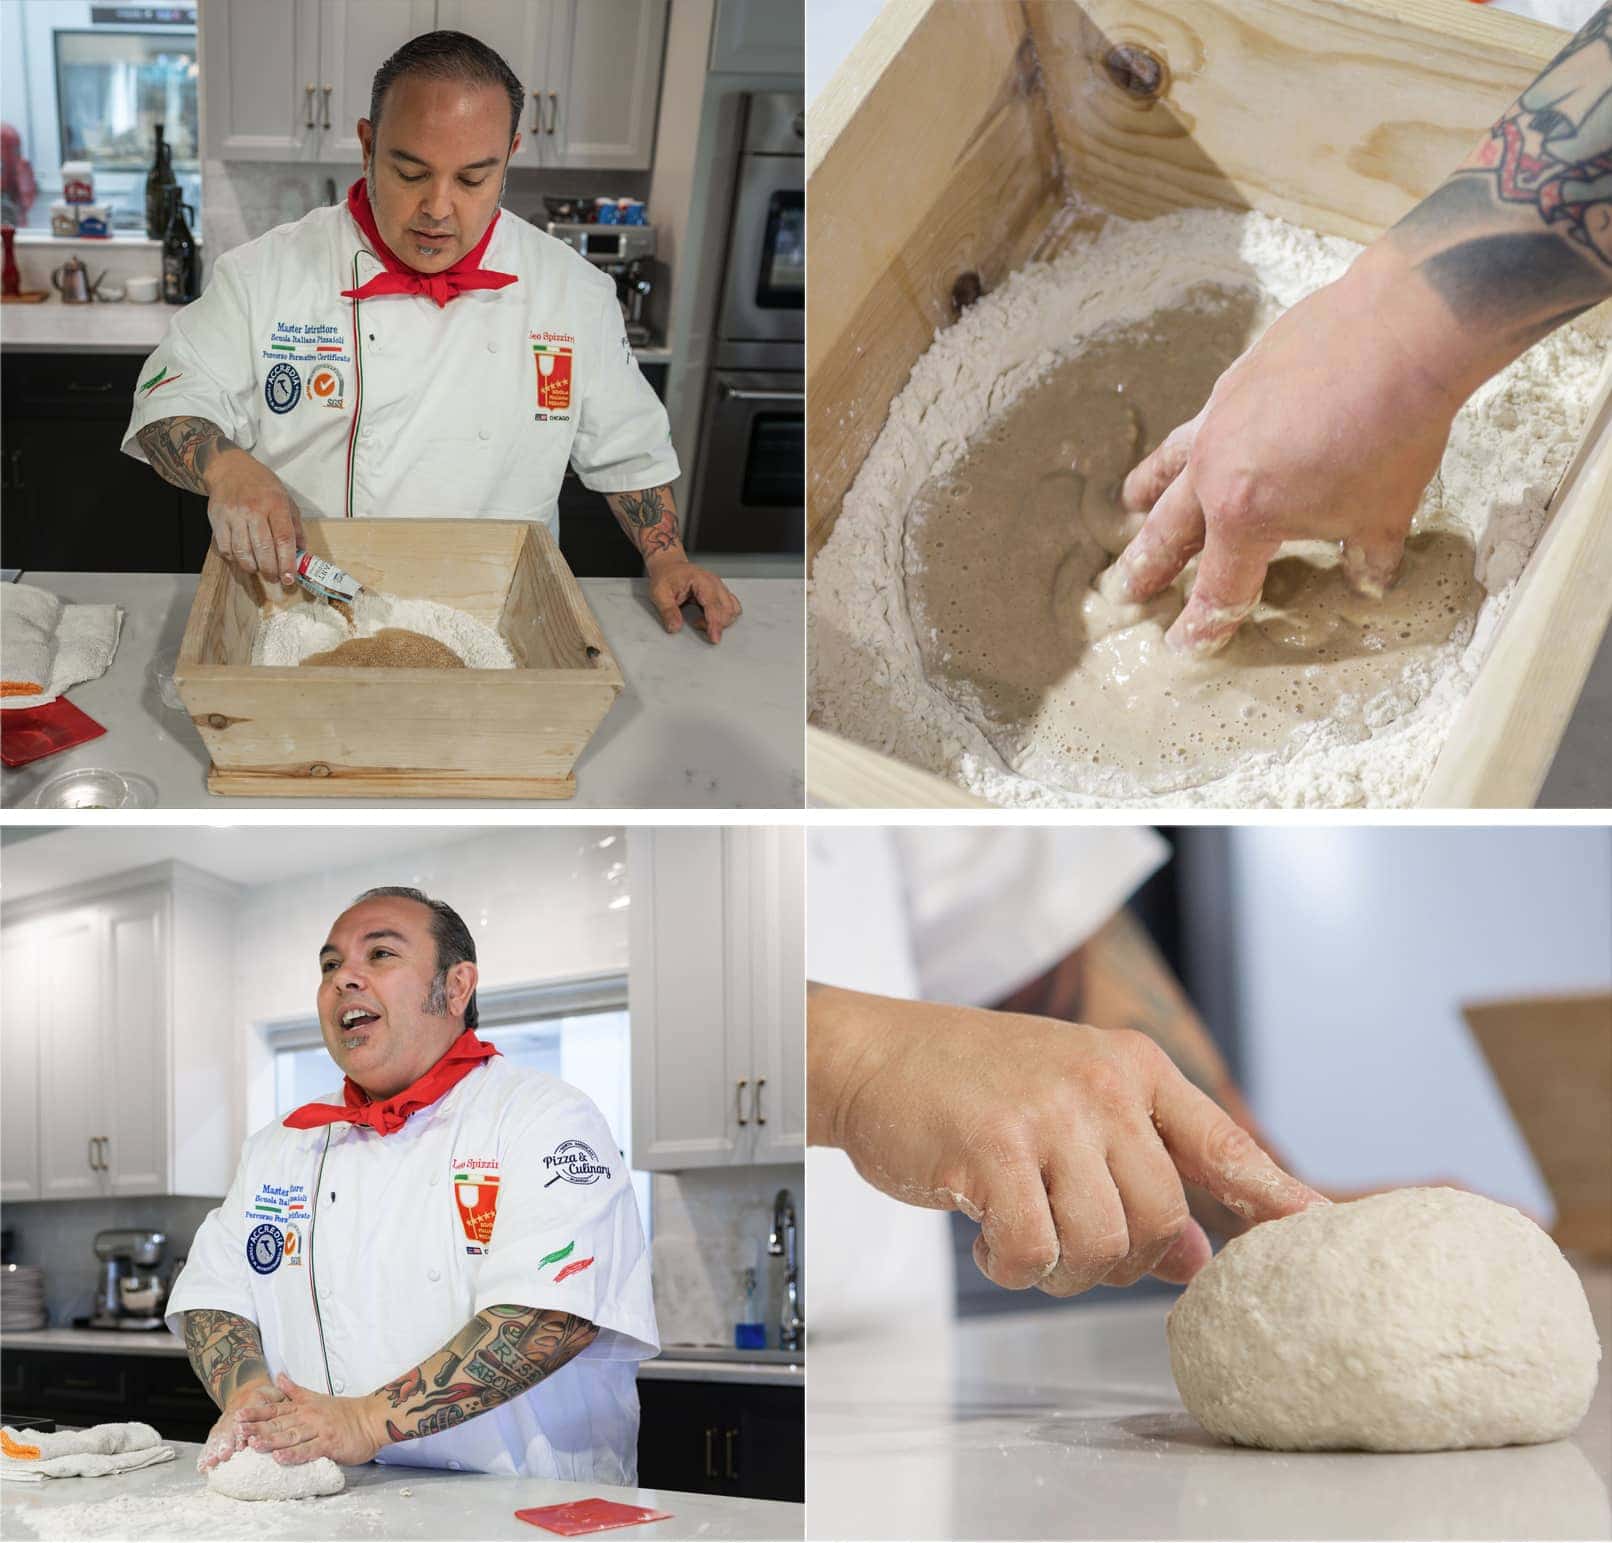
- In a large bowl or wooden pizza box, add the flour. Make a well.
- To that add in the water but only to the well. You want to keep the sides intact.
- Next, sprinkle the Platinum Instant Sourdough Yeast, overtop the water and, forming your fingers like a claw, stir the water and yeast mixture gently slowly bringing in flour to make a thick paste. It should be the consistency of thick pancake batter.
- Keep mixing with your claw fingers until you have a shaggy/sticky dough and almost all of the flour is incorporated. Next drizzle in the olive oil and stir, knead gently until all of the oil is incorporated.
- Add the sea salt and gently knead to bring the dough together.
- Dump the ingredients out onto a lightly floured board and continue to knead until you get a dough ball shape and all of the shaggy bits are incorporated. This should be semi-smooth.
- Take your mixing bowl and turn it upside down and place it over top of the dough ball. Let it rest for 20 minutes. By doing this, you’re allowing the gluten to relax.
- After 20 minutes, remove the lid and you’ll see a smooth dough that is more elastic. Roll/knead it for a minute or two and divide.
- Portion it up into 2-3 balls, cover, and refrigerate. Use within 2 days or place in the freezer.
Yes, homemade pizza dough is THAT EASY!
Platinum Instant Sourdough is real sourdough made real simple
While there the folks educated us not only on the history of Red Star but also explained how this yeast is to be used. And folks, it couldn’t be any easier!
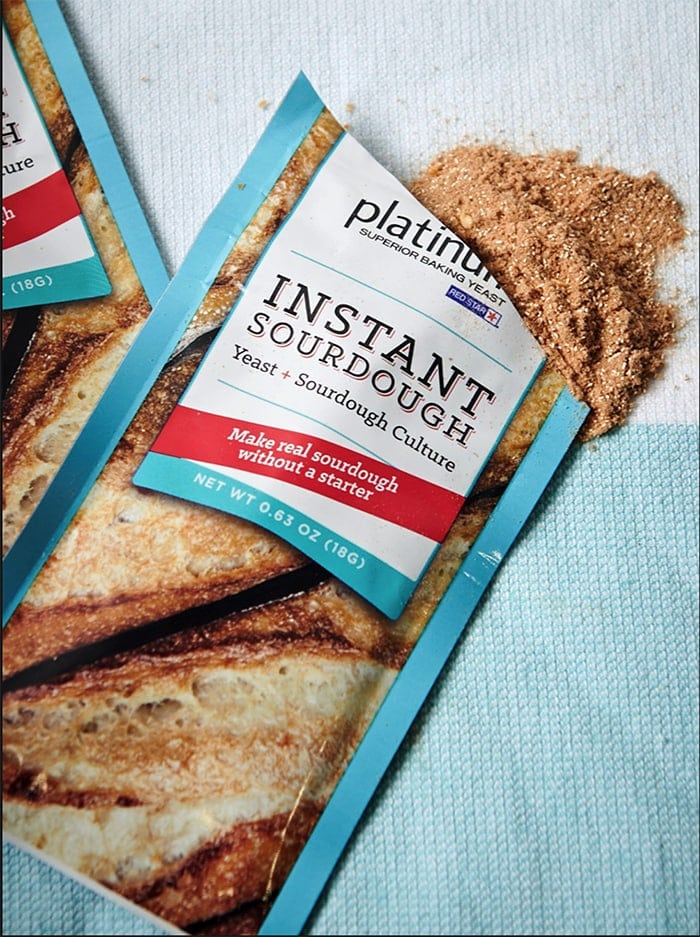
- Simply substitute one packet of Platinum® Instant Sourdough for one 1/4 oz packet of any dry yeast in any recipe. Use in any of your favorite yeast recipes to Sourdough It Up! It’s literally a 1:1 swap!
- Blend Platinum® Instant Sourdough with dry ingredients. Add very warm liquids (120- 130°F). Avoid liquids that are too hot to touch.
- Now you’ll notice that the packet size of the Platinum Sourdough yeast is 18 grams where their Platinum Instant yeast is 7 grams. Since the Sourdough packet contains a blend of yeast and sourdough starter, only full packets of Platinum Instant Sourdough should be used in recipes. It’ll look like a lot but it’s both yeast and real rye-based sourdough starter (dried) mixed.
Our friendly Pizza Competition
While there we had a friendly pizza competition amongst the bloggers. The 3 categories were Best Tasting, Most Creative and Most Instagrammable
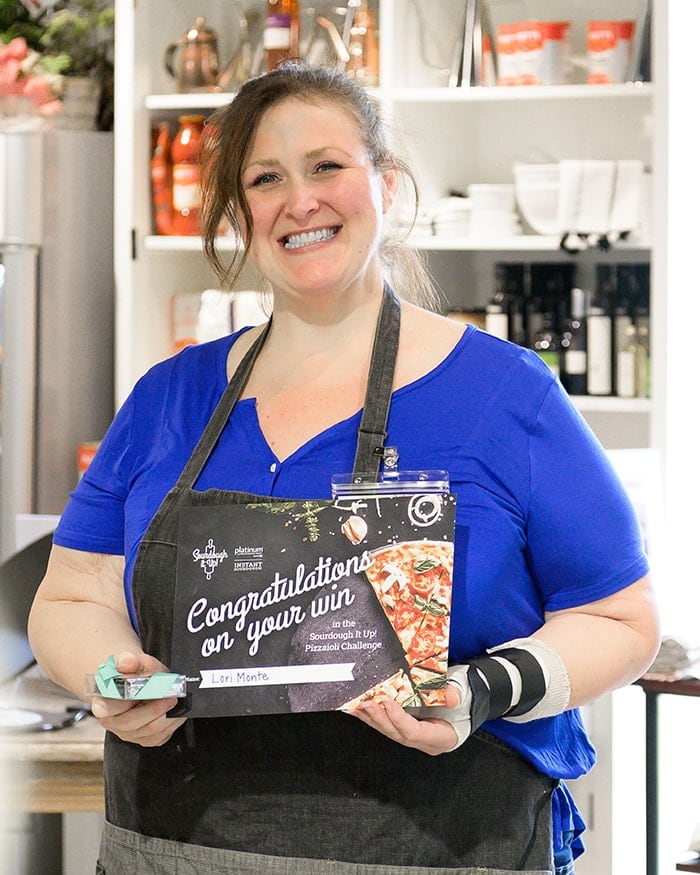
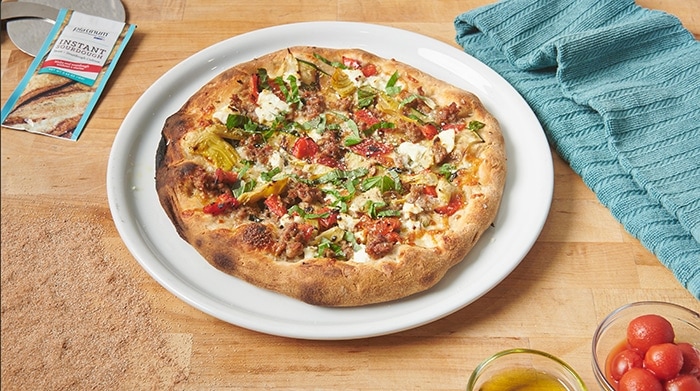
I created “A Taste of Tuscany” pizza. A simple drizzle of olive oil topped with sweet Italian sausage, artichoke hearts, roasted red peppers, grilled zucchini, whole milk mozzarella, ricotta, and fresh basil. When it was done I drizzled it with a tad more olive oil, sprinkled on some herbs and chili flakes. Now as you can see I was (still am) in a cast so thankfully I had help with my pizza as I only have use of the one hand. (TY to my fellow bloggers for helping me!)
As you can see me, Jule from A taste of Lizzy T and Kristin from Baker Bettie won. Mine won Most Instagrammable.

$500 Baking Prize Package Sweepstakes from Red Star Yeast
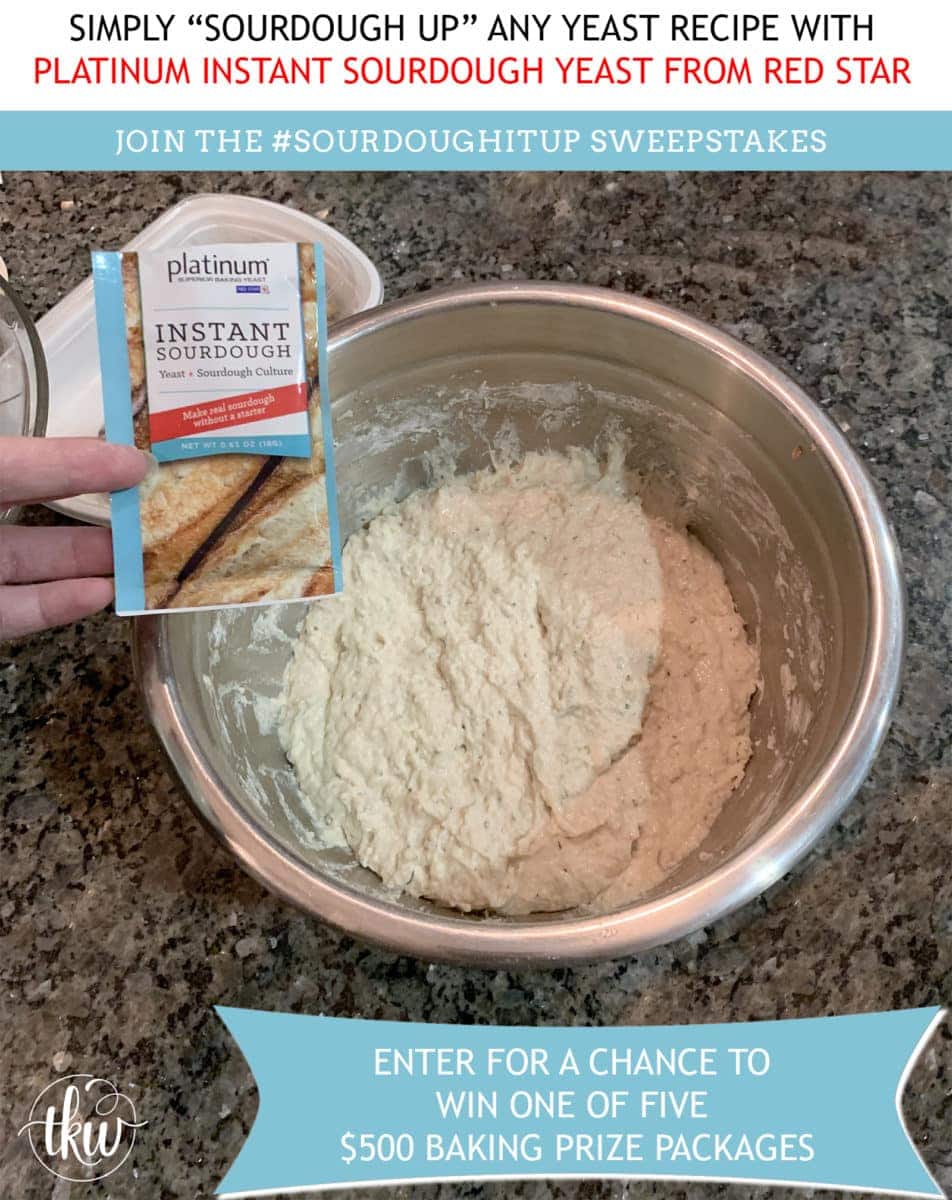
Now that you’re ready to make homemade sourdough pizza, how about little sweepstakes to help you Sourdough It Up with a $500 baking prize package?
- Use Platinum Instant Sourdough from Red Star to “sourdough up” your favorite yeast recipe
- Take a photo of your final baked product that includes a packet of Platinum Instant Sourdough Yeast
- Share your photo on Instagram using the hashtags #SourdoughItUp and tag @RedStarYeast in the picture. *This is on Instagram ONLY
- The photo must be shared on a public Instagram account
To request a free sample, while supplies last, click the link and scroll to the bottom of the page. *Please mention that you found out about this from me, The Kitchen Whisperer when you request your sample!
However, due to high demand, you may wish to purchase this in the store to enter the contest as you may not get the sample in time.
Sourdough Pizza at home
- When you make pizza at home, NEVER EVER USE A ROLLING PIN. Period… ever! If you do you’re losing all of those bubbles of trapped air gasses that, when you bake the pizza, make it rise and gives it that light and airy crust.
- Use what’s called a “Bench Flour” combination on your counter and pizza peel. Bench flour is 80% 00 flour or bread flour and 20% semolina flour mixed together. If you use straight flour, your dough will have a harder time sliding off of the pizza peel and you’ll get more of a burnt flour taste on the crust.
- Shape the dough leaving the rim or cornicione untouched. You will start from the middle of the dough and push towards the edge, pressing down and around. By doing this you’re pushing the air to the crust but still, keep it in the pizza dough. *If you get a hole, don’t panic. Simply squeeze the hold together and close it up. Don’t stretch your dough super thin either. It will be thin and light will shine through (called the windowpane effect) but the dough is still strong.
- Once you have your 10-12″ shape, place it on a pizza peel coated with your bench flour. If need be, you can adjust the shape.
- Add the sauce and toppings. Less is more! This type of pizza requires restraint and while I know you want 5 pounds of cheese and 42 toppings, stop.
- Right before you’re ready to put it into the oven, give the pizza peel a shimmy back and forth to see if the dough moves easily. If it doesn’t, just add a tad more bench flour under the dough. You may have to fix the shape but that only takes a second.
- To get the pizza off of the peel easily and onto the stone, place the tip of your peel at the back of the stone and pull the peel towards you while having the pizza slide onto the stone.
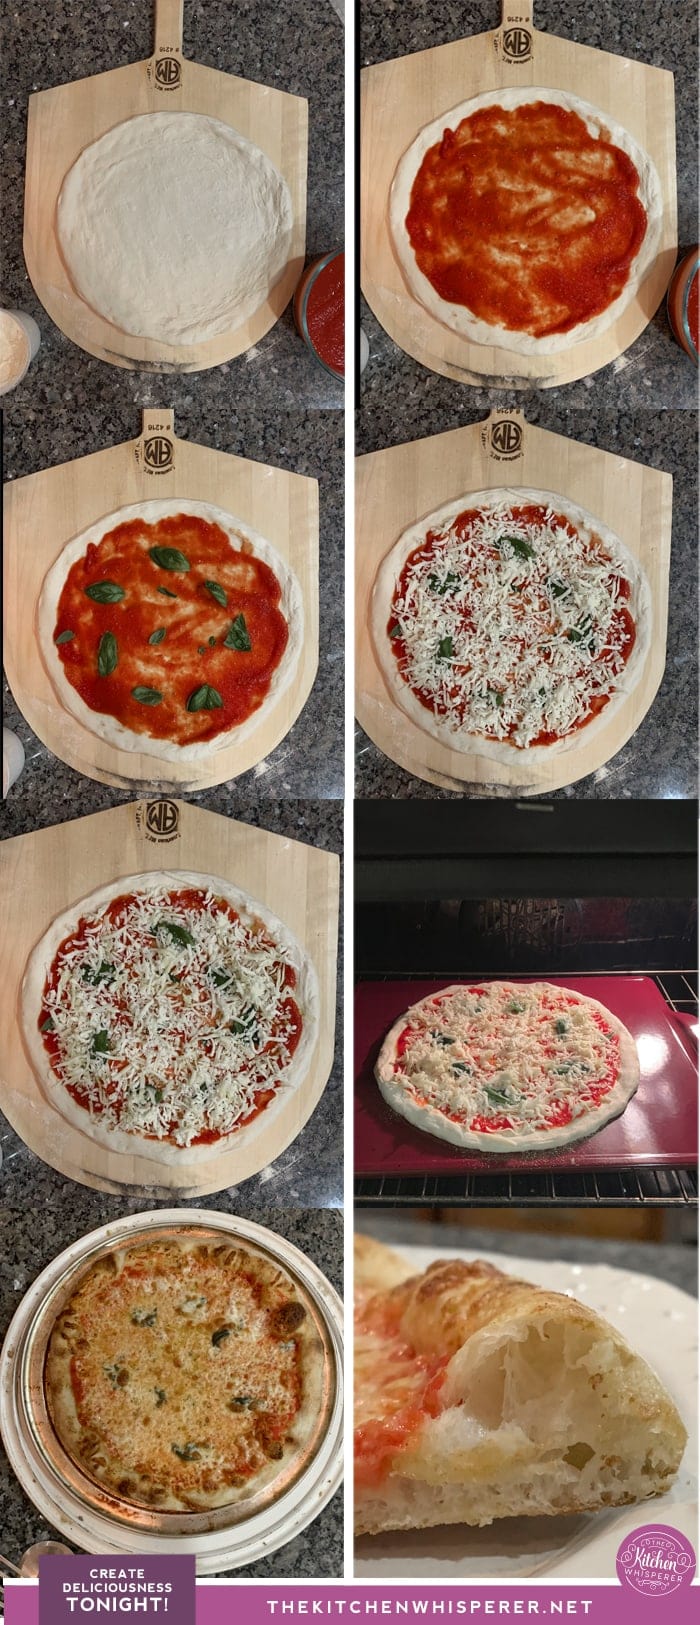
As you know, I make pizza weekly. And since coming home from this master class, my family has had me make pizza every single day! This pizza is that good!
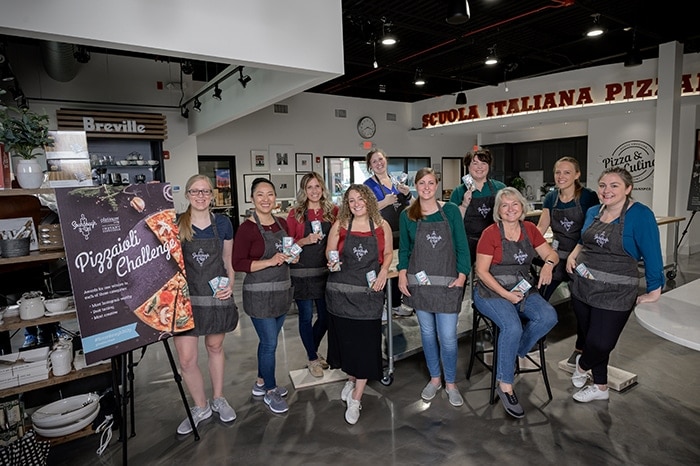
The Sourdough Launch Crew
I seriously had the best time ever! I cannot wait to go back to the NAPCA with Leo, Anthony, and Renee. It honestly, felt like home there. If you’re local to Chicago or want to get a group of foodie friends together for an amazing experience then I definitely recommend the Pizza & Culinary Academy!

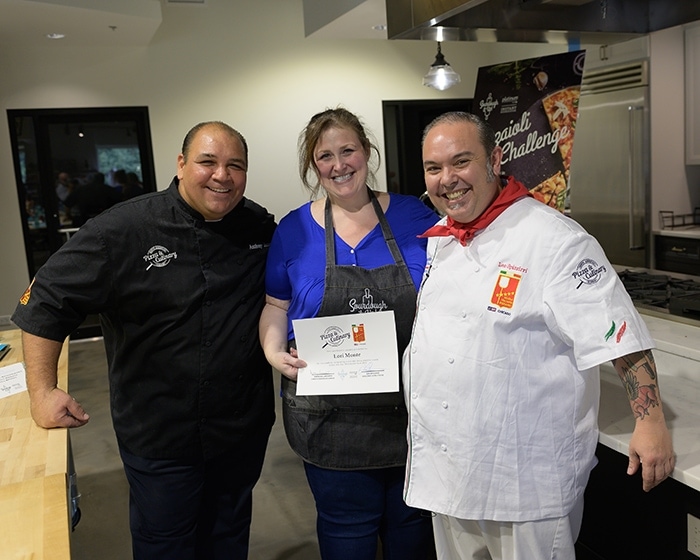
Now if you’ll excuse me, I need to go make another pizza and work on my contest entries for the Sourdough It Up! Sweepstakes!
PrintPerfect Homemade Hand-Tossed Sourdough Pizza
Sourdough It Up! with Red Star Yeast and learn master pizzaiolo techniques to make the perfect homemade hand-tossed sourdough pizza!
Ingredients
- 450 grams bread flour, or Napolitana 00 flour
- 250 grams of water (cold or room temperature)
- 1 packet (18 grams) Red Star Platinum Instant Sourdough Yeast
- 10 grams extra virgin olive oil
- 12 grams of coarse sea salt
- 1/4–1/2 cup pizza sauce *see note
- 6–10 basil leaves
- 2 cups whole milk mozzarella, freshly shredded
Instructions
To make the pizza dough
- In a large bowl, add the flour and make a big well in the middle. Pour all the water into the well leaving the side intact.
- Sprinkle the yeast over the water. Form a claw with your hand and stir the yeast and water mixture, slowly incorporating the flour into the wet mixture and creating a thicker paste (think thick pancake batter). Slowly start to draw in a little bit of flour from the walls of the well until you have a shaggy dough. Next, drizzle in the olive oil and mix until you have a thick dough. once all of the oil is incorporated, add the salt and knead to bring the dough combined.
- Flip the dough out onto a very lightly floured board and knead, using the shagging bits of dough to help make a dough ball. The dough should be all incorporated and semi-smooth. Place your mixing bowl on top of the dough, covering it an let it rest for 20 minutes. After 20 minutes, your dough will have a shiny, more relaxed look and feel to it. Divide the dough into 2-3 equal parts and shape into smooth balls. Place the dough balls on a tray and cover with plastic wrap. Or you may place in a plastic container with a lid or ziplock bags.
- Refrigerate for at least 12 hours or up to 2 days. (You can also freeze it for up to 2 weeks. Double wrap in plastic wrap and place in a freezer container. Transfer the frozen dough into the fridge the night before.)
Heating things up
- Place one rack on the lower third of your oven. On that place a pizza stone. It’s recommended you use 2 when you bake pizza. Place another rack on the upper ledge and place the 2nd pizza stone there. Set the oven to 550F.
- Remove your dough from the fridge 1 hour before baking.
Stretch the dough
- With a mixture of 80% flour and 20% semolina, dust the counter with a little bit of “bench flour” and place the dough ball. Using the pads of your fingertips, start in the middle of the dough and gently pat and out the dough towards the top leaving what’s called the ‘cornicione’ or raised rim of the pizza. You’re pushing the air towards the top edge leaving about a 1/4-1/2″ rim. This what will puff up and give you that airy crust.
- Next, flip the dough over and put the side that you already pressed closest to you. Repeat the above process by pressing forward until you reach the border, leaving dimples all over. Flip and continue gently pushing the dough forward and out though try not to get the dough thin in the middle. Once the middle is big enough for you to put on your knuckles, gently start to stretch the dough outwards leaving the middle alone and working outwards to the edges but not touching the rim.
- If the dough gets sticky, stick 2 fingers in your bench flour and lightly sprinkle on. You do not want to over flour the dough otherwise it’ll get tough. If you get a hole, it’s ok. Just put the dough back on the counter and pinch the hole back together.
Bake the pizza
- On a pizza peel, sprinkle it with bench flour. You will need it to help slide the pizza off. Place your stretched pizza dough.
- Gently spoon on some sauce, add basil leaves and mozzarella. Give the peel a shake. If the dough slides you’re good to slide it onto the pizza stone. If it doesn’t move, gently pick up the sides and add a bit more bench flour underneath.
- Working quickly, open the oven door and set the tip of the pizza peel near the back of the stone. Pull the pizza peel toward you, letting the pizza slide onto the stone. Quickly close the door.
- Bake your pizza for 6-7 minutes, turning halfway through baking using the pizza peel
Serve
- Remove the pizza from the oven and place on a pizza pan or a large cutting board. To finish drizzle eith some olive oil and freshly grated pecorrina romano.
Notes
Simple, Classic fresh sauce
- 1 28 ounces whole peeled tomatoes (Leo uses Mutti Pomodoro)
- 1 teaspoon sea salt
- Using a food mill, process the tomatoes to get the pulp and juice but leaving the fibers behind. Stir in the salt and use within 2 days or freeze for later use.




Leave a Reply