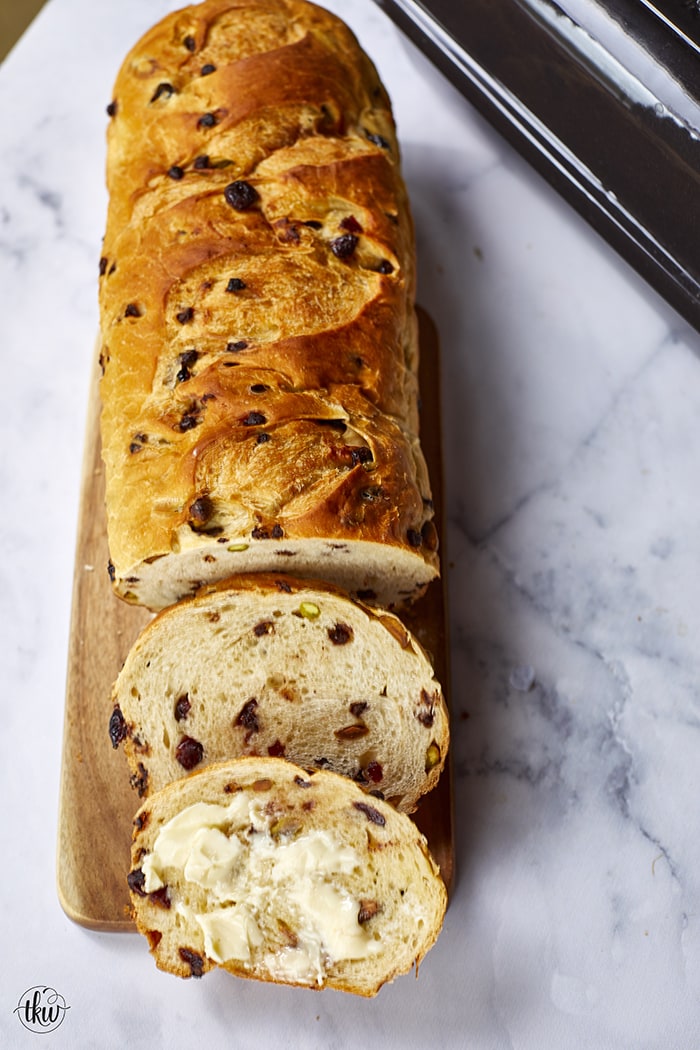
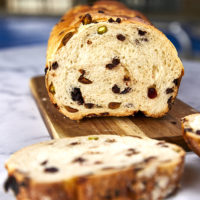
This Artisan Cranberry Pistachio Chocolate Chip Bread is a bread lover’s dream! Slightly sweet & salty that’s perfect for morning toast or one amazing sandwich. Bakery style bread from scratch!
This post is being sponsored by my friends at Emile Henry USA and Red Star Yeast! As always, all opinions my own. Thank you for supporting partnerships with brands I trust and believe in.
My earliest cooking/baking memory was when I was 3 years old wandering out to the kitchen in my white and blue flowered nightgown, dragging my teddy bear in tow.
Every Sunday Mom made homemade bread for the family and neighbors. She would start between 5:30 and 6 am and bake until noon. She would turn out dozens of loaves of bread and rolls to share with anyone that wanted some.
I crawled up on the kitchen table begging my Mom to let me help just once. That was “old enough“. This one particular morning she got me settled on the one end of the table with my breadboard and flour.
And that’s when she gave me my very own rolling pin. It was maybe 6” long, red handles and a light wooden rod. I can remember squealing in excitement and Mom shushing me to keep it down to not wake up the rest of the family.
That morning she took her time and showed me how to make her famous dough from start to finish. From working with yeast, types of flour, and baking bread from scratch.
Mom didn’t use a mixer. Nope, she made it all by hand. Of course, I didn’t pick it up right away. I was so excited with the new rolling pin that I rolled everything with it – dough, flour, the cats… lol
But every Sunday, like clockwork I’d wander out to the kitchen, climb up on the table and help make the dough. Eventually, I got better with more practice and finally was able to take some of the load off of her.
Guys my Mom was an AMAZING bread baker and teacher. God, I miss her but every time I’m in the kitchen I still feel her with me guiding me on what to do.
Working with yeast – no fears, you got this!
One of the most comment comments I get when I ask why folks don’t make homemade bread at home is that they are afraid of it. They are afraid to work with yeast or aren’t sure the techniques. Well, that’s where I’m here to help you.
Baking bread, rolls, and doughs is something I honestly find truly cathartic. It’s relaxing albeit using the stand mixer or kneading the dough by hand. Because I use only Red Star Yeasts (99.9% of the time it’s their Platinum), it’s pretty foolproof.
- Store your yeast in a dark, cool area. I tend to store mine in the fridge or the freezer for extended storage.
- When adding it, add it to very warm liquids (!20-130F). You don’t want to add it to boiling or super hot waters as you will kill the yeast.
- With the Platinum yeast, you don’t even have to let it proof first – like how I added it in this recipe. Proofing yeast is used more for dry active yeast. Because I use the Instant Active Dry yeast, there’s no proofing involved.
- To Proof, active dry yeast, place a portion of the warm liquid in a bowl and add the yeast. Give it a little stir and let it sit for 1-5 minutes or until the yeast is completely dissolved. It should bubble up and “bloom”.
- If, after 5 minutes the yeast isn’t bloomed then your yeast is old (expiration dates matter here!) or the liquid you used is too hot
Now before I got any further into the recipe I NEED to tell you about this AMAZING giveaway!!!
Let’s Bake Bread Giveaway!
Guys I am SOOOOOOOOO excited to announce this amazing giveaway sponsored by my friends at Emile Henry USA and Red Star Yeast! As you know I use Red Star Yeast exclusively in my dough recipes. They simply are THE BEST!
When it comes to baking my pizzas, my various types of bread, pies, and pizza stones (which double as an awesome charcuterie board!). I swear by Emile Henry. Founded in 1850, each item is made with Burgundy clay.
This special, regional clay is what helps your food to cook more evenly. It has superior heat retention which keeps food hot.
I met some of the amazing folks from Emile this past October and learned some new incredible facts.
Their products are direct freezer-to-oven. What this means is you could take a frozen pie straight from the freezer and put it into the hot oven. Because of the clay and way they are designed, they exhibit incredible thermal shock properties!
But hold that thought… I’ll post all the juicy details about how to enter to win one of these INCREDIBLE items:
For now, let’s get back to making this incredible bread!
Bakery-Style Bread at home – yes, you can do it!
Feel good about working with yeast? You should. It’s really easy and just don’t be afraid! You can do this! So this dough is really easy but it has to be done in stages as it’s pretty particular as to when to add the salt and butter. Baking is a science and when you add ingredients it matters.
- Once the liquids are at the correct temperature, add in the yeast and sugar. After a quick mix, add in the eggs and give it a quick stir. It’s OK if it doesn’t combine at once.
- Add in a few cups of flour. You never add it all in at once as it can fly out everywhere when you turn the mixer on and it may not combine correctly. You want to mix on low until it just starts to combine. Slowly you’ll add a little more flour as it mixes. This can take about 5 minutes or so.
- Now, depending on the temp in the kitchen or how humid it is, you can add as little as 4 1/2 cups to 5 cups of flour. Just go slow. The worst thing you can do is add too much flour because you’re impatient.
- Watch your dough – it’ll tell you when it’s ready. When the dough starts to pull away from the sides you’ll add in your salt. By adding it 5 or so minutes into the mixing you’re ensuring that the yeast is all encapsulated in the flour and no way of the salt possibly killing the yeast.
- Once the salt is all combined add in the butter one tablespoon at a time. Just like the flour, you’ll add it in slowly allowing it to incorporate into the dough. Don’t panic if it doesn’t go in all at once or the dough looks to break down. Just be patient, it’ll combine again. Patience – that’s the key.
- Once it’s mostly all in, turn the mixer up to medium and mix the dough until it pulls completely away from the side and is smooth and shiny.
- To ensure the dough is ready, do the Window Pane test
Window Pane
You’ll grab a small piece of dough and begin to stretch it out thin. You should be able to see through it similar to how you would look through a pane of glass. The dough should not have any tears when you stretch it. If it’s not ready, just mix for another minute or two but no more.
Making the Artisan Cranberry Pistachio Chocolate Chip Bread
Once the dough is ready, place it in a large greased bowl. Cover with plastic wrap or use what I use – Disposable plastic clear shower caps. They have a stretchy-band that snaps around the bowl and remained ballooned to allow the dough to proof without sticking to it.
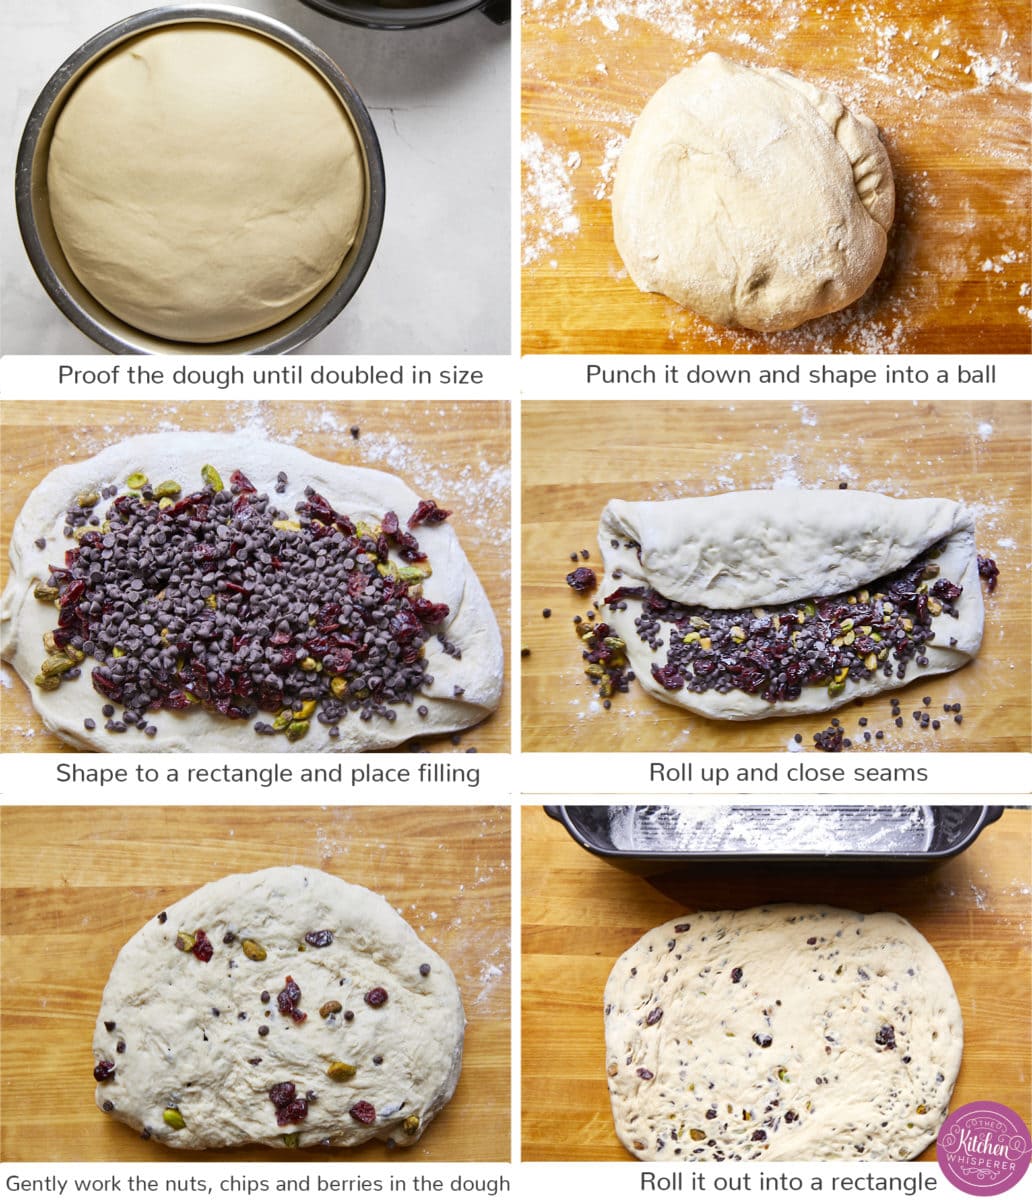
- Set the dough in a warm, dry place to proof until doubled in size.
- Once doubled, punch the dough down (this releases the dough gases), remove from the bowl, cut in half and shape each ball into a ball. This recipe makes 2 loaves so you can double wrap the one in plastic wrap and place in the fridge until the first loaf is done OR freeze for 2 months.
- Roll/stretch/pat the dough out into a rectangle. Add in your pistachios, cranberries, and mini chips. Roll it up and knead the fillings into the dough. When incorporated, roll/pat the dough out into a rectangle and roll it up like a jelly roll.
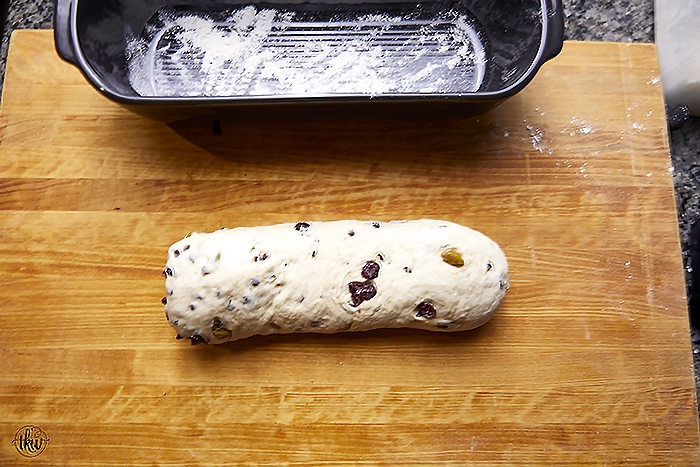
- Roll up the dough so it’s snug and pinch the seams together. For the ends, just tuck under and pinch them to seal against the bottom. The loaf should be ~12” long and ~4” wide. It should just fit into the pan.
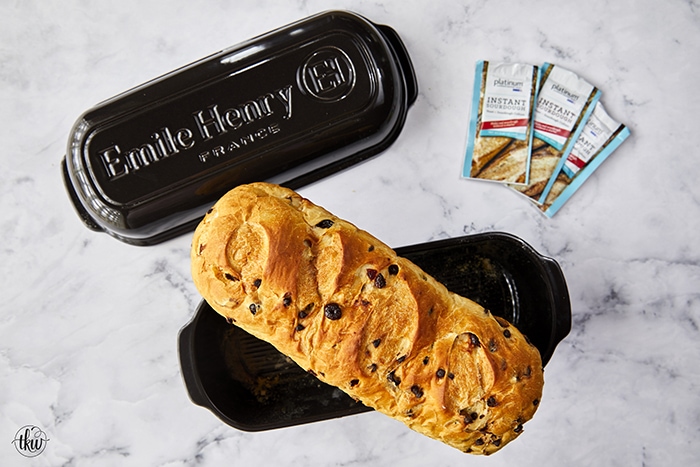
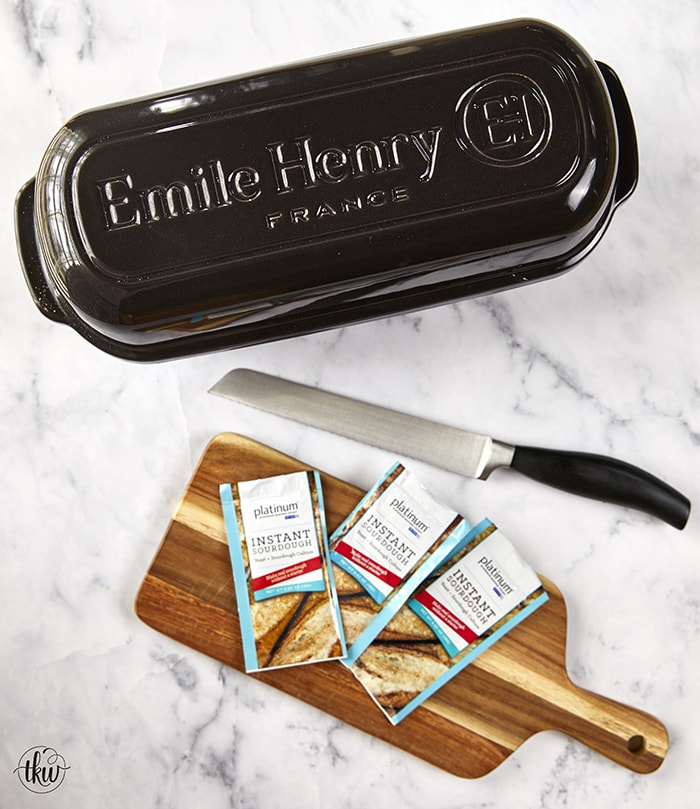
- Right before placing the dough into the Emile Henry Italian Loaf Bread Baker sprinkle in a tablespoon or two of flour in the bottom to help the dough remove easily after baking.
- Place the dough in, put the cover on top and set the baker off to the side to proof for 30 minutes while the oven heats up.
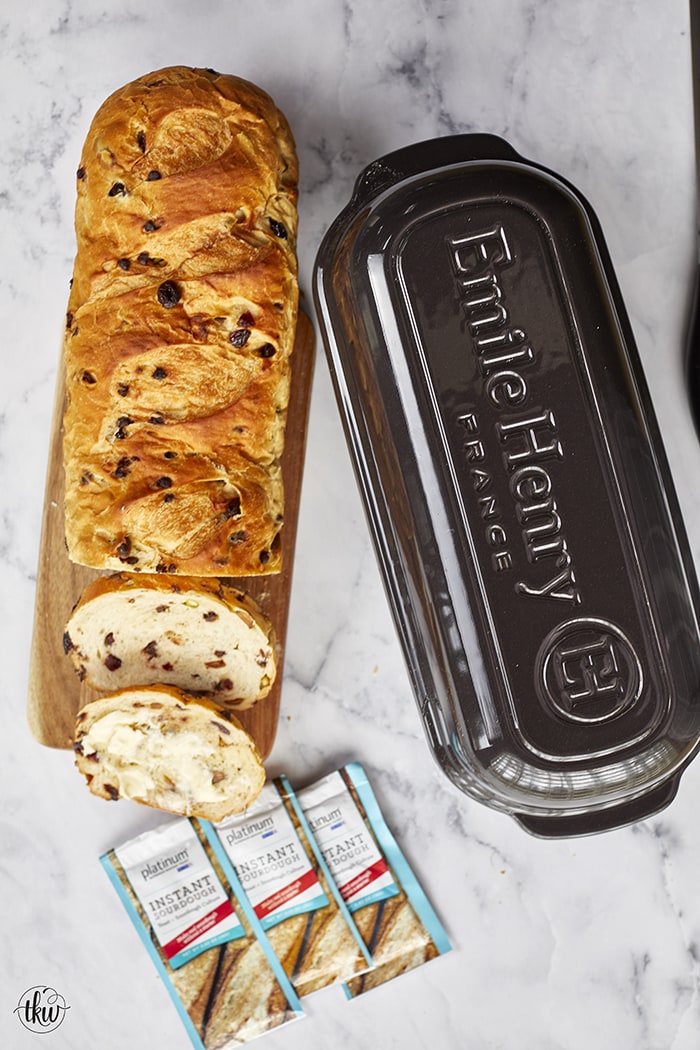
The smell of warm, fresh, bakery-style bread at home!
Baking this bread is so easy and oh folks the smells that will come from your oven are incredible! As this was baking Mr. Fantabulous came out to the kitchen, nose sniffing the air asking what that amazing smell was.
When I said I was making bread he did the happy shimmy dance. He’ll deny this but trust me, he doesn’t a little booty shimmy shake when I make homemade bread. LOL
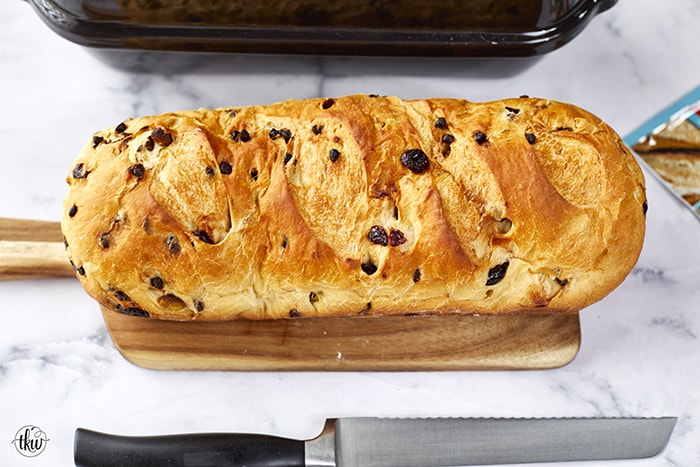
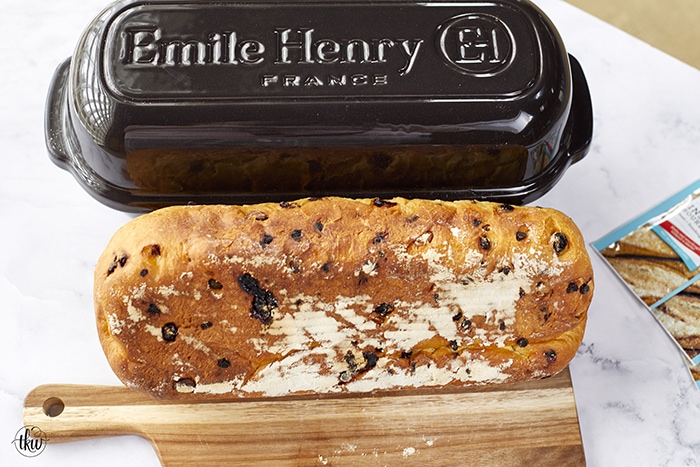
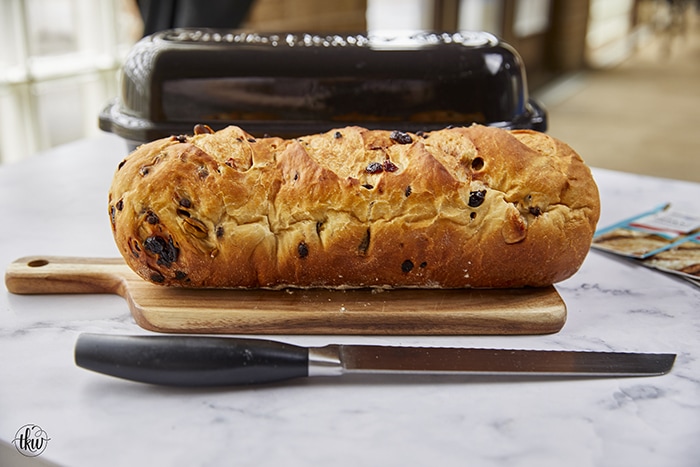
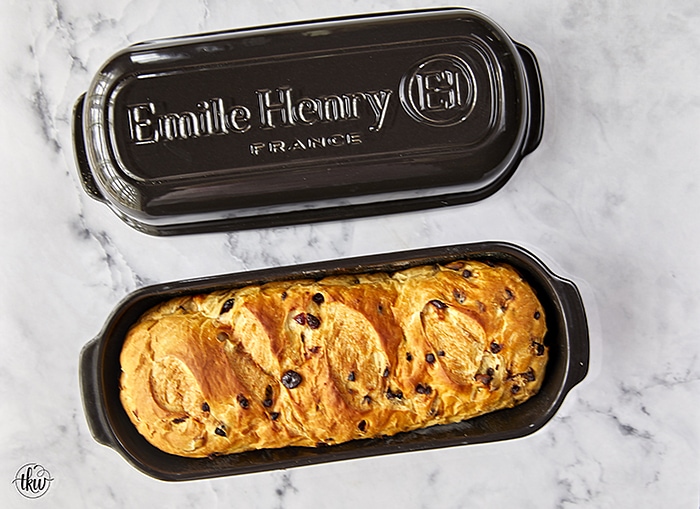
After a 40 minute covered bake and a 10-15 minute bake without the cover (this helps with browning and coloring), the baker is removed from the oven and the bread is turned out onto a cooling rack.
The biggest thing I recommend when making bread is to test the internal temperature. Just like when you make chicken or beef, bread has a doneness temperature too – 200F. I use this thermometer.
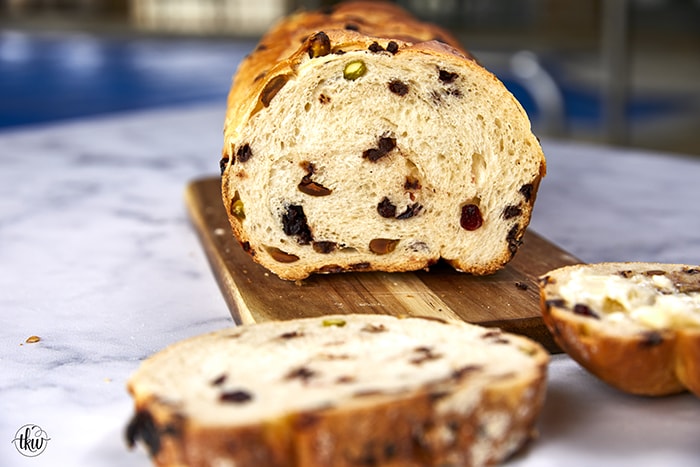
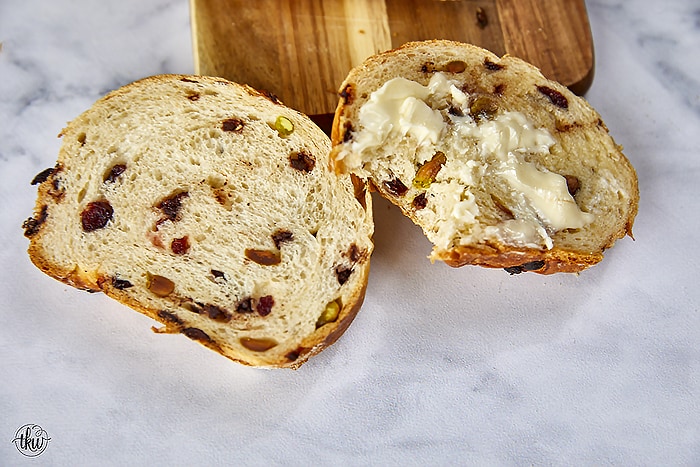
Seriously, this bread is so beautiful and the taste – oh my heavens! This bread would have honestly made my Mom proud. She would have immediately snuck a piece and slathered on some butter.
She would always say “The cook eats first sweetie. I mean you need to make sure the food is good, right?” Mama always had the best advice!
My favorite ways to serve this bread
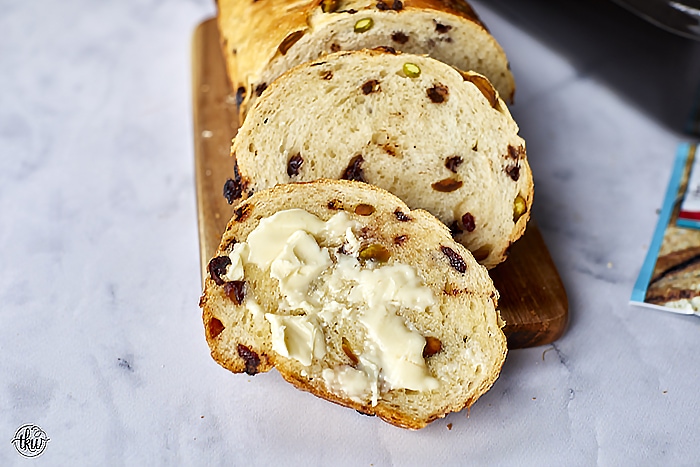
The crumb is perfect for toast or sandwiches. It’s sweet enough that you don’t even butter though let’s be honest, butter makes everything better.
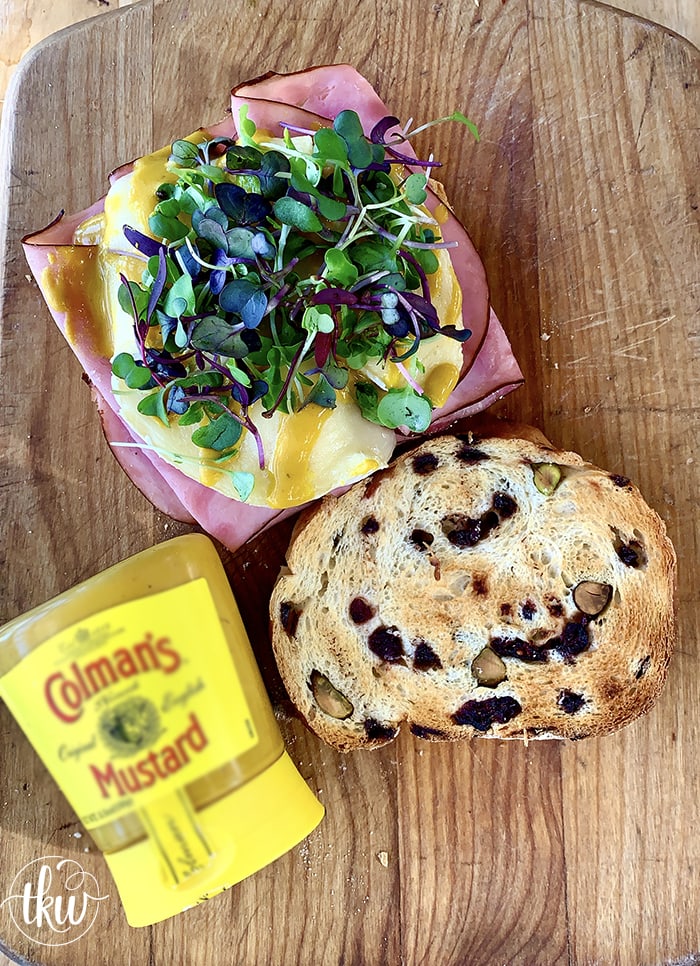
And this sandwich… lord have mercy it’s the perfect combination of sweet, spicy, creamy and tangy! I toasted up 2 thick slices, topped it with black forest ham, melted brie, microgreens, and spicy mustard. This truly was one of THE BEST sandwiches I’ve ever had!
How to store your Artisan Cranberry Pistachio Chocolate Chip Bread
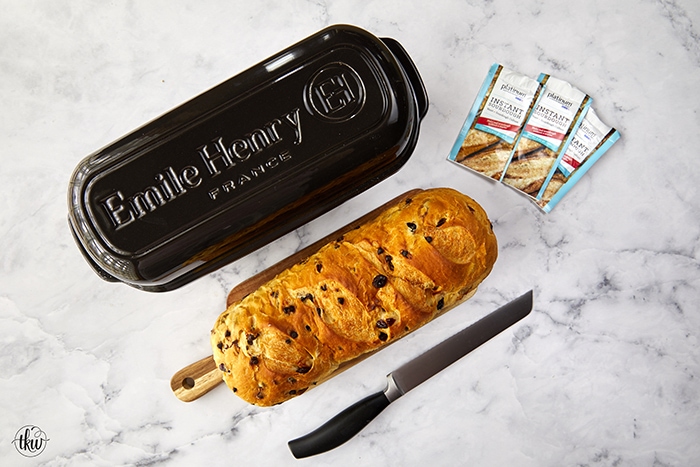
Once done, you can store it uncut on a cutting board. Once cut you can store the cut side down on the cutting board. When you’re storing overnight, you’ll want to store in a paper bag OR, wrapped tightly in plastic wrap and then in a plastic bag.
The biggest key is to remove as much air from the baked bread as possible. Now the crust will soften but that’s ok. That’s nothing toasting can fix!
Uses for leftover Artisan Cranberry Pistachio Chocolate Chip Bread
- Croutons – cube it up, coat with melted butter or oil and bake at 375F for 15-20 minutes or until golden brown on all sides
- Bread Pudding – This would work beautifully in my Orange Cranberry Bread Pudding recipe! Just use this bread instead!
- French toast – either traditional or baked overnight, this would rock as French Toast!
- Panzanella – this with chicken and a strawberry dressing would be amazing!
- Dressing/Stuffing – this would add such a great sweet and salty spin on the dressing!
Let’s Bake Bread Giveaway Entry Details!
*** GIVEAWAY IS ENDED. WINNER HAS BEEN NOTIFIED***
The winner has 24 hours to respond to my email and supply their information otherwise a new winner will be pulled. Once I receive their email, I’ll update with who won (first name only)
Thank you all that entered! Stay tuned for more giveaways!
************************************
It’s super easy to enter and the best part, you get to choose which product you want!
You can choose between the:
How to enter
- Sign up for the Emile Henry USA newsletter. Their newsletter is pretty sweet and loaded with great tips, recipes, and products!
- Follow 3 Instagram Accounts: @EmileHenryUSA, @RedStarYeast, and @TheKitchenWhisperer – we will check!
- Like Emile Henry and Red Star Yeast on Facebook
- Leave a comment below on which product you’d love to win and what’s your favorite type of bread to make!
Giveaway rules
One winner will be randomly drawn based on completing all of the above requirements. The winner will be contacted via email and will have 24 hours to respond to my email.
Upon response, the winner must supply their mailing address and their product choice. Giveaway open to USA continental residents only and is open until January 10, 2020.
Now – go enter the giveaway and make this bread! I can’t wait to see your pictures!
Want more delicious bread and dough recipes?
- Everything Bagel Ham & Cheese Sweet Rolls with Dijon Glaze
- Hand-tossed Neapolitan Pizza Dough
- No-Knead Orange Cranberry Raisin Bread
- The Best Pizza Dough
- My World Famous Soft & Chewy Hoagie Rolls
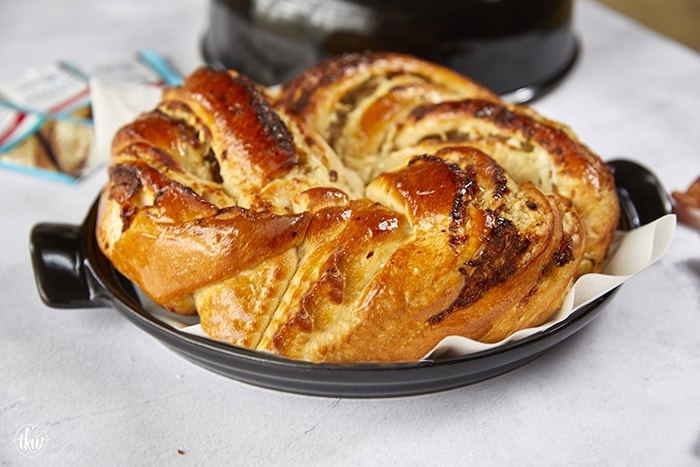
Oh and this recipe… it’s coming up to the blog soon! Chicken Ranch Bacon Braided Wreath Bread in the Emile Henry Bread Cloche
Artisan Cranberry Pistachio Chocolate Chip Bread
This Artisan Cranberry Pistachio Chocolate Chip Bread is a bread lover’s dream! Slightly sweet & salty that’s perfect for morning toast or for one amazing sandwich. Bakery style bread from scratch!
- Yield: 2 loaves
- Category: Bread
- Method: Baking
- Cuisine: Bread
Ingredients
- 4 1/2 – 5 cups bread flour, spooned and leveled
- 1 teaspoon kosher salt
- 3 tablespoon sugar
- 3/4 cup warm water (~110-120F)
- 1 1/4 cup scaled milk
- 1 packet of Red Star Platinum Instant Yeast (1/4 oz packet)
- 5 tablespoon unsalted butter, room temperature
- 2 XL eggs, room temperature, beaten
- 3/4 cup toasted pistachios
- 1/2 cup dried cranberries
- 1/3 cup mini chocolate chips
Instructions
- In the bowl of a stand mixer fitted with the dough hook, add in the water, scalded milk, sugar, and yeast. Use a whisk or spoon to just mix together. Add in the eggs and turn the mixer on to low to just start to incorporate the eggs. It’s okay if it doesn’t combine together.
- Turn the mixer off and add in 3 cups of flour to the liquid and turn on low to mix. Mix until barely combined; you just want it to start to incorporate. Slowly add more flour and mix until it just barely starts to form a soft dough and starts to pull away from the sides (~5 minutes or so). Depending on your environment you can use as little as 4 1/2 cups and up to 5 cups of flour. When it starts to pull away, add in your salt. Mix for 1 minute and then add in 1 tablespoon of butter at a time. Allow the butter to start to meld into the dough before adding another tablespoon (this should take maybe 2-3 minutes). It may look like it’s not coming back together but it will.
- Once there’s barely any butter visible, turn the mixer up to medium and mix until you have a dough that pulls away from the side of the bowl cleanly as it’s mixing and is smooth and shiny. ~8-9 minutes. A quick test is do a “Window Pane” test to make sure the dough is ready. You’ll grab a small piece of dough and begin to stretch it out thin. You should be able to see through it similar to how you would look through a pane of glass. The dough should not have any tears when you stretch it.
- Put the dough in a large, buttered or sprayed bowl, cover, set in a cool dry place and allow to rise until doubled in size. ~60-90 minutes. When ready to use, remove the cover and punch the dough down.
- Place the dough out a lightly floured board and divide into 2 balls. This recipe makes 2 loaves. You can wrap the dough up and set in the fridge to make after the one loaf cools or freeze it for up to 2 months. Roll out one loaf into a 12×8” rectangle. To the dough add half of the pistachios, cranberries and mini chips. Roll up the dough and then start to knead the ingredients gently into the dough. You’ll fold it over a few times, flatten it back out once or twice just to evenly disperse the pieces. Flatten out or roll the dough back into a 12×8” rectangle. Roll up the dough so it’s snug and pinch the seams together. For the ends, just tuck under and pinch them to seal against the bottom. The loaf should be ~12” long and ~4” wide. It should just fit into the pan.
- In the bottom of your Emile Henry Italian Loaf Baker, sprinkle in 1-2 tablespoon of flour to evenly coat the bottom. Place the dough into the loaf baker, seam side down and place the lid on. Set the pan in a dry place and allow the dough to proof for 30 minutes. At this time preheat the oven to 400F, rack in the middle.
- When ready to bake (do not remove the lid), place the Emile Henry Italian Loaf Baker into the oven. Bake covered for 40 minutes then remove the lid and bake uncovered for 10-15 minutes or until the internal bread temp reads 200F.
- Remove from the oven and carefully remove the bread from the pan and place on a cooling rack. I tipped it over and allowed the bread to slowly roll out. Allow to cool for at least 30 minutes on the rack before cutting.









Leave a Reply