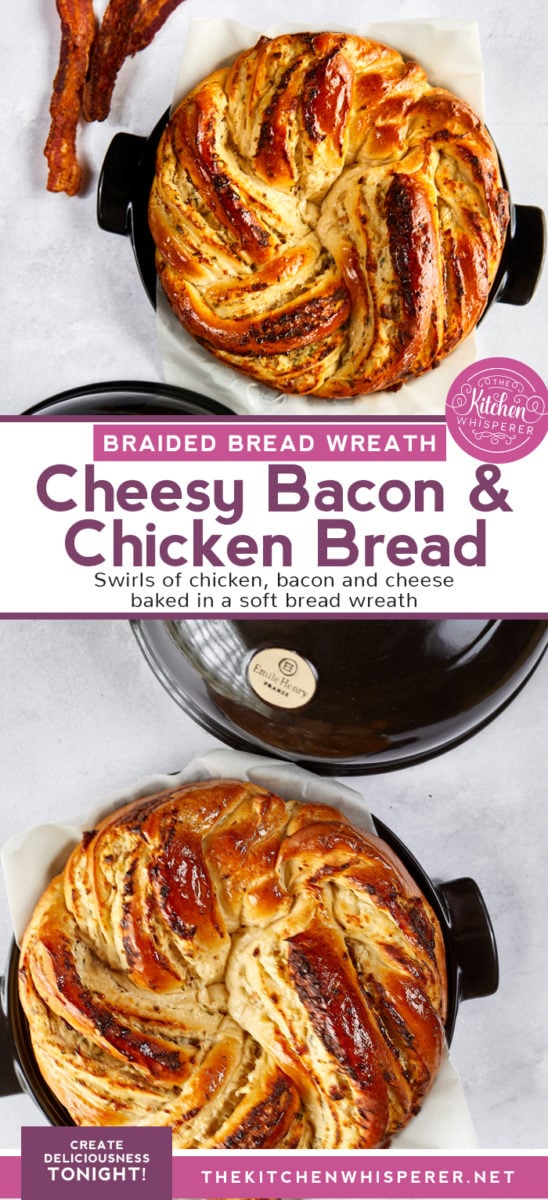
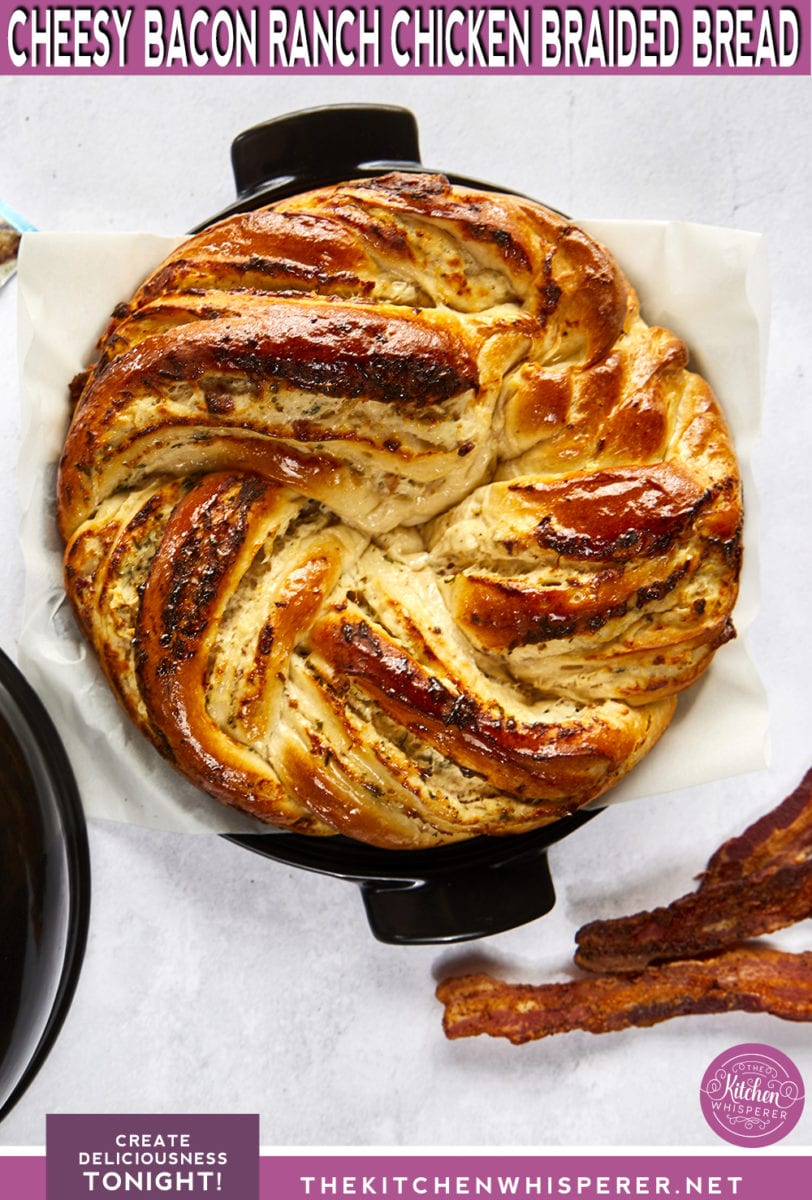
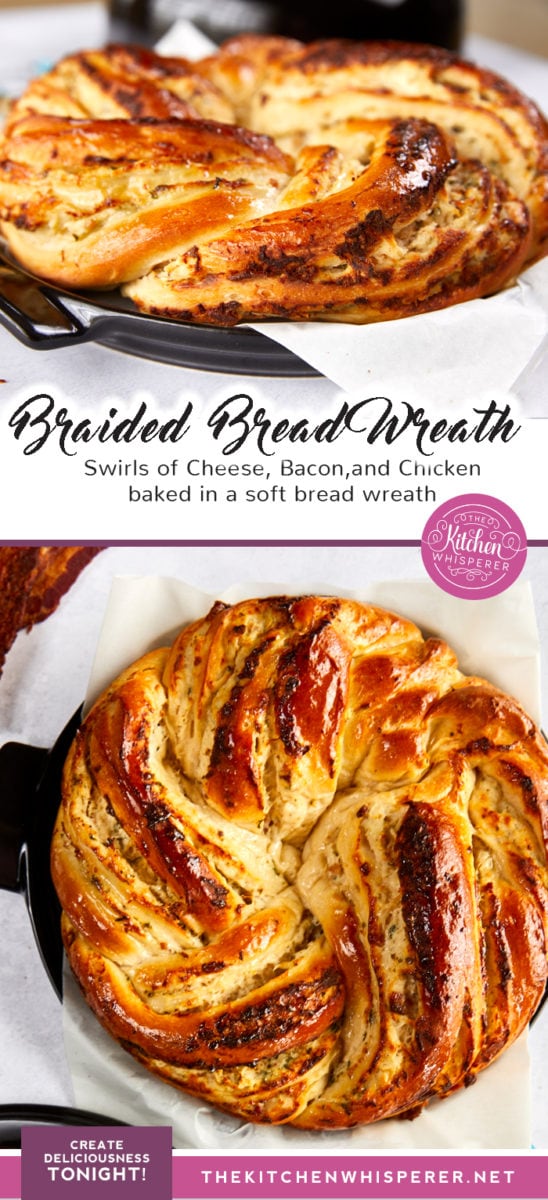
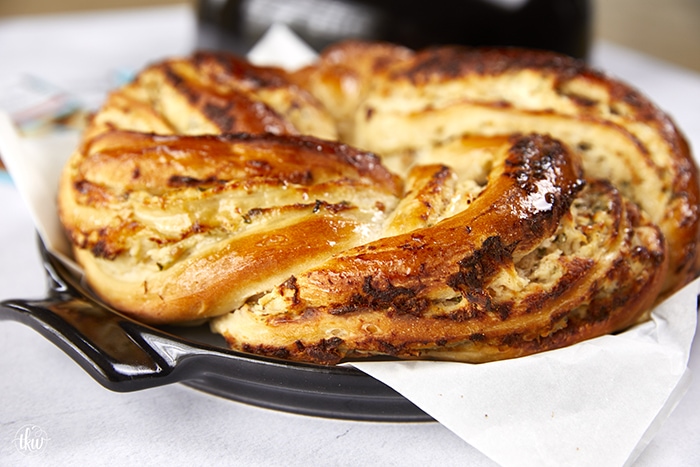
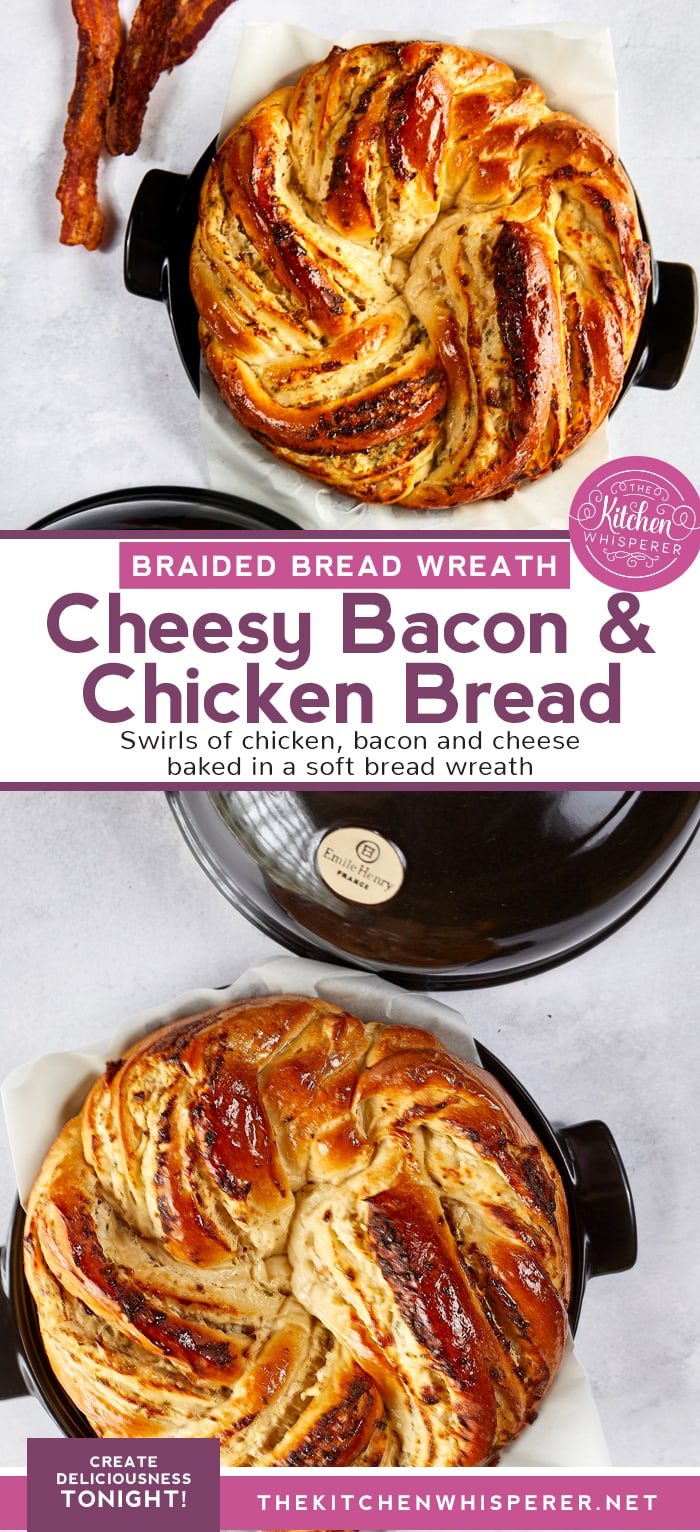
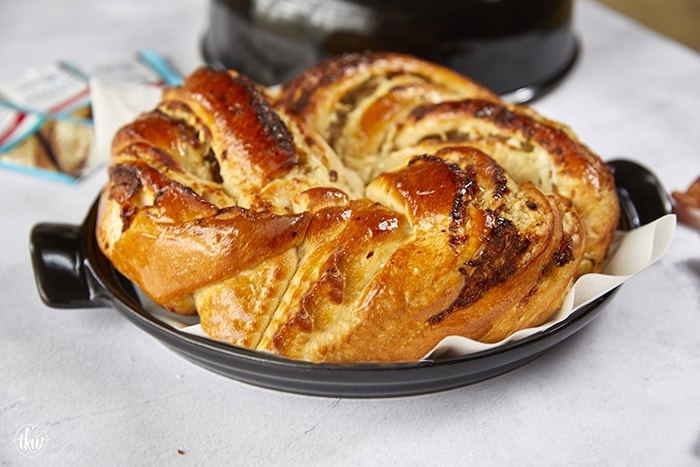
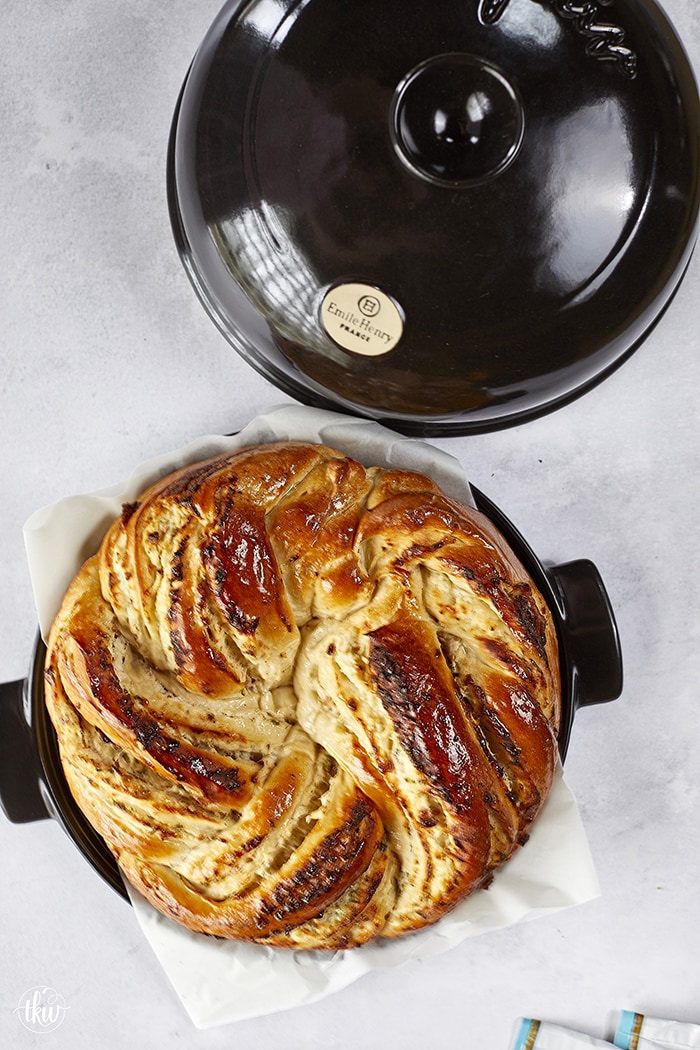
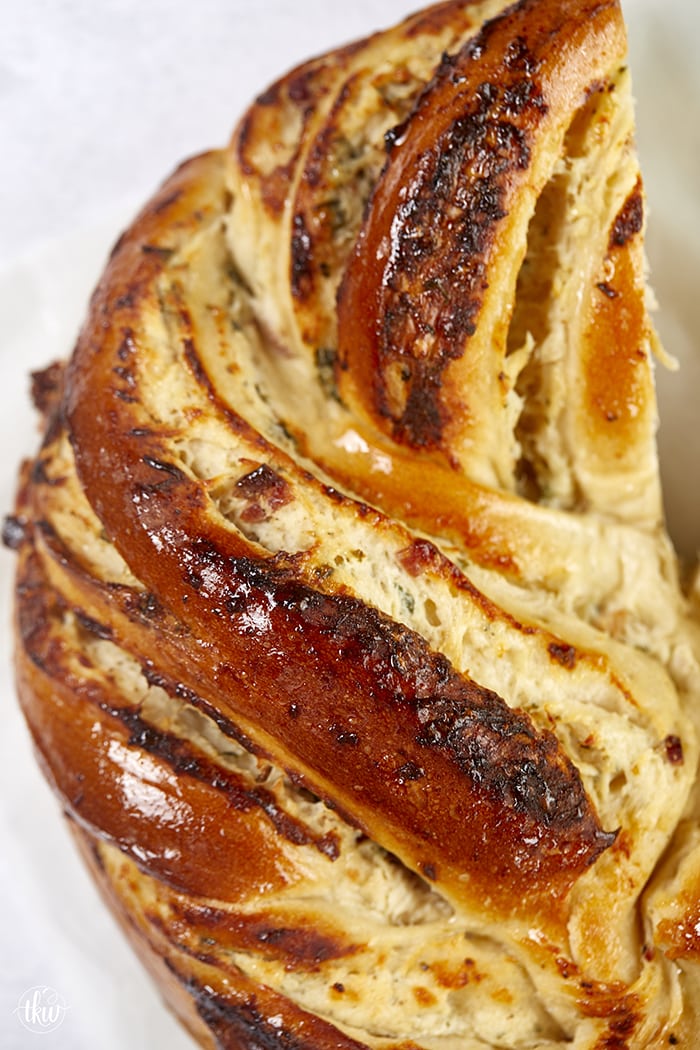
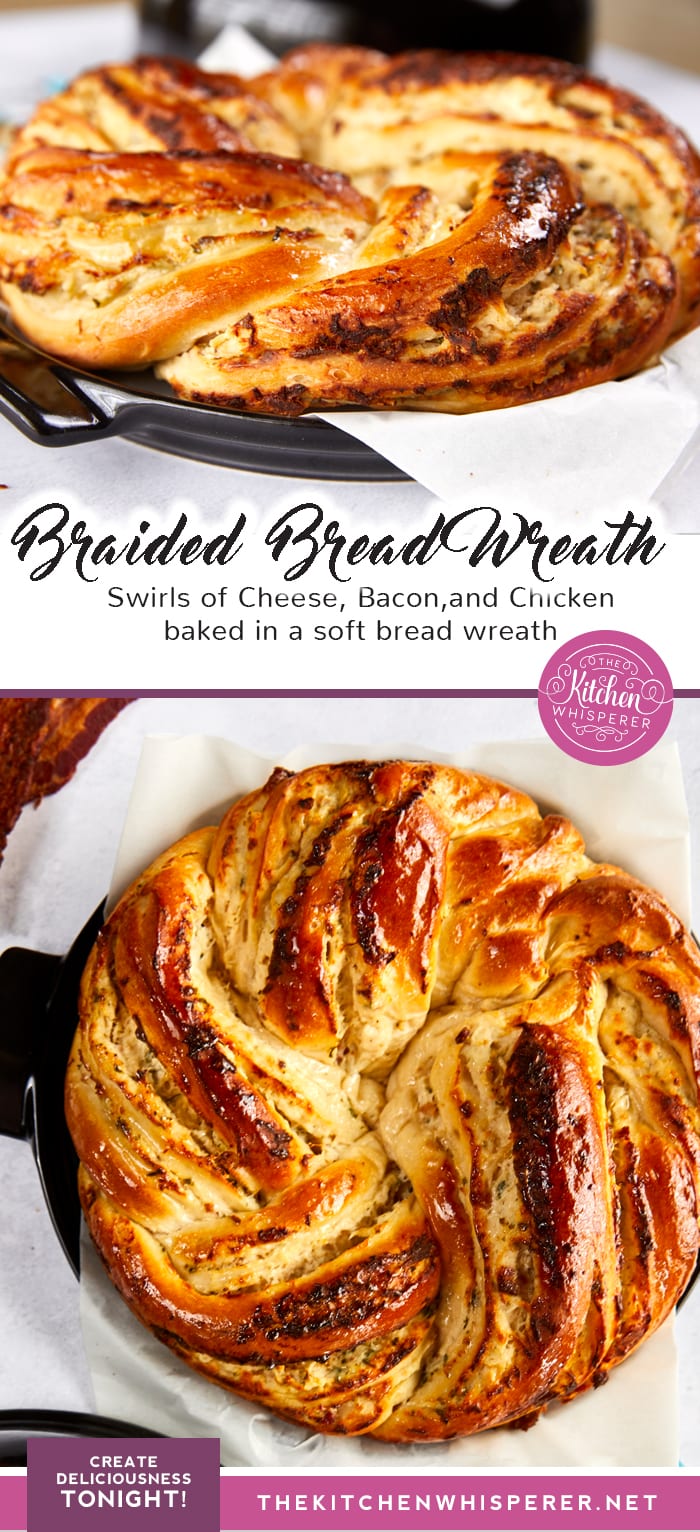
This Cheesy Bacon Ranch & Chicken Braided Bread Wreath is everything you love about the famous chicken dip but swirled and baked in a delicious soft dough! A true show-stopper and a crowd-pleaser that everyone loves!
This post is being sponsored by my friends at Emile Henry USA and Red Star Yeast! As always, all opinions my own. Thank you for supporting partnerships with brands I trust and believe in.
Oh, bread, how I love you! I find bread baking whether it’s actual bread, rolls, pizza just so cathartic.
There’s just something so relaxing about working with dough. It doesn’t matter when you make it using a stand mixer or make it old-school (by hand), smelling the dough, seeing how billowy it is – it just gives me a sense of calmness.
Working with Yeast – a recap
If you recall from my Artisan Cranberry Pistachio Chocolate Chip bread recipe, I covered a good bit about working with yeast.
As you know I swear by Red Star Yeast as they simply are the best and more importantly, the ONLY BRAND I trust in my doughs!
Why? Repeatable quality. I know that each and every time I use it, my bread will work out perfectly!
- Store your yeast in a dark, cool area. I tend to store mine in the fridge or the freezer for extended storage.
- When adding it, add it to very warm liquids (120-130F). You don’t want to add it to boiling or super hot waters as you will kill the yeast.
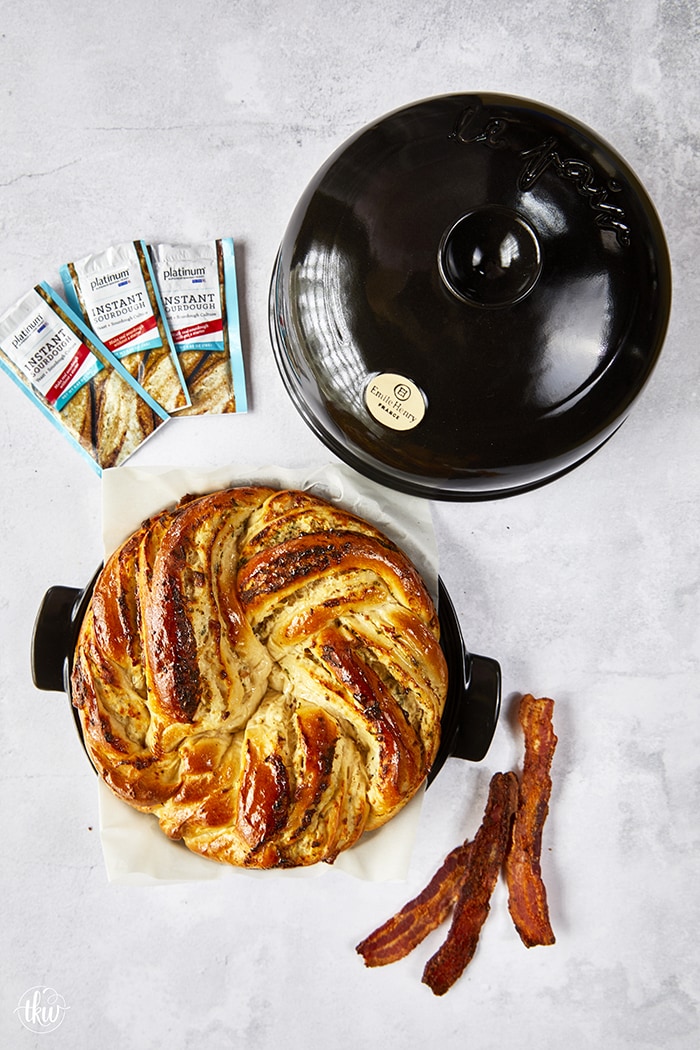
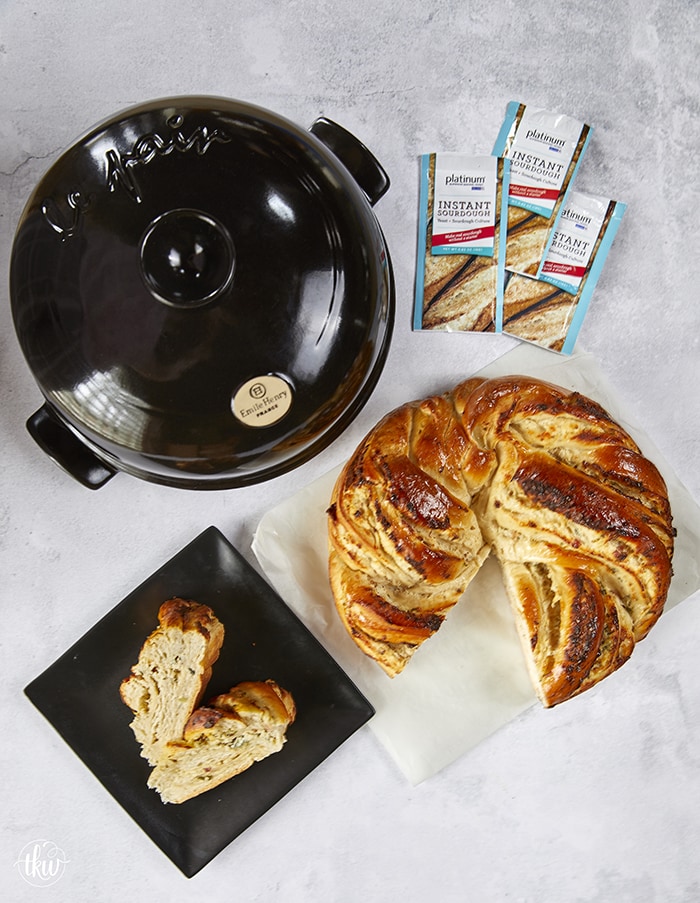
- With the Platinum yeast, you don’t even have to let it proof first – like how I added it in this recipe. Proofing yeast is used more for dry active yeast. Because I use the Instant Active Dry yeast, there’s no proofing involved.
- To Proof, active dry yeast, place a portion of the warm liquid in a bowl and add the yeast. Give it a little stir and let it sit for 1-5 minutes or until the yeast is completely dissolved. It should bubble up and “bloom”.
- If, after 5 minutes the yeast isn’t bloomed then your yeast is old (expiration dates matter here!) or the liquid you used is too hot
Making the Cheesy Chicken Bacon Ranch Filling (aka ‘crack chicken’)
This filling/dip has been around forever, to be honest, It’s one of those recipes that folks go crazy over. And rightly so! It’s THAT GOOD!
Mine is pretty straight forward and delicious cold, warm or especially in this bread!
- I use my Instant Pot to make my chicken breasts. It’s crazy easy and perfect to make up a bunch of chicken not only for this recipe but for your weekly meal prep!
- To a bowl of a stand mixer fitted with the paddle attachment, add the cream cheese and sour cream and mix until smooth and creamy.
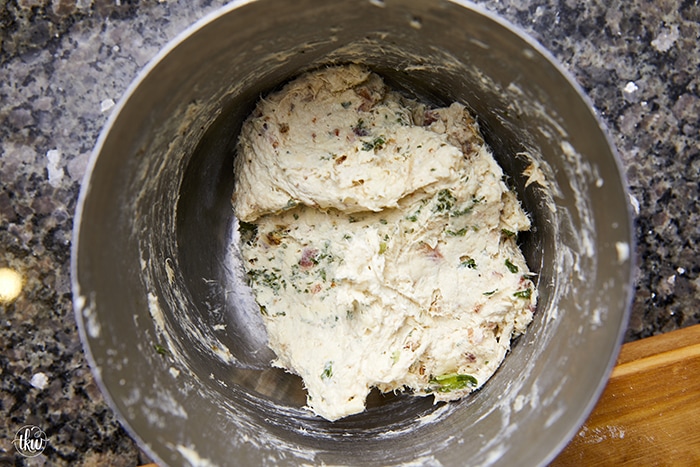
- Add in the rest of the ingredients and mix until combined, stopping a few times to scrape down the sides and bottom.
- Cover and place in the fridge until ready to use.
Can I use Ranch Dressing instead of Ranch Powder Seasoning?
No
The reason is, ranch dressing is liquidy and will completely alter the way the bread bakes. Trust me, it will be a big ol’ mess.
You absolutely have to use Ranch Powder Seasoning. I make my own as it’s way cheaper and frankly, so delicious!
Bakery-Style Bread at home – yes, you can do it!
Feel good about working with yeast? You should. It’s really easy and just don’t be afraid! You can do this! So this dough is really easy but it has to be done in stages as it’s pretty particular as to when to add the salt and butter. Baking is a science and when you add ingredients it matters.
- Once the liquids are at the correct temperature, add in the yeast and sugar. After a quick mix, add in the eggs and give it a quick stir. It’s OK if it doesn’t combine at once.
- Add in a few cups of flour. You never add it all in at once as it can fly out everywhere when you turn the mixer on and it may not combine correctly. You want to mix on low until it just starts to combine. Slowly you’ll add a little more flour as it mixes. This can take about 5 minutes or so.
- Now, depending on the temp in the kitchen or how humid it is, you can add as little as 4 1/2 cups to 5 cups of flour. Just go slow. The worst thing you can do is add too much flour because you’re impatient.
- Watch your dough – it’ll tell you when it’s ready. When the dough starts to pull away from the sides you’ll add in your salt. By adding it 5 or so minutes into the mixing you’re ensuring that the yeast is all encapsulated in the flour and no way of the salt possibly killing the yeast.
- Once the salt is all combined add in the butter one tablespoon at a time. Just like the flour, you’ll add it in slowly allowing it to incorporate into the dough. Don’t panic if it doesn’t go in all at once or the dough looks to break down. Just be patient, it’ll combine again. Patience – that’s the key.
- Once it’s mostly all in, turn the mixer up to medium and mix the dough until it pulls completely away from the side and is smooth and shiny.
- To ensure the dough is ready, do the Window Pane test
Window Pane
You’ll grab a small piece of dough and begin to stretch it out thin. You should be able to see through it similar to how you would look through a pane of glass. The dough should not have any tears when you stretch it. If it’s not ready, just mix for another minute or two but no more.
Making the Cheesy Bacon Ranch & Chicken Braided Bread Wreath
Once the dough is ready, place it in a large greased bowl. Cover with plastic wrap or use what I use – Disposable plastic clear shower caps. They have a stretchy-band that snaps around the bowl and remained ballooned to allow the dough to proof without sticking to it.
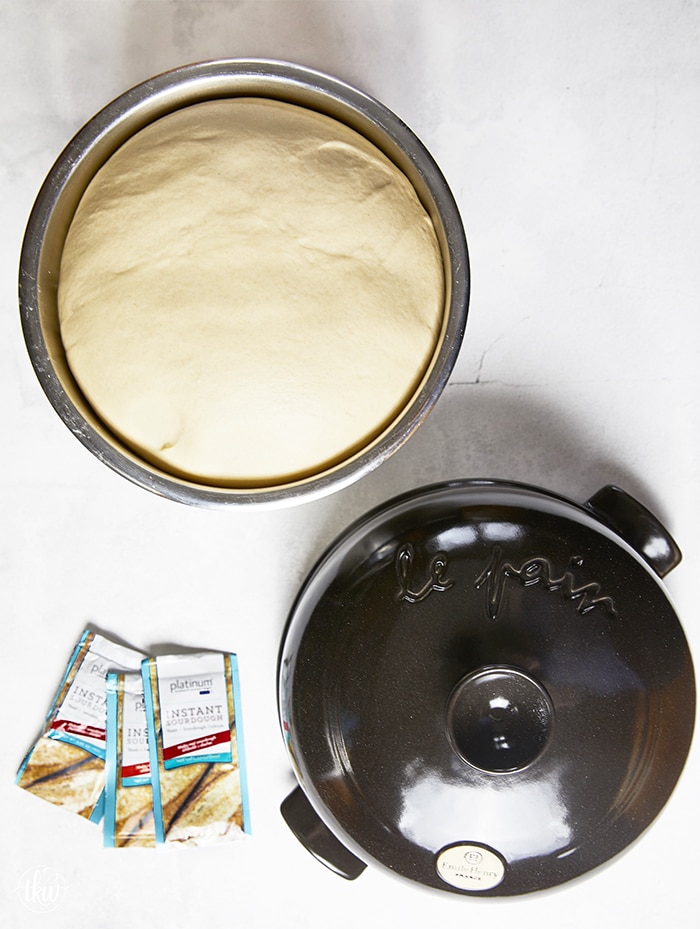
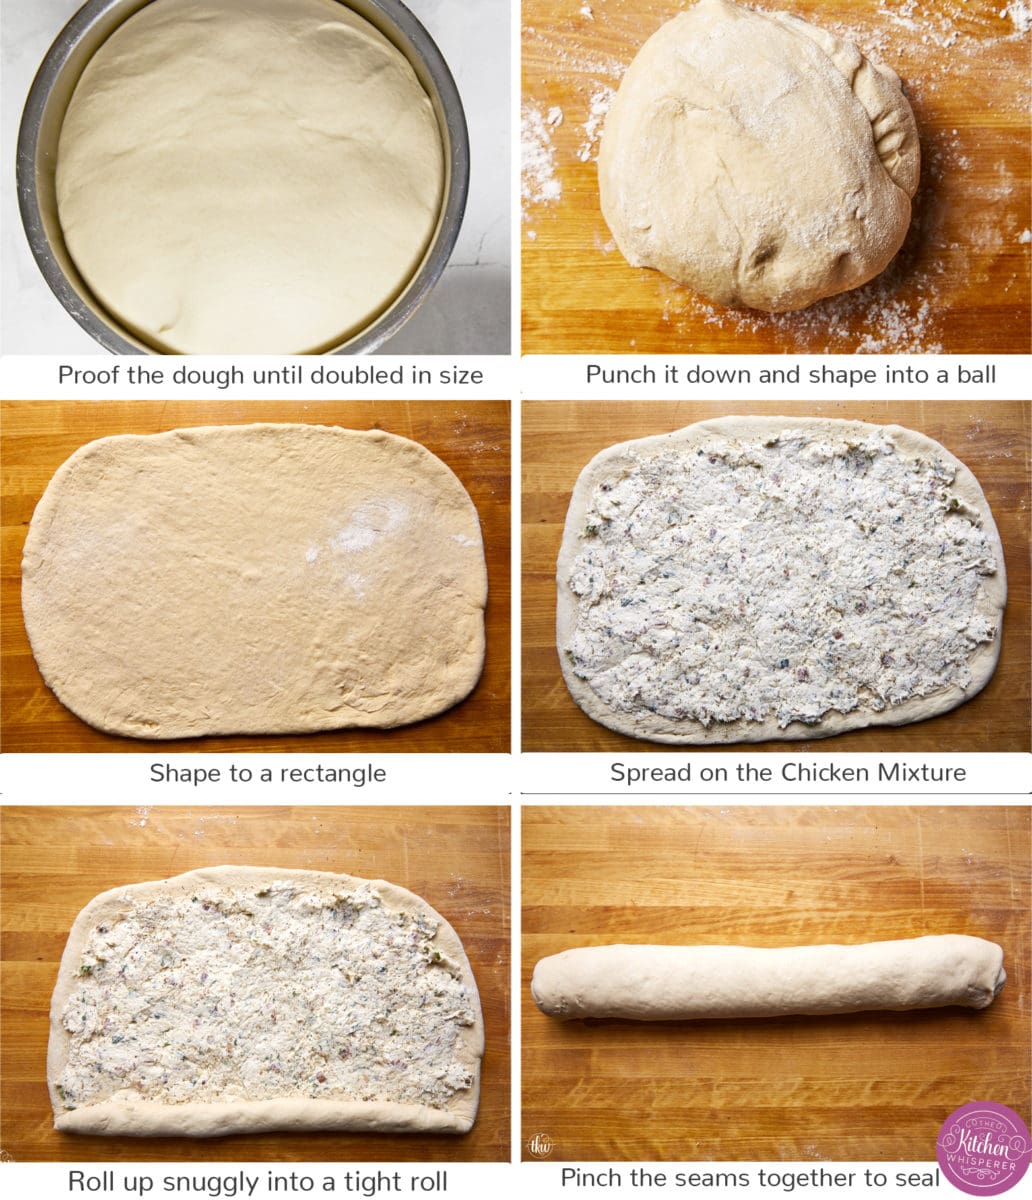
- Set the dough in a warm, dry place to proof until doubled in size.
- Once doubled, punch the dough down (this releases the dough gases), remove from the bowl, cut in half and shape each ball into a ball. This recipe makes 2 loaves so you can double wrap the one in plastic wrap and place in the fridge until the first loaf is done OR freeze for 2 months.
- Roll/stretch/pat the dough out into a rectangle. Add in your Chicken, Bacon, Cheese Dip mixture. Roll it up like a jellyroll and pinch the seams together to seal.
Shape the Braid and Bread Wreath
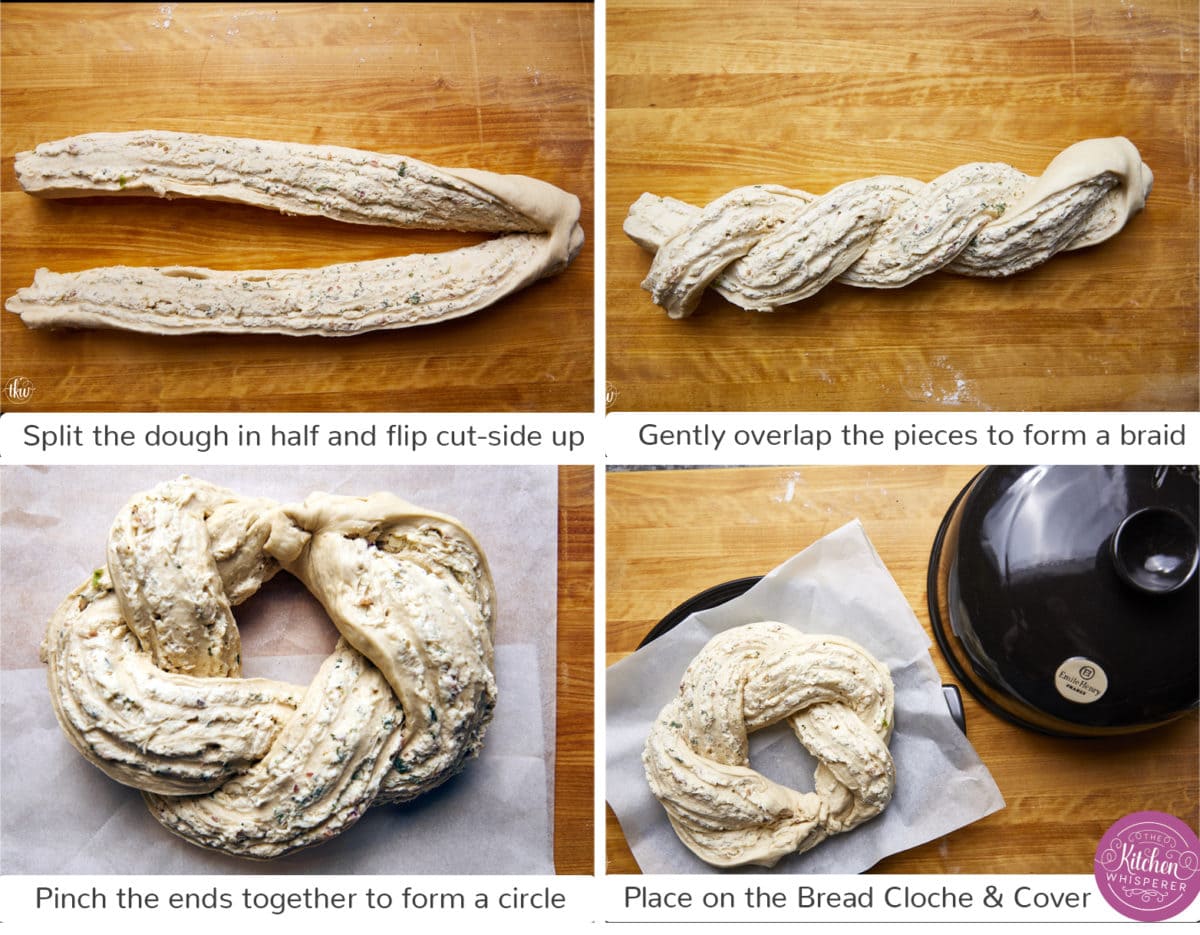
- Split the dough in half and flip the cut sides facing upwards.
- Gently overlap the pieces to form a braid.
- Pinch the two bottom pieces together. Place the braid gently on parchment paper.
- Grab one end and gently move it to make a circle. Pinch both ends together to form a circle.
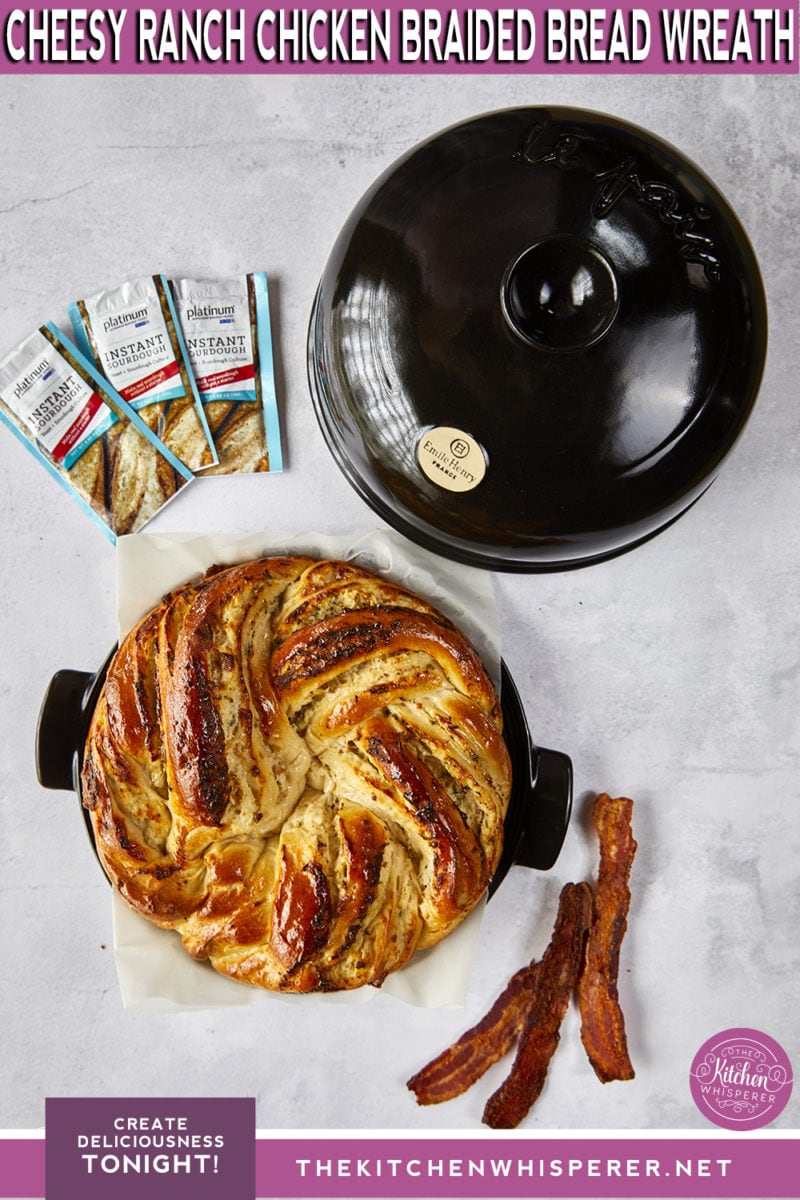
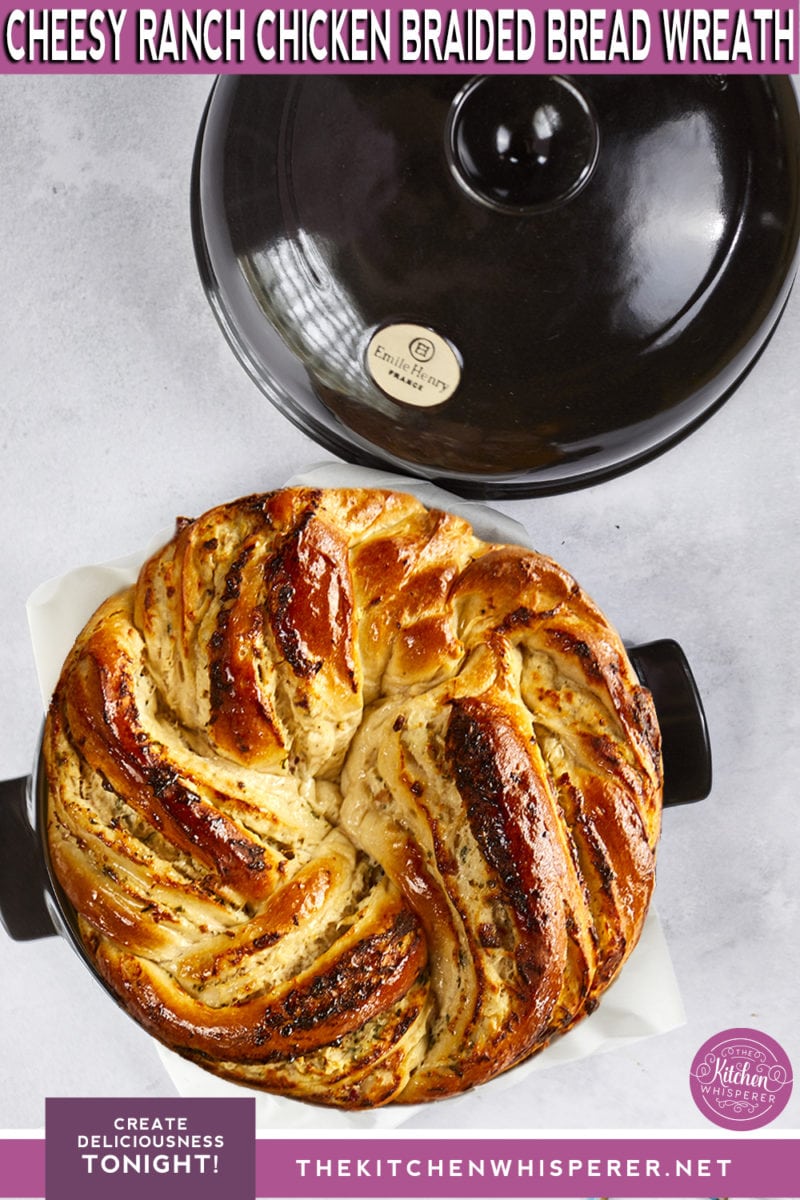
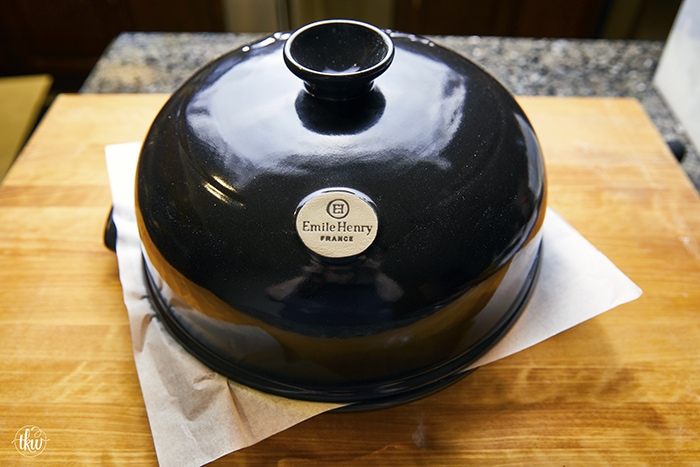
- Place the bread and parchment paper on the bottom of the Bread Cloche and cover it with the lid.
- Set the Bread Cloche off to the side to proof for 30 minutes while the oven heats up.
The smell of warm, fresh, bakery-style bread at home!
As the bread is proofing a second time, preheat the oven.
- Preheat the oven to 400F with the rack in the middle.
- When the oven is at temp, put the Bread Cloche in the oven (do not lift the lid off) and bake 30 minutes.
- After a 30 minute covered bake and a 10-15 minute bake without the cover (this helps with browning and coloring), the Bread Cloche is removed from the oven and the braided bread wreath and the parchment paper is moved onto a cooling rack.
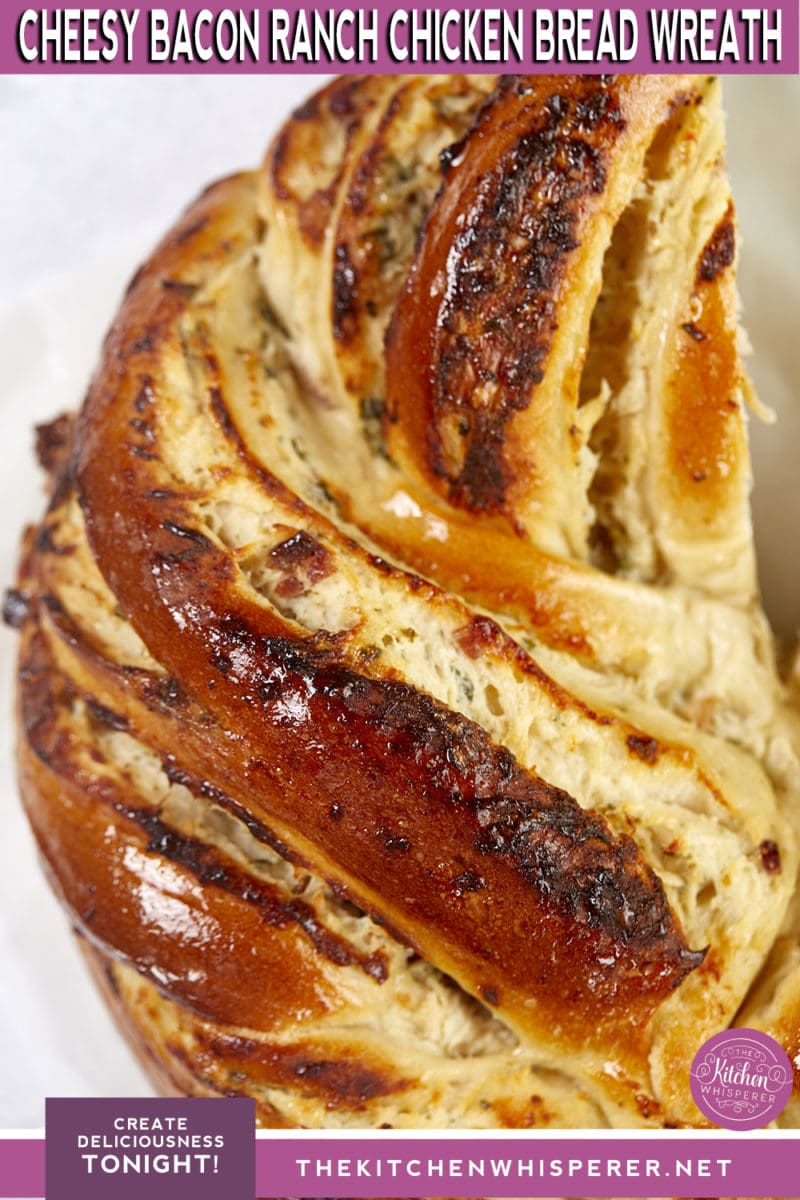
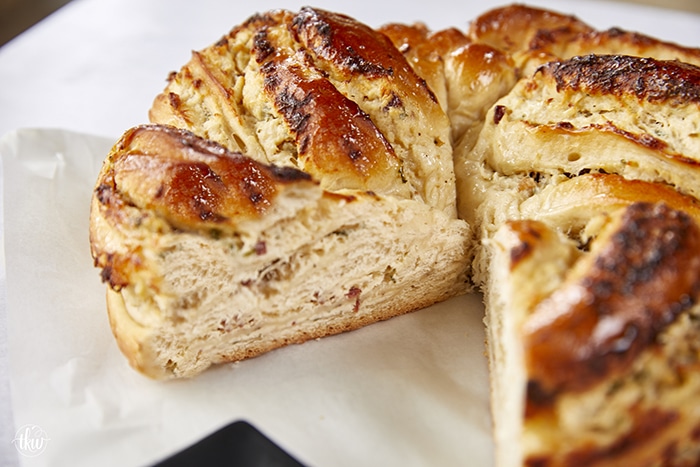
Baking this bread is so easy and oh folks the smells that will come from your oven are incredible! Imagine warm, baked bread with hints of crispy bacon, chicken and cheese. Seriously, I need to bottle that smell!
The biggest thing I recommend when making bread is to test the internal temperature. Just like when you make chicken or beef, bread has a doneness temperature too – 200F. I use this thermometer.
How to cut this bread
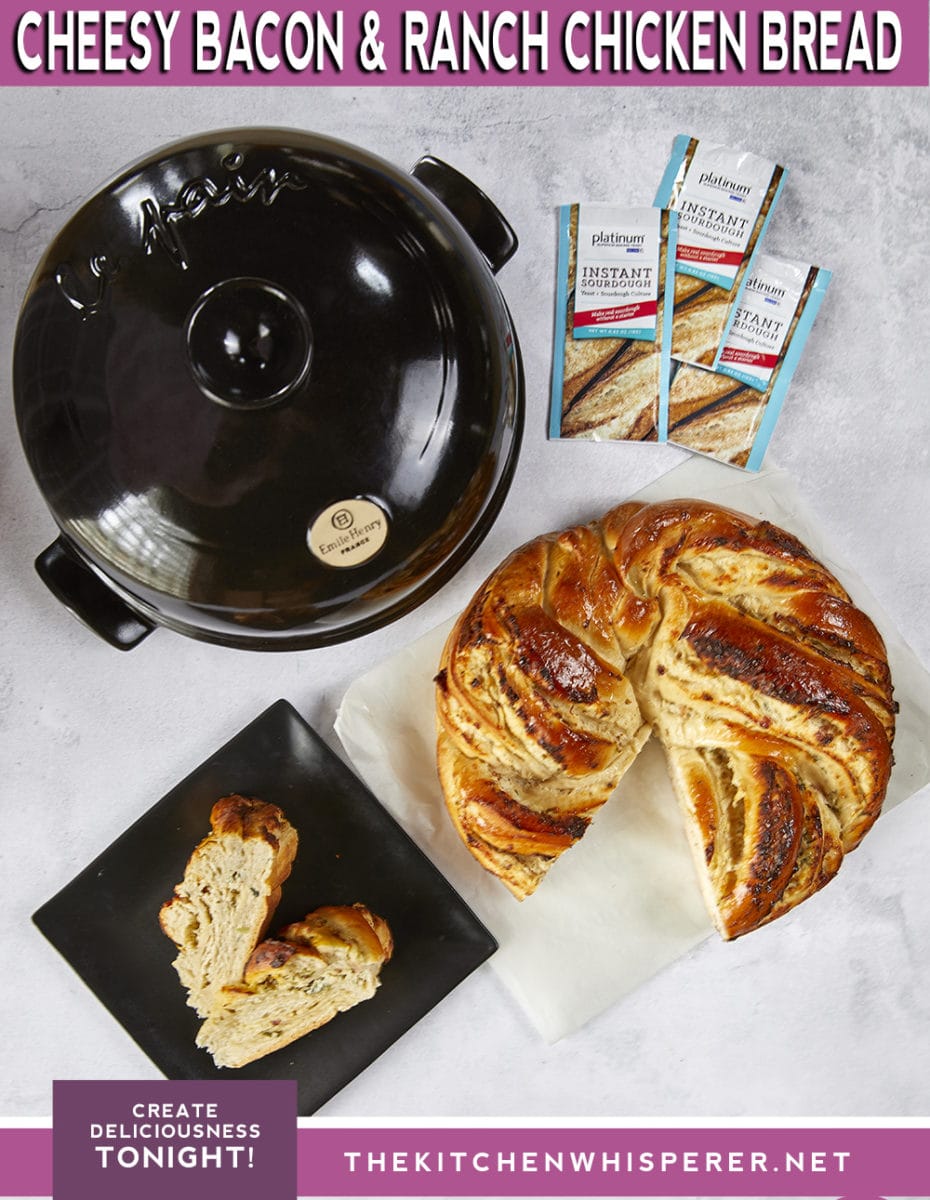
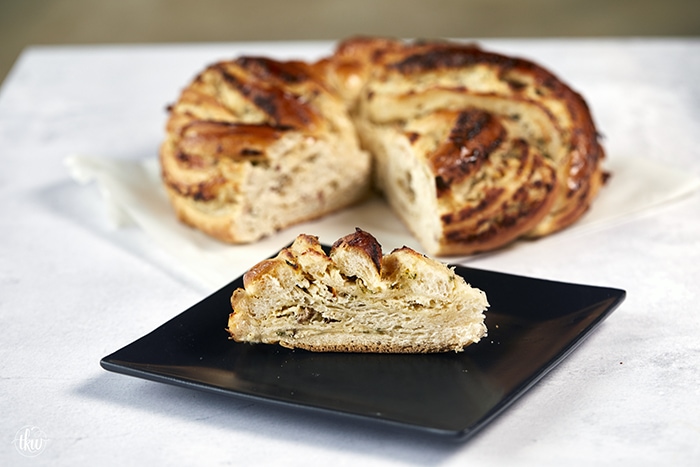
Since it’s round, I cut it like a pie and served it as slices.
Honestly, there’s no wrong way to cut this. The most important thing is to use a sharp bread knife.
Did I mention the Let’s Bake Bread Giveaway yet?
Head over to THIS POST to find out all of the entry details.
It’s super easy to enter and the best part, you get to choose which product you want!
You can choose between the:
How to enter
- Sign up for the Emile Henry USA newsletter. Their newsletter is pretty sweet and loaded with great tips, recipes, and products!
- Follow 3 Instagram Accounts: @EmileHenryUSA, @RedStarYeast, and @TheKitchenWhisperer – we will check!
- Like Emile Henry and Red Star Yeast on Facebook
- Leave a comment THIS POST on which product you’d love to win and what’s your favorite type of bread to make! *You must go to the other post to enter
Giveaway rules
One winner will be randomly drawn based on completing all of the above requirements. The winner will be contacted via email and will have 24 hours to respond to my email.
Upon response, the winner must supply their mailing address and their product choice. Giveaway open to USA continental residents only and is open until January 2020.
How to store your Cheesy Bacon Ranch & Chicken Braided Bread Wreath
Once done, you can store it uncut on a cutting board. Once cut you can store the cut side down on the cutting board. When you’re storing overnight, you’ll want to store in a paper bag OR, wrapped tightly in plastic wrap and then in a plastic bag.
The biggest key is to remove as much air from the baked bread as possible. Now the crust will soften but that’s ok. That’s nothing toasting or warming it up in the oven can fix!
Does this bread have to be refrigerated since it has meat in it?
I consulted several friends that are bread baking gurus (Zoë Francois and a few others) to ask their input to confirm my logic. The short answer is “No, it doesn’t” as the meats are cooked.
But, I can surely understand someone’s concern about storing foods that have chicken and bacon in it, at room temp. You most certainly can store this in the fridge. just be sure to wrap it tightly.
I wrapped mine in plastic wrap and then in foil. I wanted to keep the cold, fridge air from it.
Want more delicious bread and dough recipes?
- Artisan Cranberry Pistachio Chocolate Chip Bread
- Everything Bagel Ham & Cheese Sweet Rolls with Dijon Glaze
- Hand-tossed Neapolitan Pizza Dough
- No-Knead Orange Cranberry Raisin Bread
- The Best Pizza Dough
- My World Famous Soft & Chewy Hoagie Rolls
Cheesy Bacon Ranch & Chicken Braided Bread Wreath
This Cheesy Bacon Ranch & Chicken Braided Bread Wreath is everything you love about the famous chicken dip but swirled and baked in a delicious soft dough! A true show-stopper and a crowd-pleaser that everyone loves!
- Prep Time: 2 hours
- Cook Time: 45 minutes
- Total Time: 3 hours
- Yield: 2 braids
- Category: Bread
- Method: Baking
- Cuisine: Bread
Ingredients
Bread
- 585–650 grams )4 1/2 – 5 cups) bread flour, spooned and leveled
- 1 teaspoon kosher salt
- 3 tablespoon sugar
- 177 grams (3/4 cup) warm water (~110-120F)
- 295 grams (1 1/4 cup) scalded milk (see note!)
- 7 grams (1 packet) of Red Star Platinum Instant Yeast (1/4 oz packet)
- 5 tablespoon unsalted butter, room temperature
- 2 XL eggs, room temperature, beaten
Cheesy Bacon Chicken Filling
- 16 ounces full fat cream cheese, softened
- 10 slices crispy bacon, chopped
- 4 cups shredded cheddar
- 4 cups cooked, shredded chicken
- 1/4 cup powdered ranch seasoning
- 4 green onions, chopped
- 2 teaspoon dried parsley
- 1 teaspoon black pepper
- 1/2 cup sour cream
Instructions
Make the dough
- In the bowl of a stand mixer fitted with the dough hook, add in the water, scalded milk, sugar, and yeast. Use a whisk or spoon to just mix together. Add in the eggs and turn the mixer on to low to just start to incorporate the eggs. It’s okay if it doesn’t combine together.
- Turn the mixer off and add in 3 cups of flour to the liquid and turn on low to mix. Mix until barely combined; you just want it to start to incorporate. Slowly add more flour and mix until it just barely starts to form a soft dough and starts to pull away from the sides (~5 minutes or so). Depending on your environment you can use as little as 4 1/2 cups and up to 5 cups of flour. When it starts to pull away, add in your salt. Mix for 1 minute and then add in 1 tablespoon of butter at a time. Allow the butter to start to meld into the dough before adding another tablespoon (this should take maybe 2-3 minutes). It may look like it’s not coming back together but it will.
- Once there’s barely any butter visible, turn the mixer up to medium and mix until you have a dough that pulls away from the side of the bowl cleanly as it’s mixing and is smooth and shiny. ~8-9 minutes. A quick test is do a “Window Pane” test to make sure the dough is ready. You’ll grab a small piece of dough and begin to stretch it out thin. You should be able to see through it similar to how you would look through a pane of glass. The dough should not have any tears when you stretch it.
- Put the dough in a large, buttered or sprayed bowl, cover, set in a cool dry place and allow to rise until doubled in size. ~60-90 minutes. When ready to use, remove the cover and punch the dough down.
Make the Cheesy Bacon Chicken Filling
- To a bowl add the cream cheese and sour cream. Using an electric mixer or stand mixer fitted with paddle attachment, mix until smooth and creamy. Add in the rest of the ingredients and mix until combined, stopping a few times to scrape down the sides and bottom. Cover and place in the fridge until ready to use.
Shape the braided wreath
- Preheat the oven to 400F, rack in the middle.
- Remove the chicken filling from the fridge 20-30 minutes before you’re ready to make the braid. It’s easier to spread when it’s softened. Place the dough out a lightly floured board and divide into 2 balls. This recipe makes 2 braided wreaths. You can wrap the dough up and set in the fridge to make after the one loaf cools or freeze it for up to 2 months. Roll out one loaf into a 12×8” rectangle.
- To the dough add half of the cheesy bacon chicken filling. Roll up the dough so it’s snug and pinch the seams together. For the ends, just tuck under and pinch them to seal against the bottom.
- Split the dough in half length-wise and flip the cut sides facing upwards. Gently overlap the pieces to form a braid. Pinch the two bottom pieces together. Place the braid gently on parchment paper. Grab one end and gently move it to make a circle. Pinch both ends together to form a circle. Place the bread and parchment paper on the bottom of the Bread Cloche and cover it with the lid. Set the Bread Cloche off to the side to proof for 30 minutes while the oven heats up.
- When ready to bake (do not remove the lid), place the Bread Cloche into the oven. Bake covered for 30 minutes then remove the lid and bake uncovered for 10-15 minutes or until the internal bread temp reads 200F.
- Remove the Bread Cloche from the oven and the braided bread wreath and the parchment paper is moved onto a cooling rack.
- Allow to cool for at least 30 minutes before cutting.
Notes
Scalded milk is milk that is brought just to the point where it ALMOST is boiling. You want to see some bubbles around the edge of the pan. Immediately shut off the heat and allow to cool for 5-10 minutes.






Leave a Reply