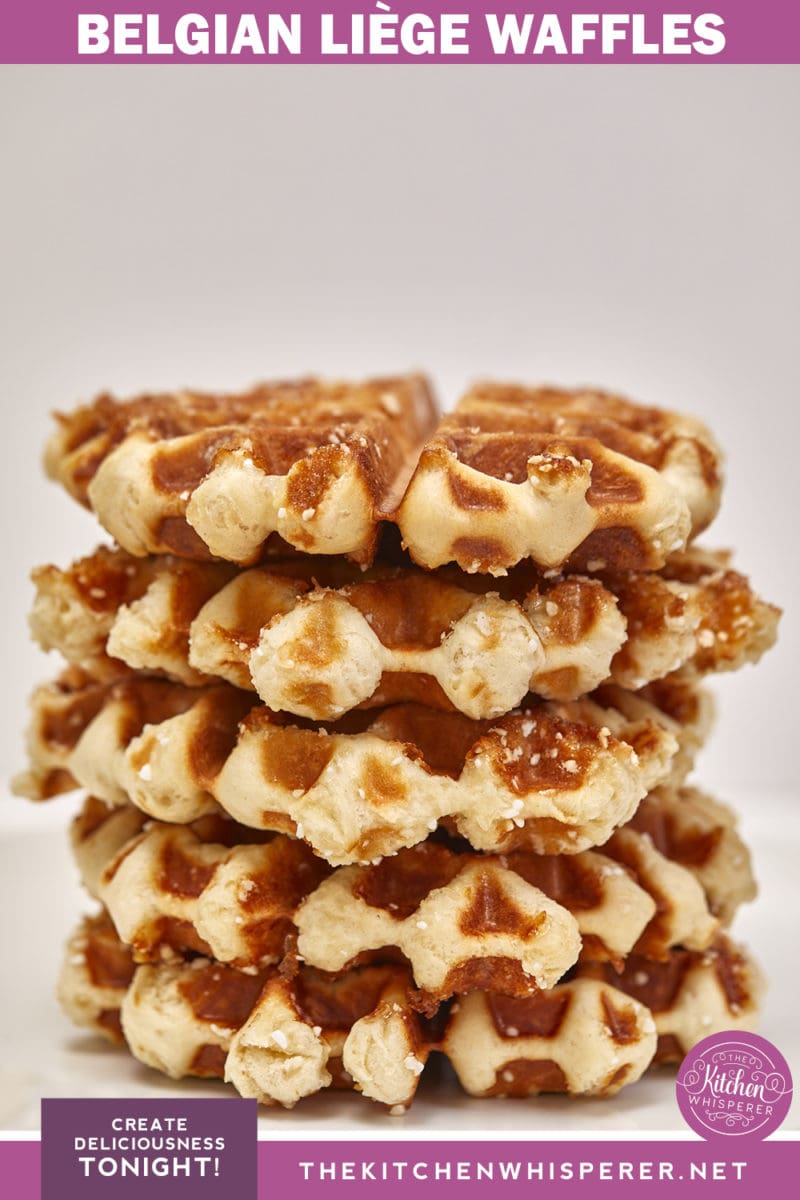
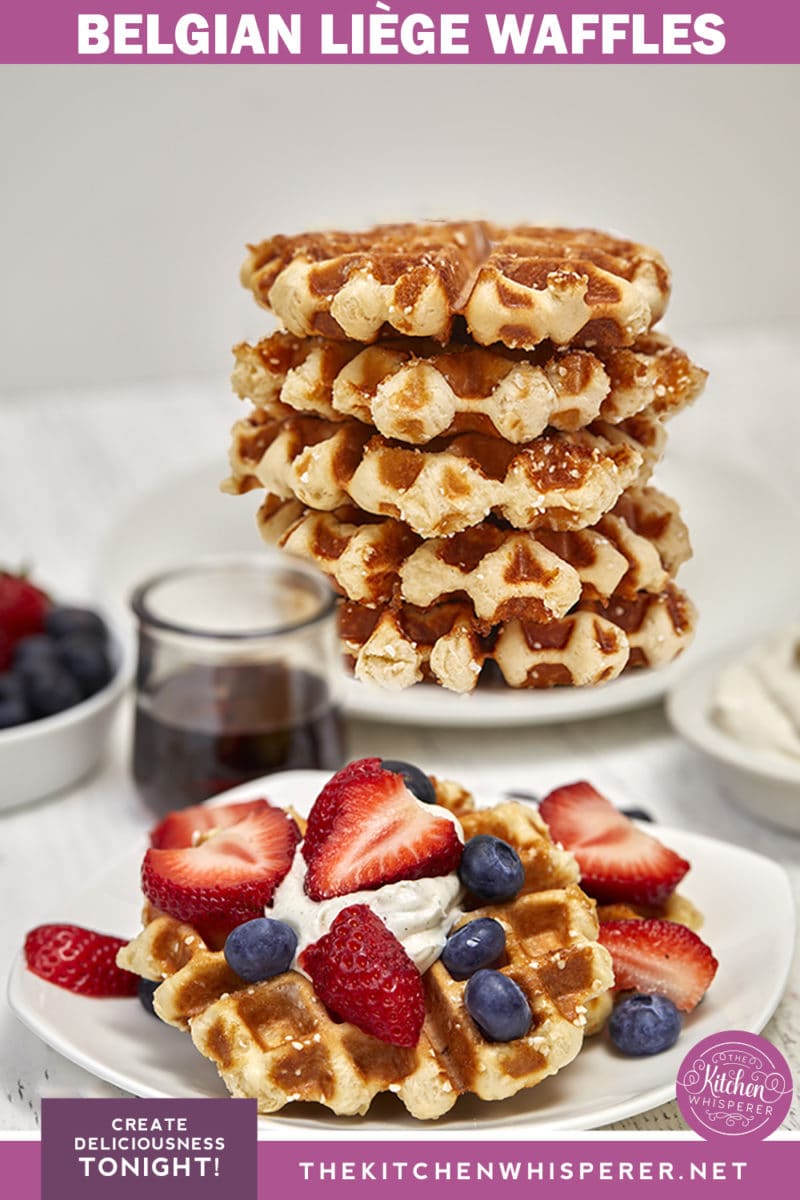
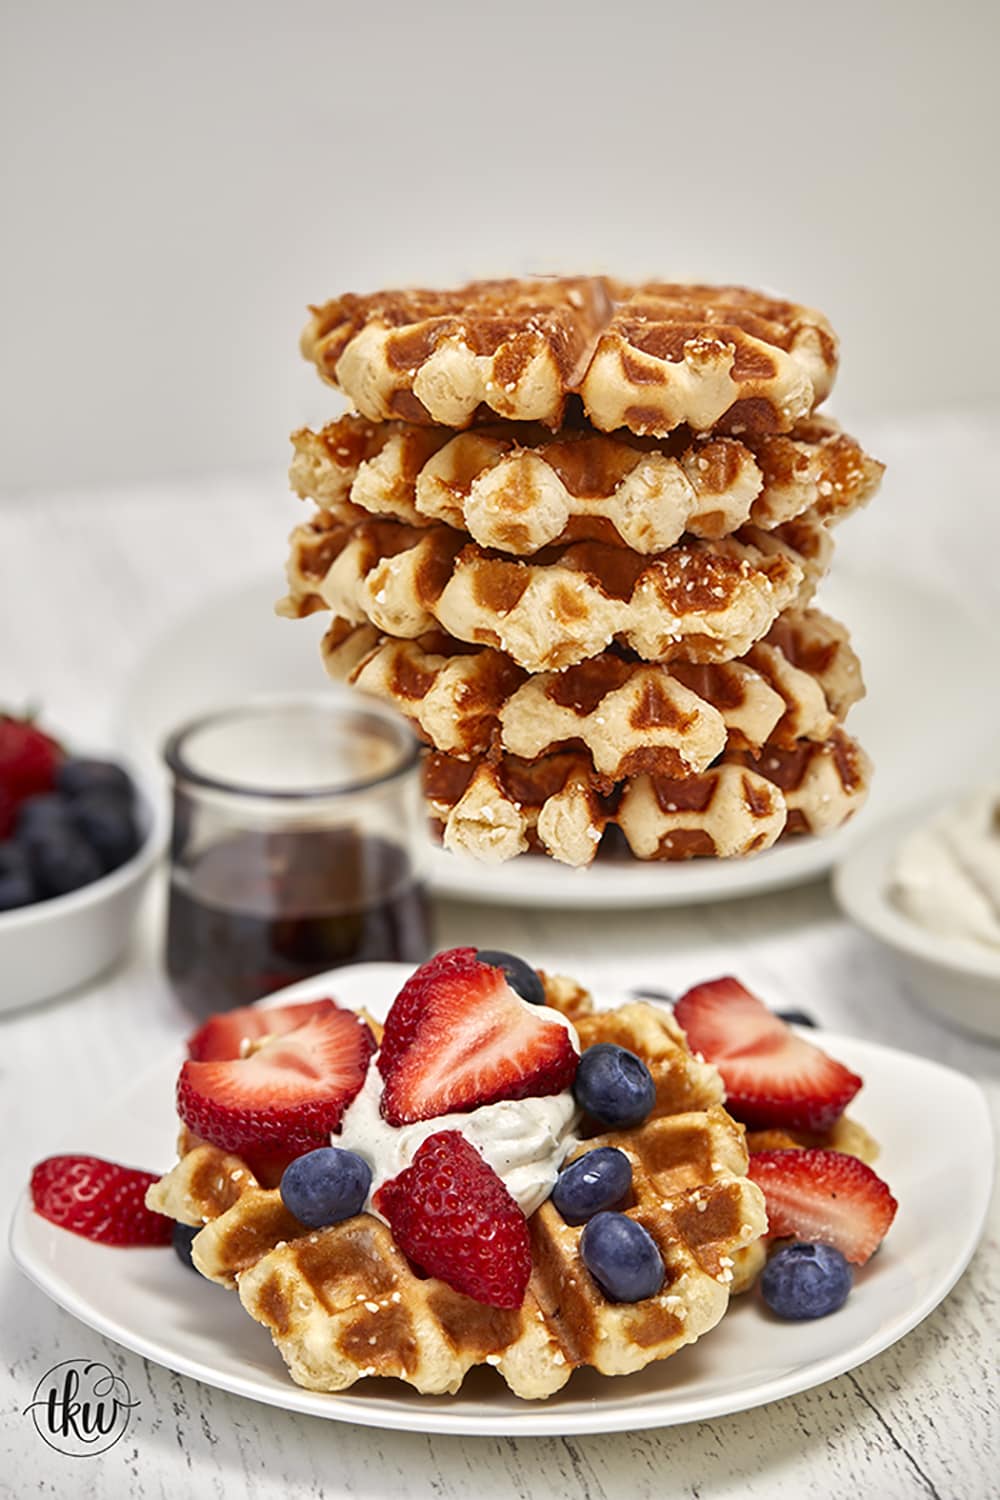
Brioche-style yeasted waffle dough with bits of pearl sugar creates the most amazing caramelized crusted waffle.
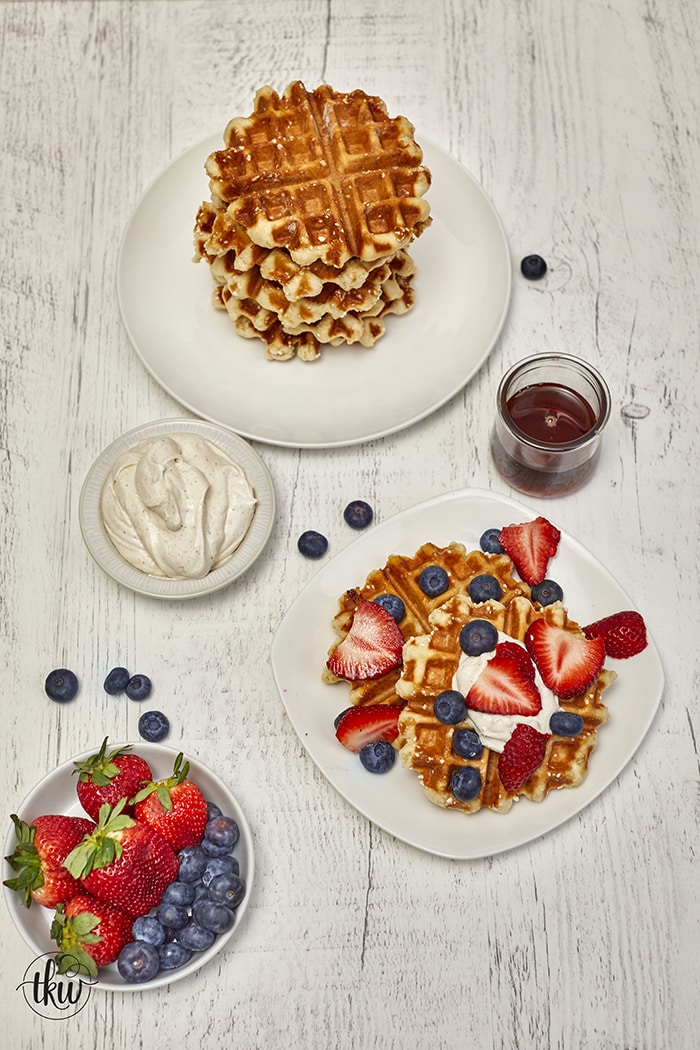
When it comes to waffles, I was never that kid who liked the ones in the box growing up (or my Mom’s for that matter). She made batter-type waffles and I prefer these Liège ones or the other type of American Belgian waffles.
What about you?
8-1-21 update
There was a typo in the amount of flour in the original recipe posted. I wrote down the wrong numbers in error which led to the dough not really forming a dough. I just got done re-testing this 4 times with the correct measurements and these waffles came out perfectly each time just like in the pictures.
The correct flour measurement is below. My apologies for this error. I’m human and sometimes can’t read my own writing apparently 🙂
What’s the Difference between Liège and American Belgian Waffles?
For me, there are several differences in taste, texture, and ingredients.
American Belgian Waffles
These are most of a batter consistency that has no yeast but rather uses leavening agents to get the rise and fluffiness. They also require you to fold your whipped egg whites in.
These are super fluffy and light inside with a golden brown and crisp to the exterior.
Get the full details and recipe here.
Liège Waffles
These are yeasted waffles that require a 2-step proofing and pearl sugar (I’ll go further into what that is a little later). This dough is made, proofed, punched down, folded, and then cold fermented in the fridge for 24 hours before adding the sugar.
They are sweeter (due to the addition of the pearl sugar), and crisper with almost a crunch to them however the inside is still soft. The sugars will caramelize when cooking thus making them crunchy.
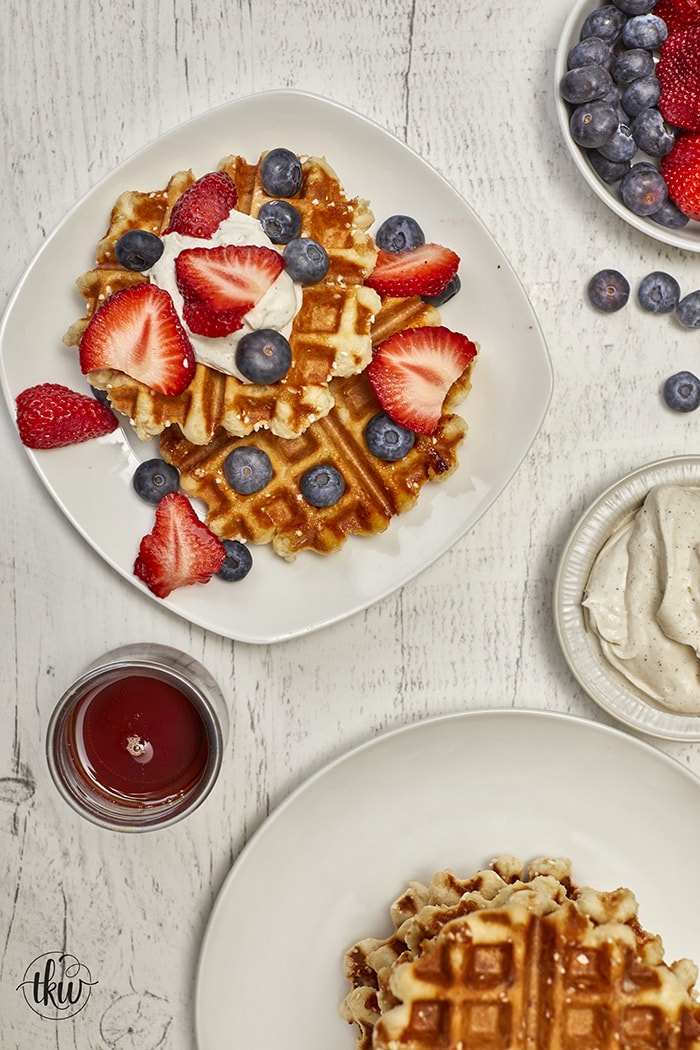
Let’s Make Waffles!
- In the bowl of a stand mixer fitted with the paddle attachment, add the milk, water, and yeast. If using Active Dry Yeast, gently mix with a spatula and set aside to bloom the yeast for ~5-10 minutes. Once bloomed, add in the granulated sugar, and brown sugar.
If using Instant Yeast, add the milk, water, yeast, granulated sugar, and brown sugar. - Add in the eggs, honey, and vanilla. Mix, add some of the flour and mix scraping down the dough hook.
- Add in the salt and a little bit of flour at a time with the mixer on low until all of the flour is combined.
- Next, add the butter one tablespoon at a time. Be patient here as the butter will take a few minutes to incorporate itself into the dough. The dough will come back together.
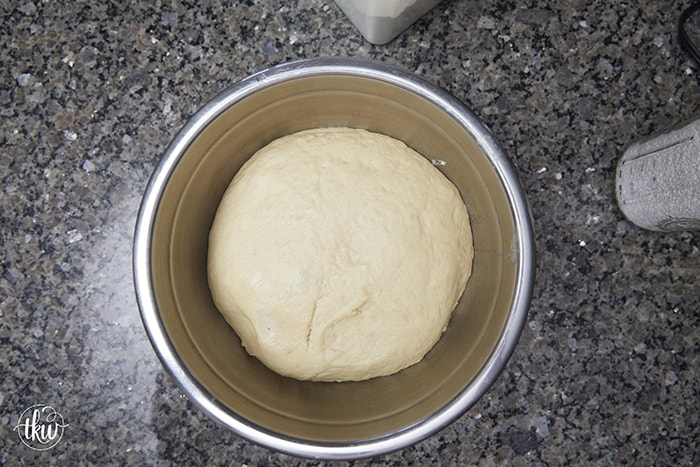
- Transfer the dough to a larger, greased bowl and allow to double in size.
- Punch it down, fold it, cover it again, and place it in the fridge overnight*.
Chef’s Tip about Cold Fermenting
I prefer to cold ferment my dough as it gives the end product a more developed flavor. But you don’t have to do so. You can use it right away after it’s doubled in size and you’ve punched it down.
Pearl Sugar
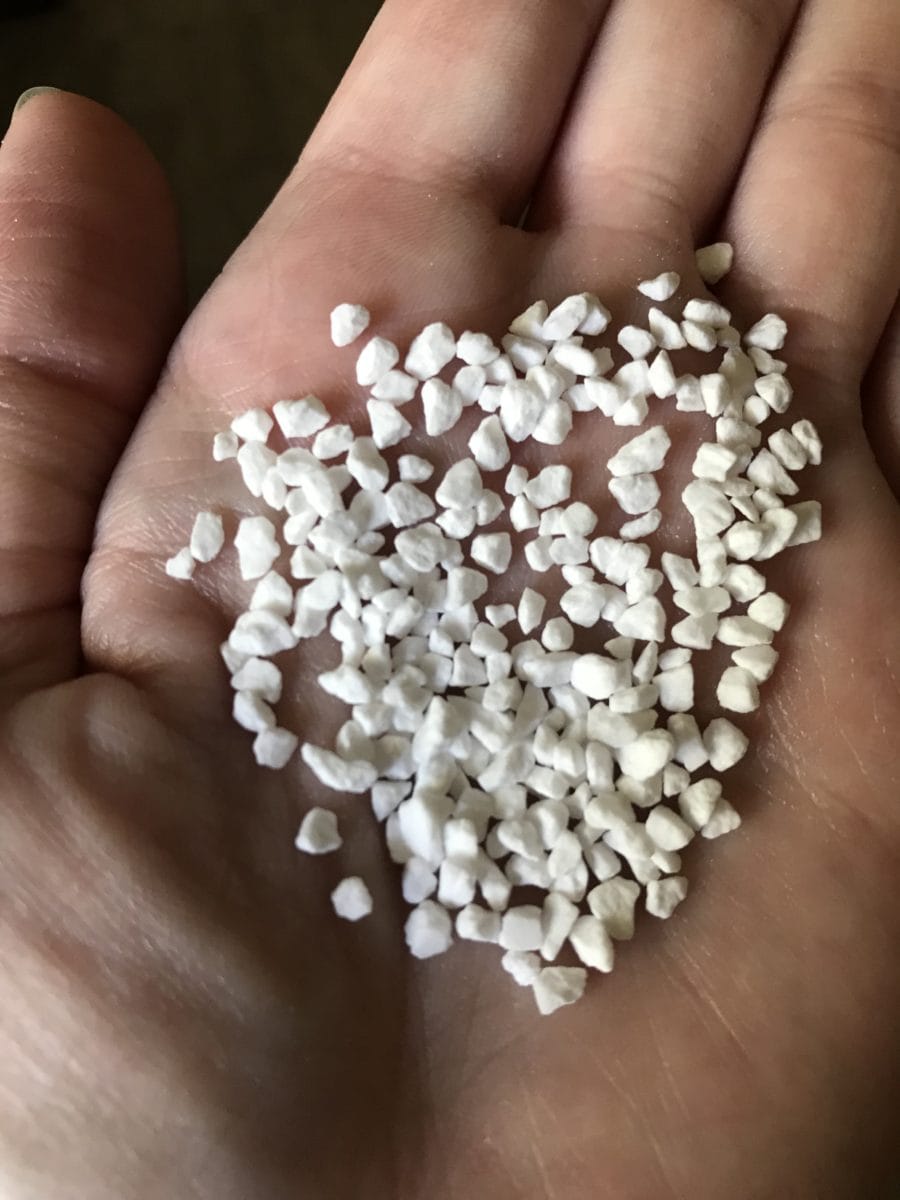
Belgian Pearl Sugar is simply sugar that’s been tightly compressed forming larger, chunks of sugar that won’t dissolve when baking.
Note: There is something called Swedish Pearl Sugar – that is different than Belgian. They are smaller in size and used mainly for topping or garnished baked goods. Please do not use them in this recipe as you won’t get the same caramelization and crunch as you would with Belgian.
Is there a substitute or can you make your own?
So there are debates – some have said you can take sugar cubes and smash them. I’ve not tried that and I don’t feel like making a mess with the sugar cubes. These are fairly inexpensive and last a while (in a dry container).
I get mine from Amazon.
Incorporate the Pearl Sugar
- Flatten the dough out into a rectangle and sprinkle in the pearl sugar (I tend to add 1 1/2 cups first then the rest on the last fold shown below).
- Fold up the bottom third of the dough onto itself and then the top third overtop the folded-up piece (like an envelope).
- Press to seal the seam and then add the remaining pearl sugar.
- Fold one side over to the middle, pressing down, and then the remaining side overtop.
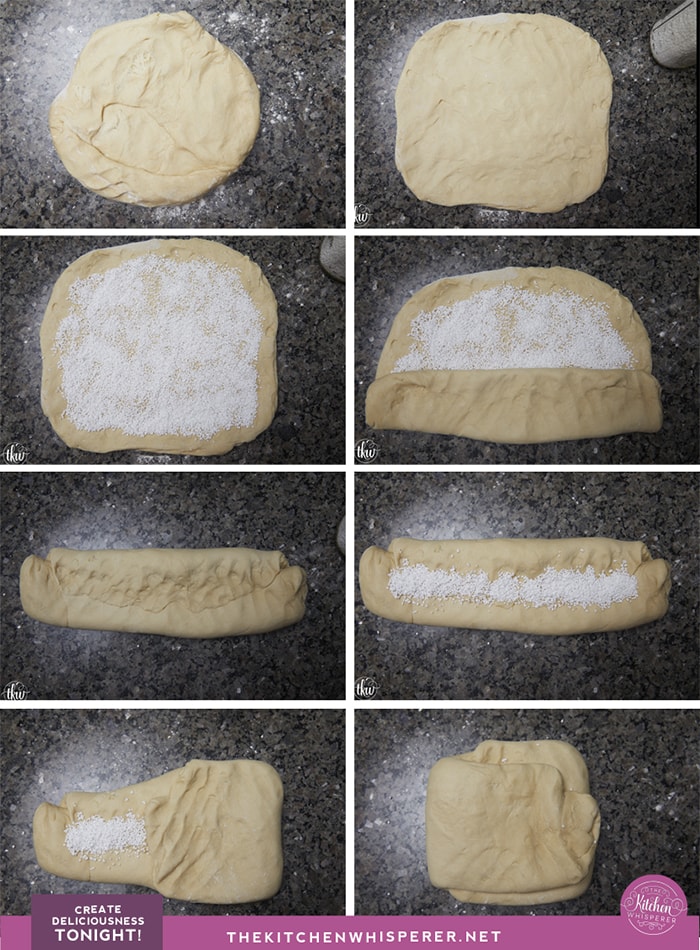
Shape & Form Balls
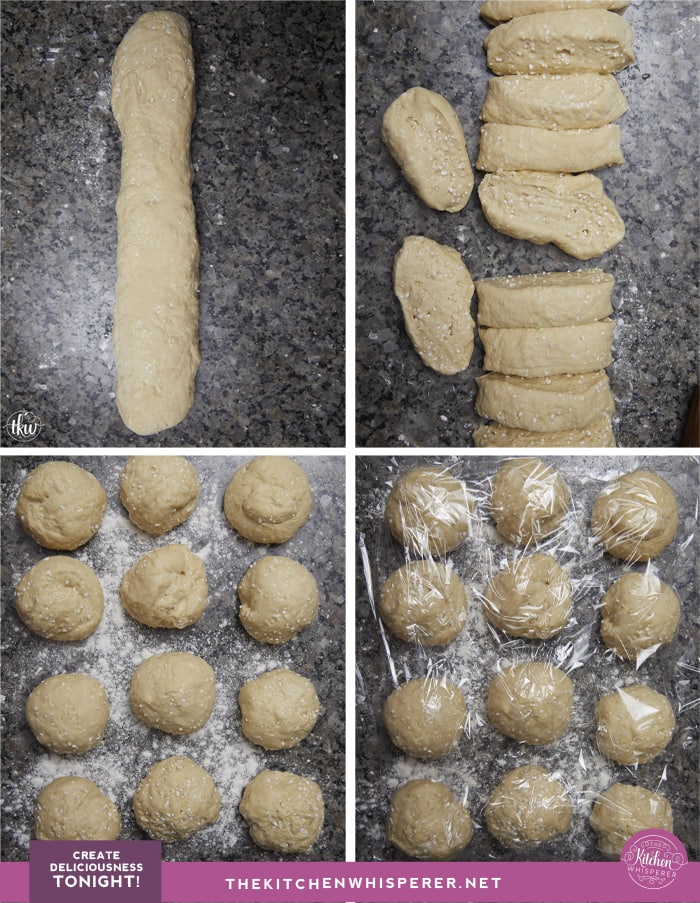
- Press to seal the seam and gently roll/rock back and forth creating a snake/log.
- Using a serrated knife, cut into 12 equal pieces.
- Roll into balls and cover with plastic wrap while your waffle maker heats up.
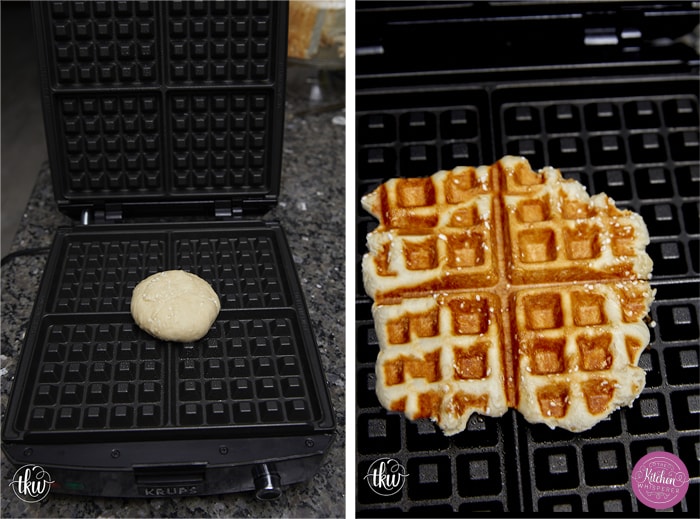
- Lightly spray your waffle maker, add one dough ball to the center, and close the lid. Cook per your maker’s instructions.
Chef’s Tip on Waffle Makers
I swear by THIS waffle maker. It has deep pockets AND the plates are removable.
The key to cooking these waffles is to find the setting of your waffle iron that is hot enough to caramelize the pearl sugar but not so hot that it’ll burn the sugar and give you an underdone waffle.
I would advise starting on a low setting and gradually increasing the temperature until you find your “sweet spot”.
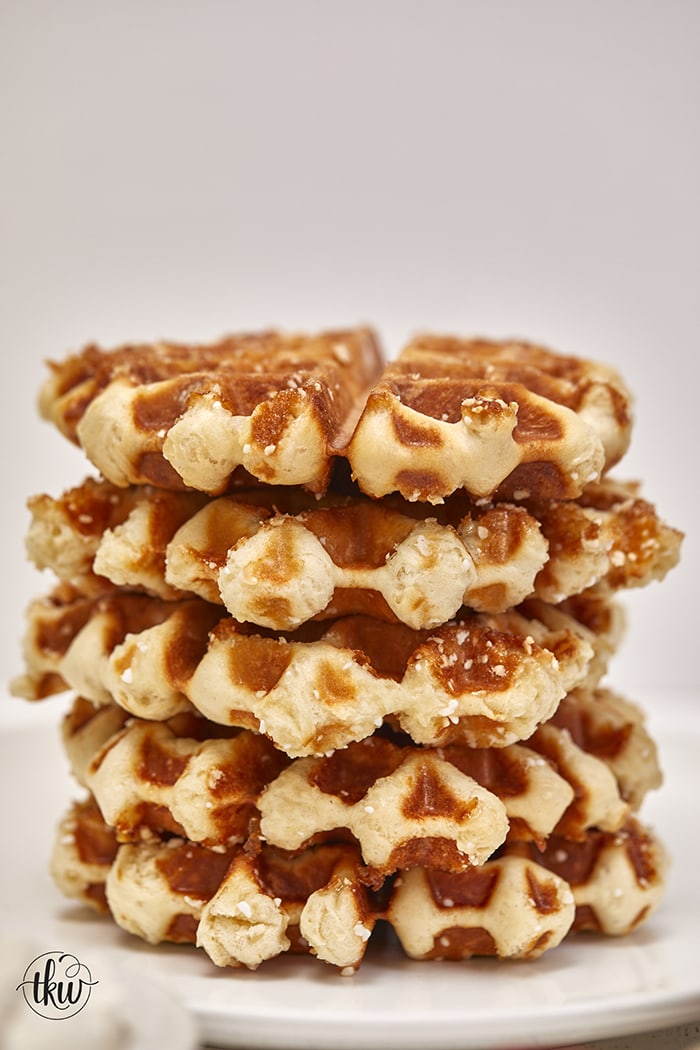
Golden Brown, Crunchy & Delicious!
That’s what these waffles are! They are so crunchy, sweet (but not overly sweet), and almost have a caramelized candied taste.
These are great straight from the maker (but let them cool slightly as hot sugar BURNS!). Trust me, I know this all too well!
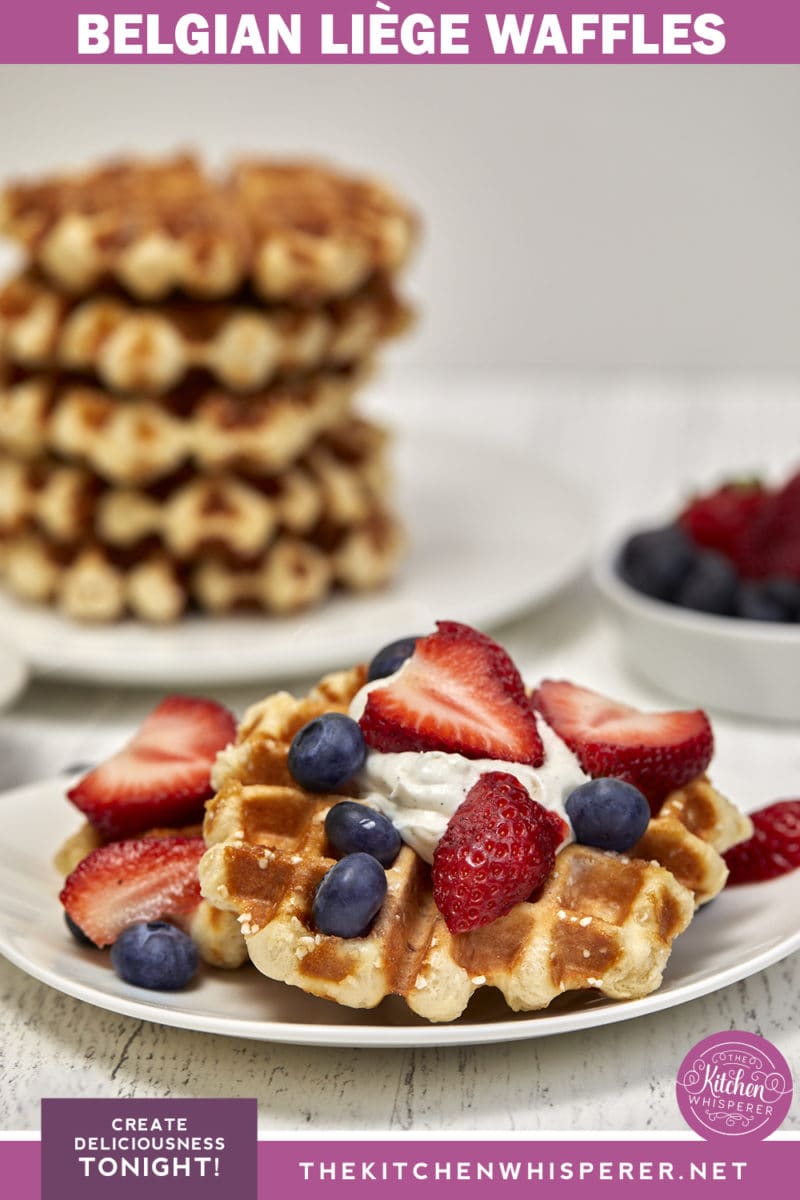
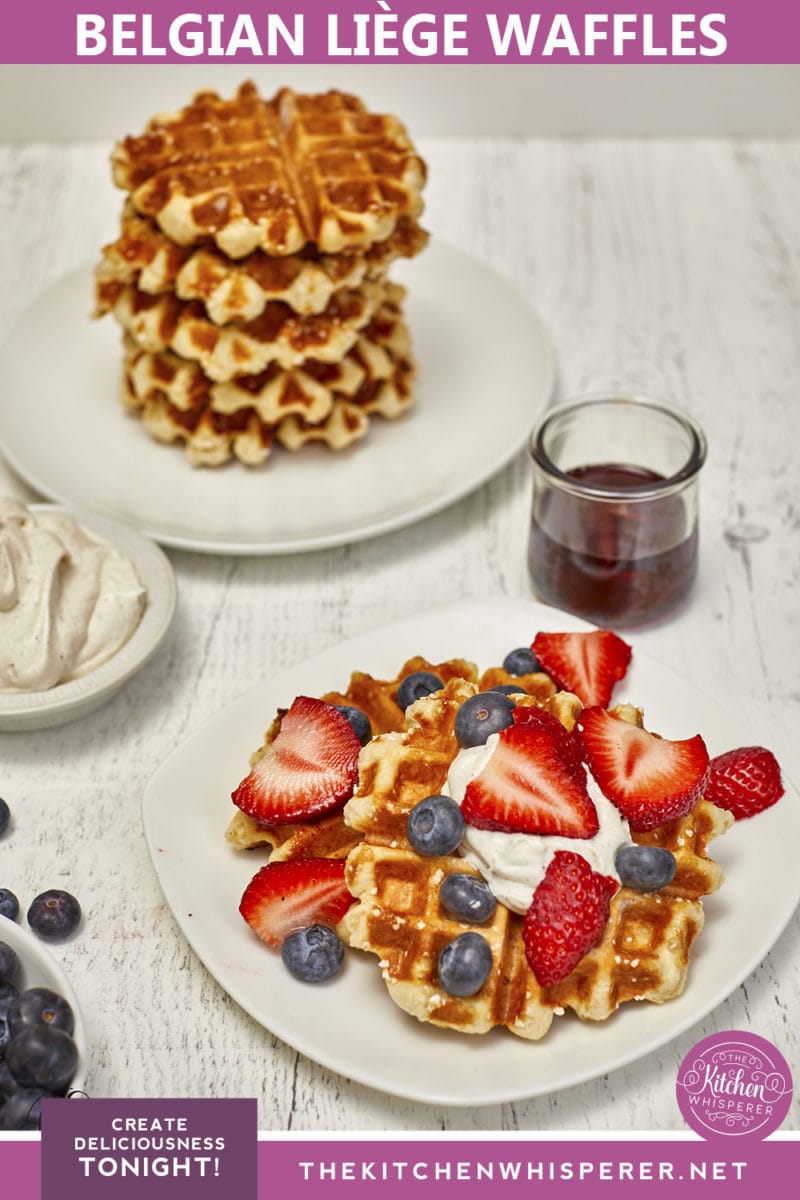
Liège Waffle Toppings
Gosh.. the sky is the limit!
- Confectioners’ sugar
- Syrup
- Fresh Fruit
- Whipped Cream
- Yogurt
- Peanut Butter
- Nutella
- Ice Cream
- …whatever your little heart desires!
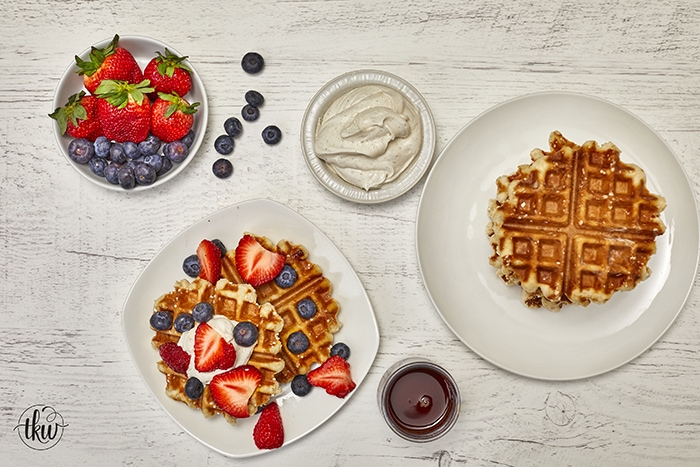
Ways to Serve Liège Waffles
I LOVE this section! These aren’t just for breakfast or brunch! Oh no, sweetpea, these are like a magic carpet to Delicious Town!
- Breakfast/Brunch – serve with suggestions above
- Lunch – slice in half, toast, and add your favorite sandwich items
- Dinner – top with fried chicken (regular, hot honey, Nashville), top or fill with pulled pork and BBQ sauce
- Pizza – yes, for real! Top with sauce, cheese, and toppings, and bake!
- Snacks – cut into sections and serve with assorted cheeses, and dips (cheese dip, chocolate, etc) and enjoy!
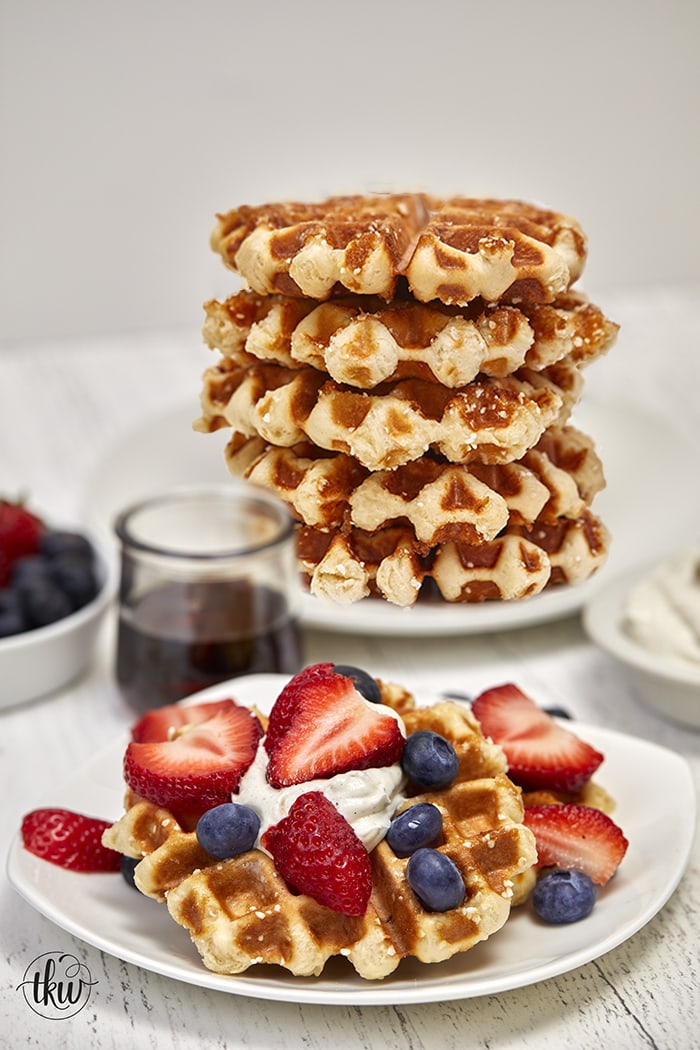
Make-Ahead and Freezer Waffles
Make-Ahead
To make these for a crowd, you can keep the waffles warm in a 200 F (95 C) oven. Simply make, place on an oven-safe cooling rack set on a baking sheet, and place in the oven until ready to serve (within 30 minutes).
Freezer Waffles
These waffles can be stored in the freezer in a freezer-safe bag for up to 3 months. For ease, wrap each cooled waffle individually and place them in a freezer bag.
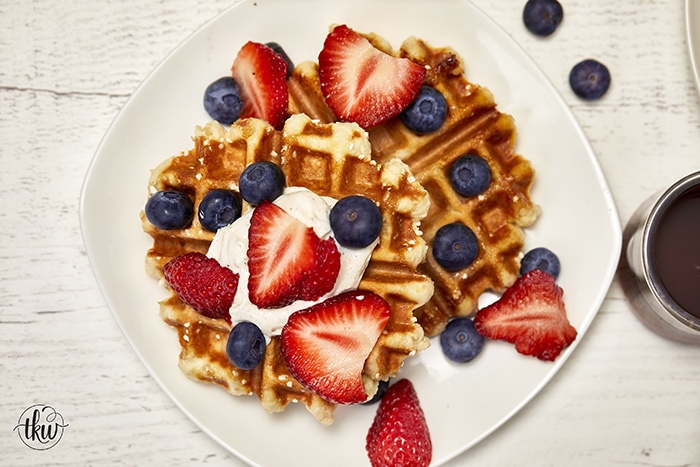
Reheating Waffles
Toast the waffles or place them in a 250F oven until warmed through.
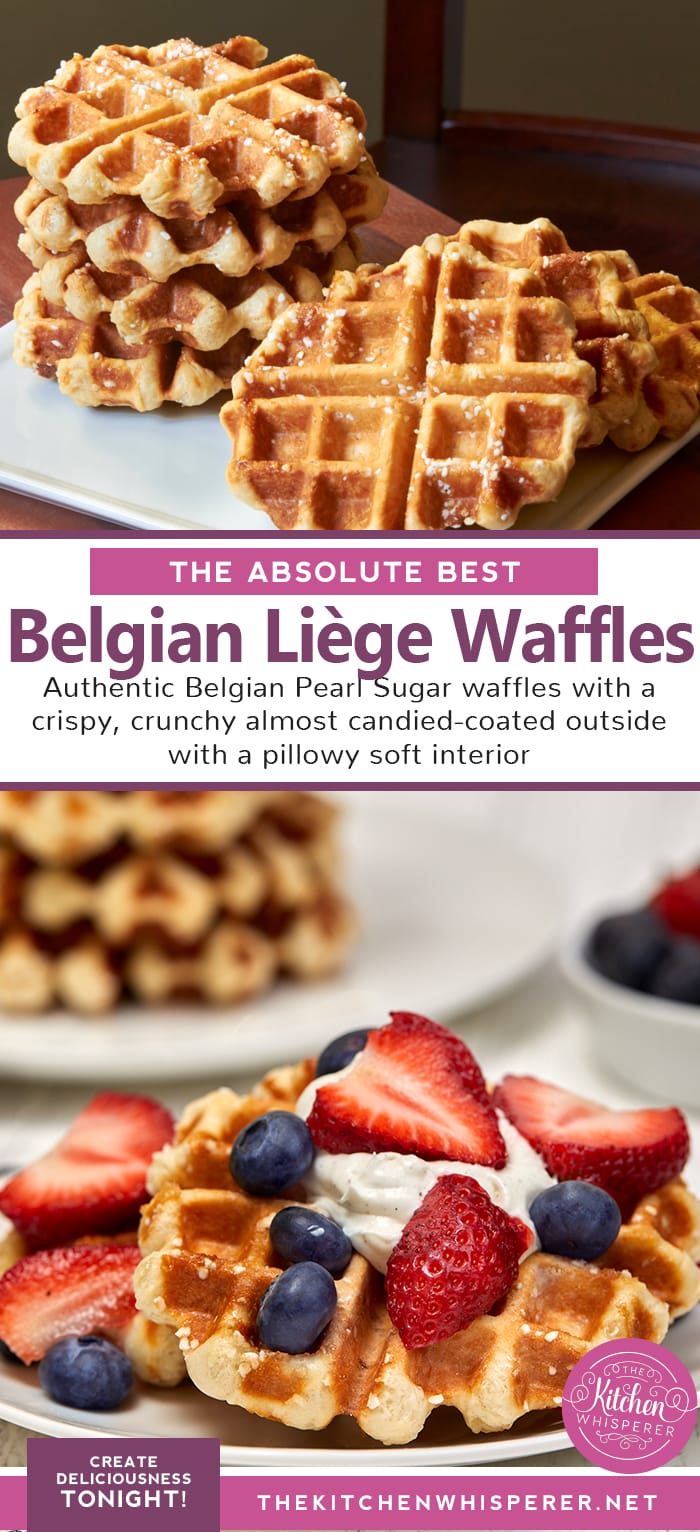
Authentic Belgian Liège Waffles
Brioche-style yeast waffle dough with bits of pearl sugar creates the most amazing caramelized crusted waffle
- Prep Time: 10
- Cook Time: 5-10 minutes
- Total Time: 10-25 minutes
- Yield: 12 waffles
- Category: breakfast, waffles, snacks
- Method: Waffle Maker
- Cuisine: Breakfast, waffles, snackes, dessert
Ingredients
- 245 grams (1 cup) whole milk
- 118.5 grams (1/2 cup) warm water
- 1 package (7 gr) instant yeast (can use active dry but you will have to bloom it first)
- 2 tablespoon granulated sugar
- 3 tablespoon brown sugar
- 2 tablespoon honey
- 2 XL eggs, room temp and lightly beaten
- 1 tablespoon vanilla bean paste (can use extract)
- 1/2 cup unsalted butter, very soft but not melted
- 741–800 grams (~5 3/4 – 6 1/4 cups) AP flour
- 6 grams (1 teaspoon) kosher salt
- 2 cups pearl sugar
Instructions
- In the bowl of a stand mixer fitted with the paddle attachment, add the milk, water, and yeast
- If using Active Dry Yeast, gently mix with a spatula and set aside to bloom the yeast for ~5-10 minutes. Once bloomed, add in the granulated sugar, and brown sugar. Mix just until combined and continue to step 2.If using Instant Yeast, add the milk, water, yeast, granulated sugar, and brown sugar. Mix just until combined and continue to step 2.
- Stop the mixer and add in the eggs, honey, and vanilla. Mix until combined. Add in 2 cups of flour and mix until the flour is hydrated and mostly mixed in. Stop the mixer, scrape down the paddle attachment, and switch to the dough hook.
- Add in the salt and 1/2 cup of flour at a time with the mixer on low until all of the flour is combined. You may not need all of the flour depending on how humid your space is. The flour dough should start to pull away slightly. Next, add in the butter one tablespoon at a time. Be patient here as the butter will take a few minutes to incorporate itself into the dough. The dough will come back together. Remove the dough ball from the bowl and transfer it to a larger clean bowl lightly greased. Cover with plastic wrap and let sit on the counter in a warm, dry place until doubled in size (1-3 hours).
- When doubled, deflate the dough by punching it down in the center and bringing the edges of the dough over the top (like you’re folding it into itself). Replace the cover and put the bowl of dough in the fridge to allow it to ferment overnight.*Note you can skip the overnight fridge resting if you are short on time. Move to step 6 to continue. The cold ferment just helps develop more flavors in the waffle.
- If you cold fermented the dough, the next day, remove the dough from the fridge and allow the dough to come to room temp (about 2 hours).
- Remove the dough from the bowl and place it on a lightly floured board. Flatten the dough out into a rectangle and spread out 1 1/2 cups of pearl sugar. Fold the bottom third up and then the top third on top of that. Press down and add the rest of the pearl sugar. Fold the sides up to form a rectangle. Slowly cup the dough and roll it out into a log about 12-14” long Divide the dough into 12 pieces, shape into balls, flatten slightly into round discs, and place on a parchment-lined pan. Cover with lightly sprayed plastic wrap.
- Heat up your Belgian waffle maker. Since all makers are different, you’ll have to fiddle around with yours. I would advise starting off on low and increase the temperature a little at a time until you find the correct setting that will caramelize your sugars and cook your waffles to the perfect golden caramel brown. Spray the iron with non-stick spray and place a round of dough in the center of your waffle maker. Close and cook until the waffle puffs up, cooked through and the sugar pearls are caramelized. Carefully remove from the maker, and serve immediately or place it on a cooling rack.
Notes
*time does not include proofing or fermenting time









Leave a Reply