With over 35 years of professional experience, I’m sharing stretching tips, dough techniques, and pizza knowledge on becoming your own EGGspert pizzaiolo!
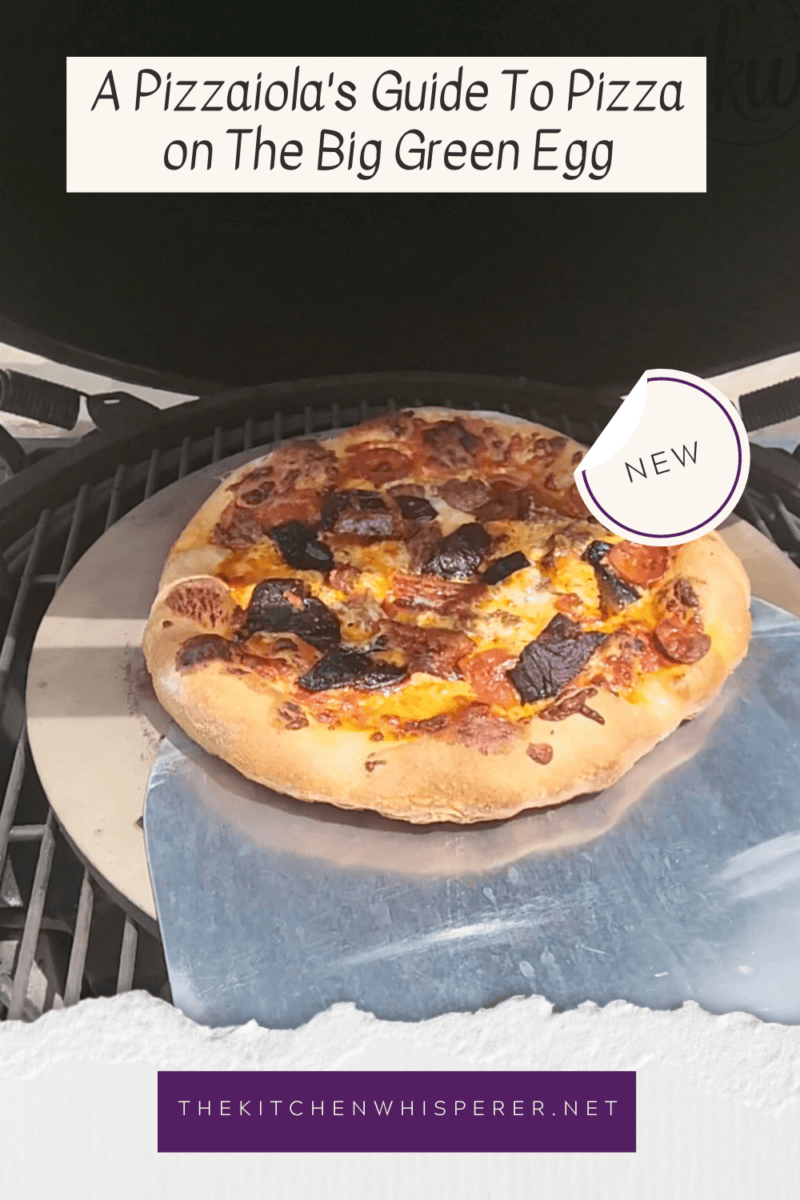
People always ask if I really eat pizza every single day. Yes folks, I really do. It’s that one food that honestly I never get tired of or bored with. I think it’s honestly because I will switch it up and pretty much pizzafy anything.
Mastering Pizza On The Grill
So just like anything in life, in order to get really good at something you need to practice. So yes, making dough, stretching it, and so forth takes practice. But I’m here to help. Short of you flying me out to help train you (and yes I’ve done this a bunch of times), you can always ask me for help!
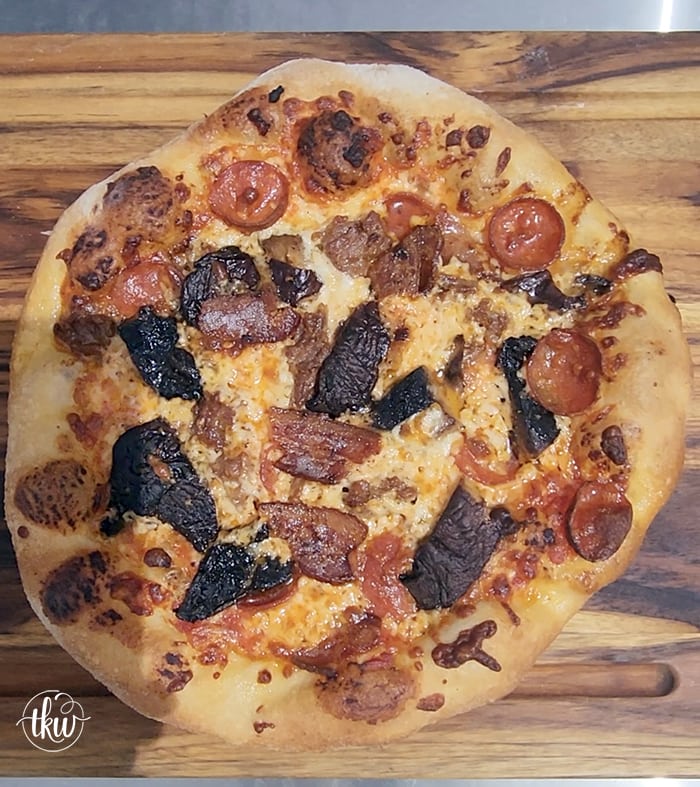
Cold Fermenting Pizza Dough
It all starts with pizza dough. Typically I make a Neapolotian-Style pizza on the egg. You can make others, sure, but here I go with the classic hand-tossed.
You can grab my pizza dough recipe here.
Cold Ferment Your Pizza Dough
I’m sorry but same-day or 1-hour dough recipes make me shudder. Yes, they work BUT you do not get the same flavor or texture you would get if you let it cold ferment. Even my gluten-free dough rests for 48 hours. Now if you’re talking Naan or the like that’s fine but again, that’s not pizza dough.
Allowing your dough to cold ferment for 48-72 hours achieves the following things:
- It allows the gluten to relax and makes the dough way easier to work with
- It develops a way better texture (hello webbing and ‘bat caves’!)
- The taste is so much more developed
Equipment Needed To Make Pizza On The Big Green Egg
Well since this talks about making it on a Big Green Egg, you need one of those but honestly, you can follow this on most grills provided you can bake your pizza using the indirect method. Other things you need:
- Pizza Paddle & a Pizza Peel – read what each one does
- Pizza Stone – I use the official BGE brand. This is my favorite for a home oven
- convEGGtor
- Preheated Big Green Egg of at least 550-600F. You can go up to 700F. You want to make sure that the stone itself is reading at that temperature. Do not just go by the temperature gauge on the Egg.
Bench Flour
First, no parchment paper on this style of dough. You only need that for a gluten-free or alternative crust dough.
The most frequent question I get asked from people is how to prevent their pizza from sticking to the pizza paddle. I use Bench Flour. Bench flour is 80% flour mixed with 20% semolina. Not cornmeal but semolina. Semolina has a better texture that allows the dough to slide off easier
Bench Flour = 80% Flour + 20% Semolina
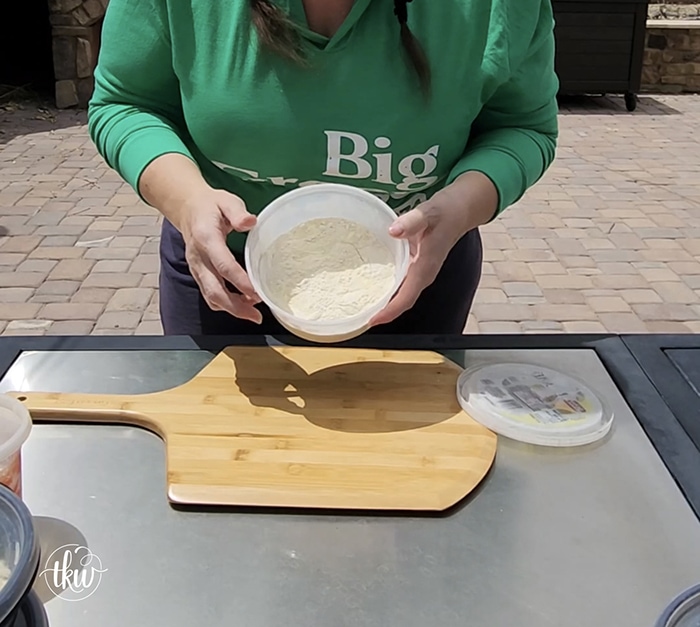
All you need is a light dusting on your surface and the dough should be fine. Depending on how fast you go with stretching, topping your pizza (as well as how much topping you put on) you may need to add more bench flour.
Just don’t add a lot as the more you add, the more you risk burning flour on your pizza stone.
Stretching Pizza Dough & Fixing Holes
As I stress in my video, NEVER use a rolling pin on pizza dough – unless is a very specific type of pizza dough.
- Shape the dough leaving the rim or cornicione untouched. You will start from the middle of the dough and push towards the edge, pressing down and around. By doing this you’re pushing the air to the crust but still, keeping it in the pizza dough. Don’t stretch your dough super thin either. It will be thin and light will shine through (called the windowpane effect) but the dough is still strong.
- Once you have your 10-12″ shape, place it on a pizza peel coated with your bench flour. If need be, you can adjust the shape
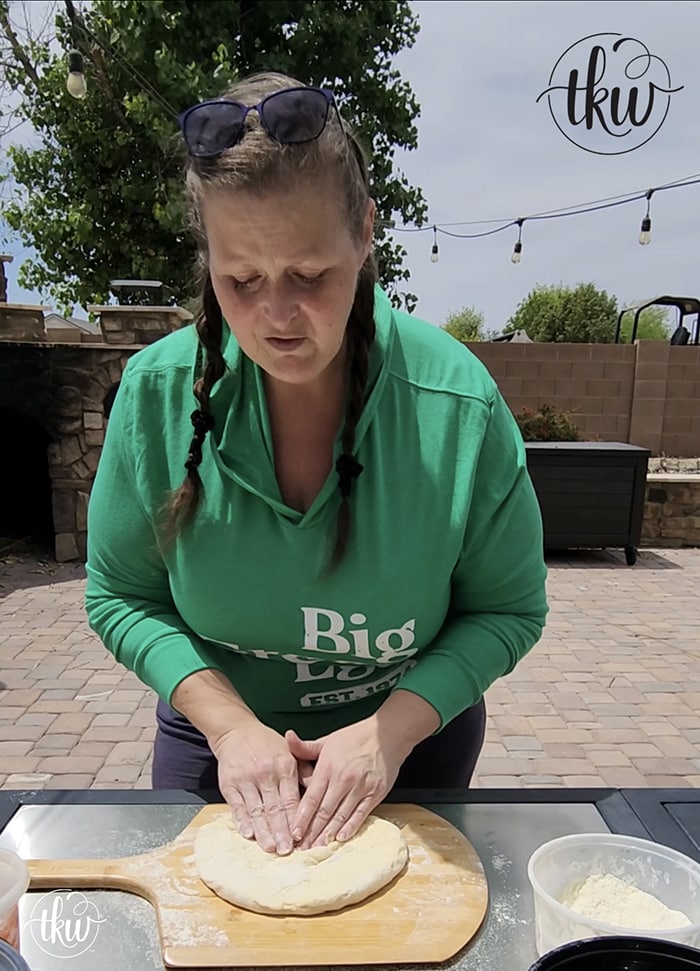
*If you get a hole, don’t panic. Simply squeeze the hole together and close it up. You’re simply patching it like you would say a hole in your jeans.
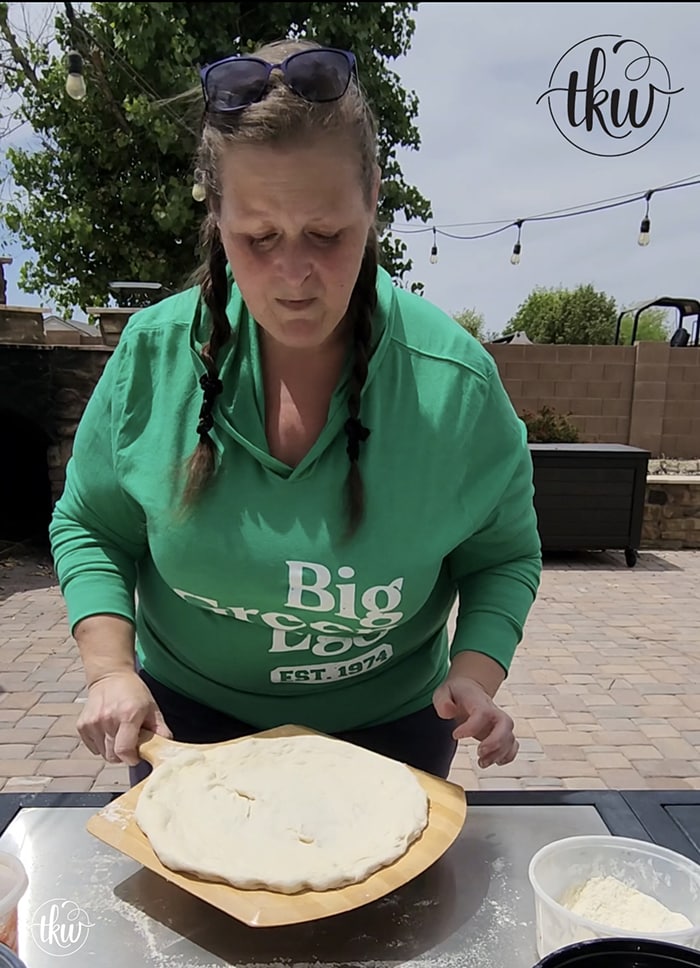
And always, give the pizza paddle a shimmy to make sure the dough isn’t sticking.
Toppings – Less Is More (really!)
Yes, it pains my heart to write or say these things. Coming from a Chef that has an entire fridge drawer dedicated to just cheese. You really want to go light on the toppings on this style of pizza as it’s thinner in the middle. The more toppings you add, the likelier it’s to stick in the middle.
Now you can add more toppings but just don’t stretch the dough out as thin.
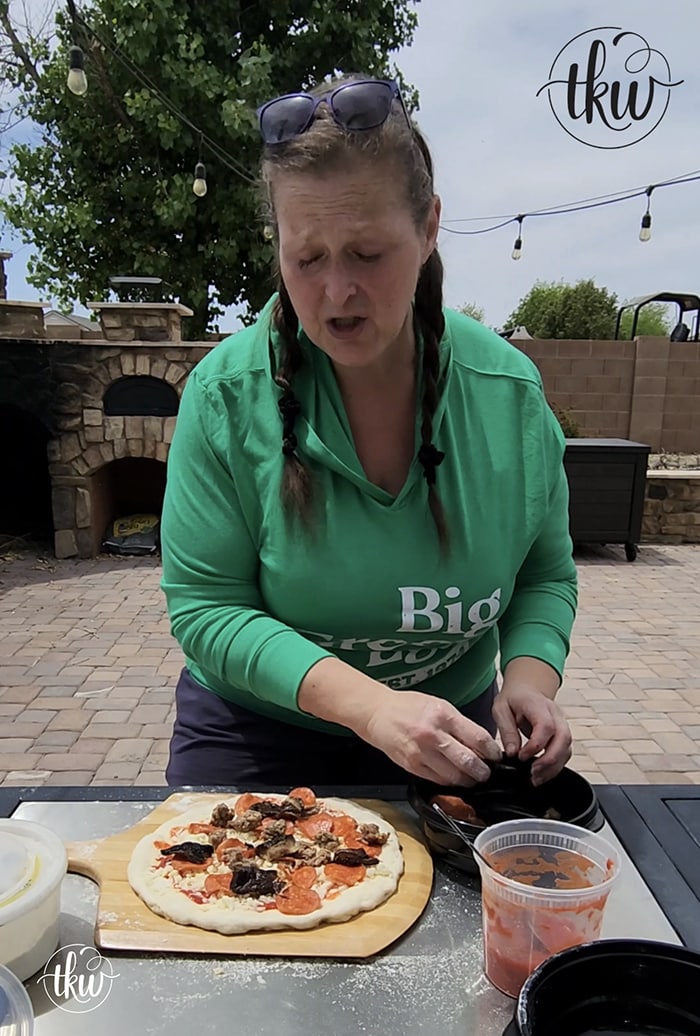
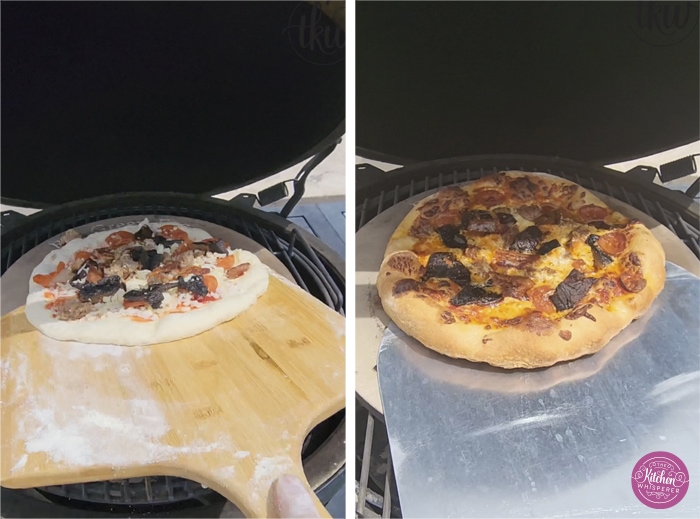
Bake & Enjoy!
Once the stone is reading at 550F, in one fail swoop the pizza was launched onto the stone, the dome closed and it was left to bake for about 8-10 minutes.
Unlike a traditional pizza oven, you don’t have to keep turning the pizza. On the Egg, it just cooks indirectly so the entire pizza cooks evenly.
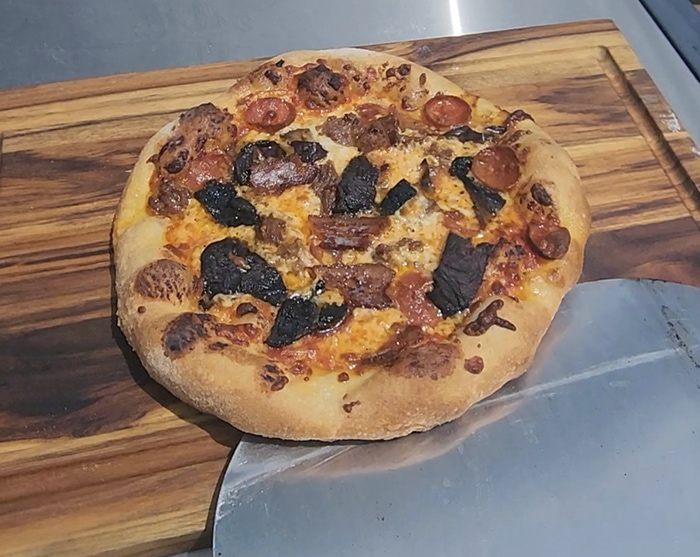
Pizza Time Is My Favorite Time
God I love pizza! So let’s answer a few questions:
- What type of flour should I use? – I ONLY use Le 5 Stagioni 00 flour.
- What do you proof your dough in? For home use, I love these Dough Tray Kits
- What are the black containers you have your dough in? – I love these!
- What mixer do you use for your pizza dough? I absolutely LOVE my Bosch Mixer! I can do 12 pounds of dough at a time!
- I don’t have a grill, can I make this in the oven? Yes!
- Place at least 1 pizza stone on the bottom rack of the oven. You should also have a 2nd pizza stone on the upper third rack to create a hot box pizza effect. This isn’t required but it’s recommended.
- Preheat the oven to 500-550F (500 for electric and 550F for gas). Allow this to heat up and stay at this temperature for 30 minutes.
- Add the pizza to the bottom pizza stone and bake for ~8 minutes, turning once.
- Move the pizza to the upper stone (if using) and bake for 1-2 minutes if a charred leoparding look on the crust is desired.
- Why are you talking fast/out of breath? – So look at what I’m wearing. It’s a long-sleeved hoodie, right? It was 99F when I made the video next to a 600F grill for almost an hour.




Leave a Reply