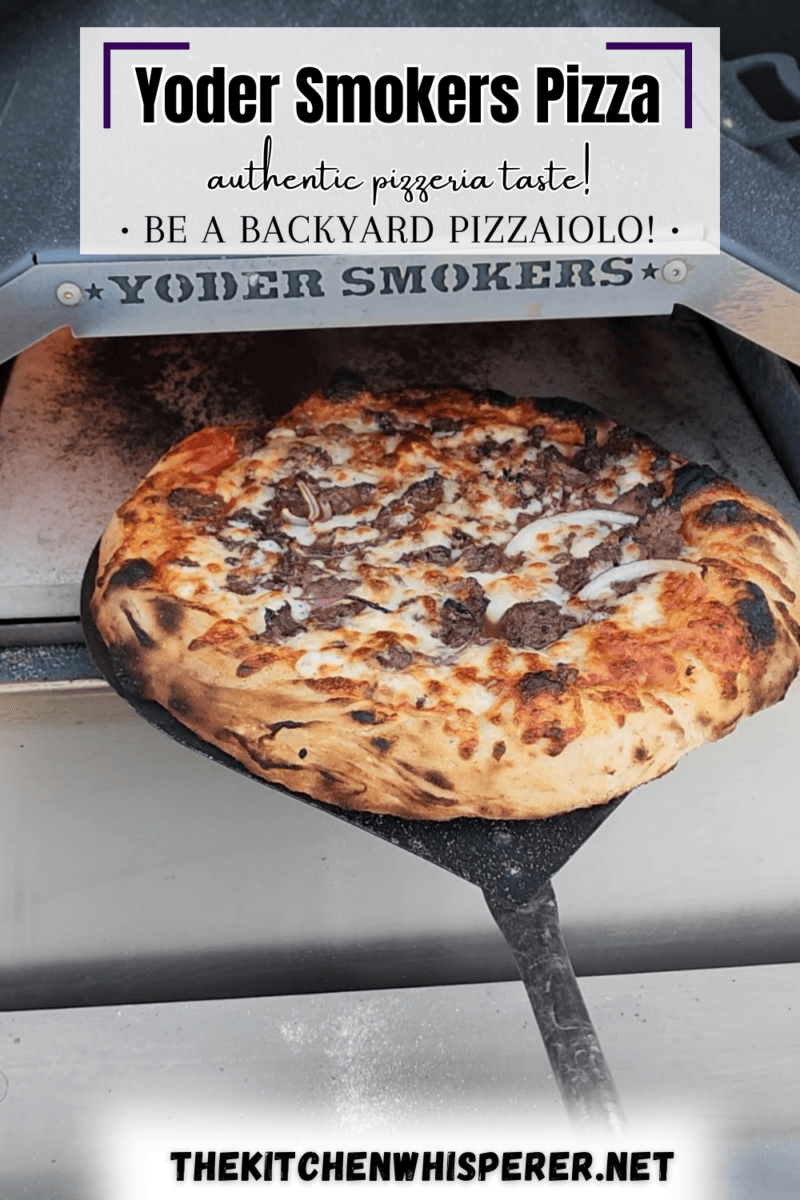
Authentic wood-fired pizzeria-style pizza made in your Yoder Smokers Pizza Oven. This is the must-have accessory for your Yoder Smoker! Don’t have a Yoder? Upgrade today!
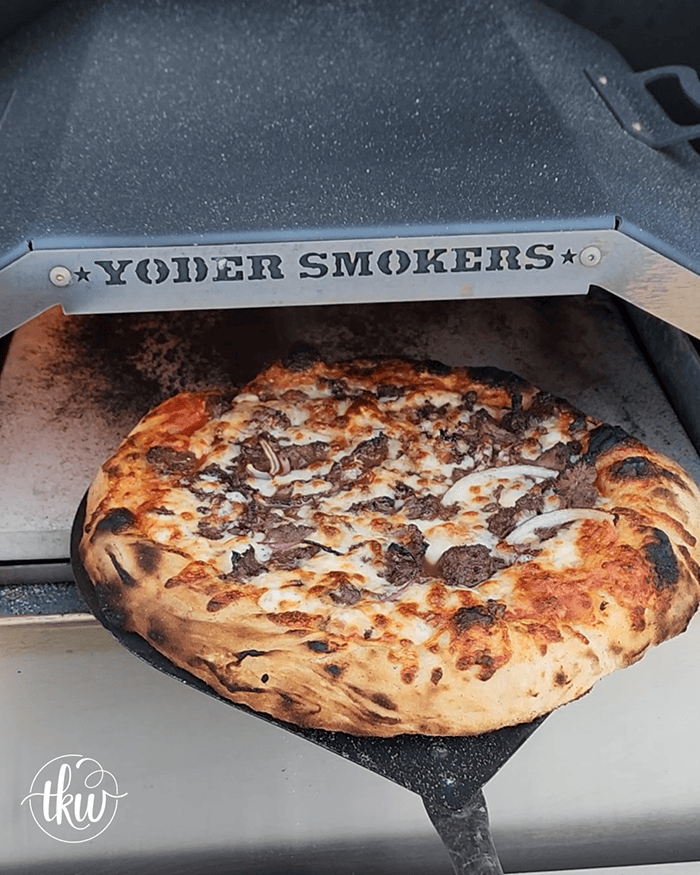
Pizza and BBQ are my life. Yes, I’m still an Engineer but my passion is food. Slinging pies and manning the grill is what puts a smile on my face. It’s where I relax, take a step back from the chaos of life, and just be in the moment.
With over 35 years of professional experience, I’m sharing with you some of my expert tips, techniques, and pizza knowledge so you can become your a backyard pizzaiolo!
Yoder Smokers YS640
My love for this company, and its products, runs DEEP. Not only are they stunningly beautiful but they are such a workhorse! I’m so blessed living in Arizona that I can grill, smoke, and make food outdoors pretty much all year round.
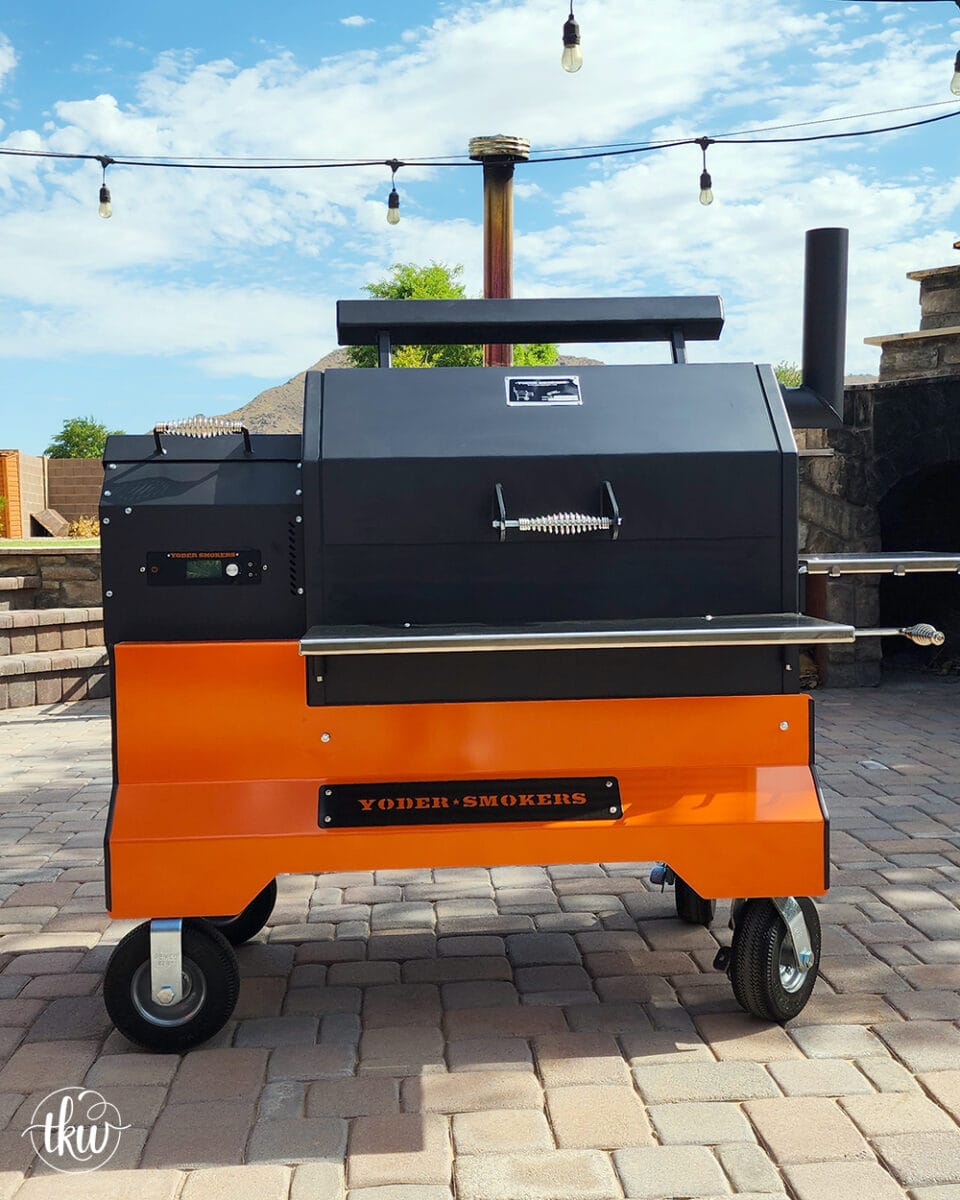
Today I’m sharing with you some tidbits on how to make pizza on the YS640 using their Pizza Oven Accessory.
Grab Your Ingredients
It all starts with great ingredients. The sky is the limit as to what you can pizzafy as I call it BUT keep in mind, less is more. Trust me I get it, I love 5 pounds of cheese and a ton of pepperoni but unless you’re making a pan pizza (which you can in this oven), go with less.
- 250-300g prepared pizza dough balls
- Sauce – you can go with pizza sauce, pesto, BBQ, or anything you desire
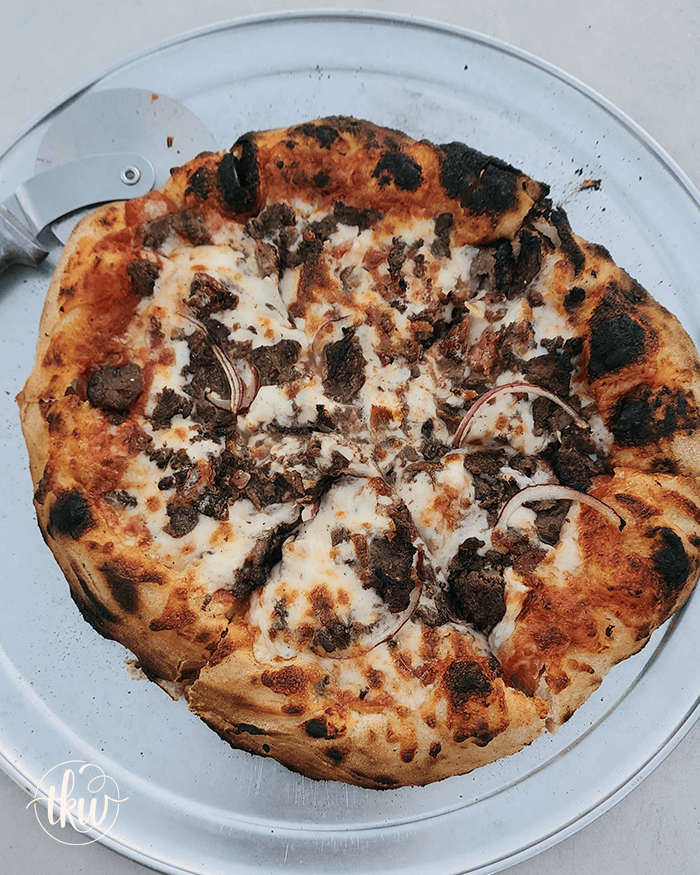
- Toppings – today I went with bacon, shaved Philly steak, and red onions
- Cheese – Freshly shredded works best. My favorite is whole milk mozzarella mixed with a bit of white cheddar. Just try to match your cheese to your pizza toppings.
- Bench Flour – Bench flour is 80% flour mixed with 20% semolina. Not cornmeal but semolina. Semolina has a better texture that allows the dough to slide off more easily.
Things you DO NOT NEED – parchment paper. Unless you’re making a gluten-free or alternative crust (zucchini/squash), you do not use it.
Equipment Needed To Make Pizza In A Yoder Smokers Pizza Oven
Seriously this smoker/grill is an investment and is so worth it! And the pizza oven blows me away every single time I use it. And y’all know me – I’m a pizza snob. It’s AS GOOD as the commercial wood-fired ovens I’ve used over the years.
- 12″ Pizza Paddle & a Pizza Peel/Turner – read what each one does
- Yoder Smoker YS480 OR YS640 model pellet grills
- Yoder Smokers Pizza Oven Accessory
Fire Up The YS640
The key to a successful pizza, baking it and getting it off of the stone, is that the stone itself is hot enough.
- Set up the YS640 with the pizza oven accessory installed. Turn the YS640 on and set the temperature to 600F. Close the lid and let it heat up for at least 30 minutes.
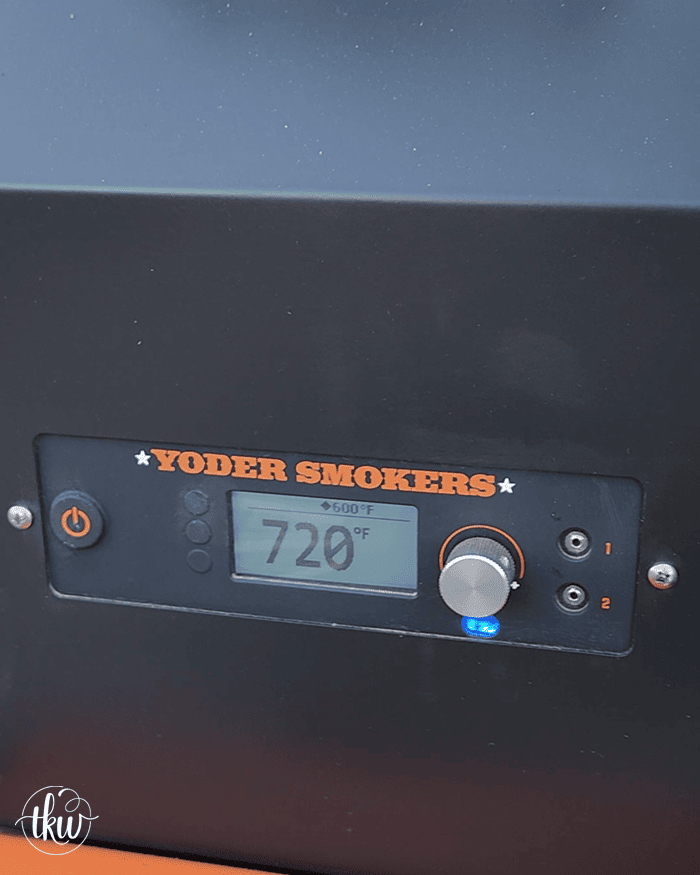
Chef’s Tip About Pizza Temperature
The most important thing to remember is that you must take the temperature of the stone itself. Yes, the digital displays say one thing but that doesn’t mean that the stone itself is yet to temperature.
The digital display means that the internal thermostat is reading that temperature (which is accurate) but pizza stones often heat up slower. So definitely make sure that the stone is reading at least 600F if not higher.
Watch The Video!
Watch how I launch the pizza off of the paddle then use the turning peel to turn it.
- Shape the dough leaving the rim or cornicione untouched. You will start from the middle of the dough and push towards the edge, pressing down and around. By doing this you’re pushing the air to the crust but still, keeping it in the pizza dough. Don’t stretch your dough super thin either. It will be thin and light will shine through (called the windowpane effect) but the dough is still strong.
- Once you have your 10-12″ shape, place it on a pizza peel coated with your bench flour. If need be, you can adjust the shape.
- Add your toppings, again less is more folks. So for this pizza, I did pizza sauce, cheese, cooked Philly steak, crispy bacon, and red onions.
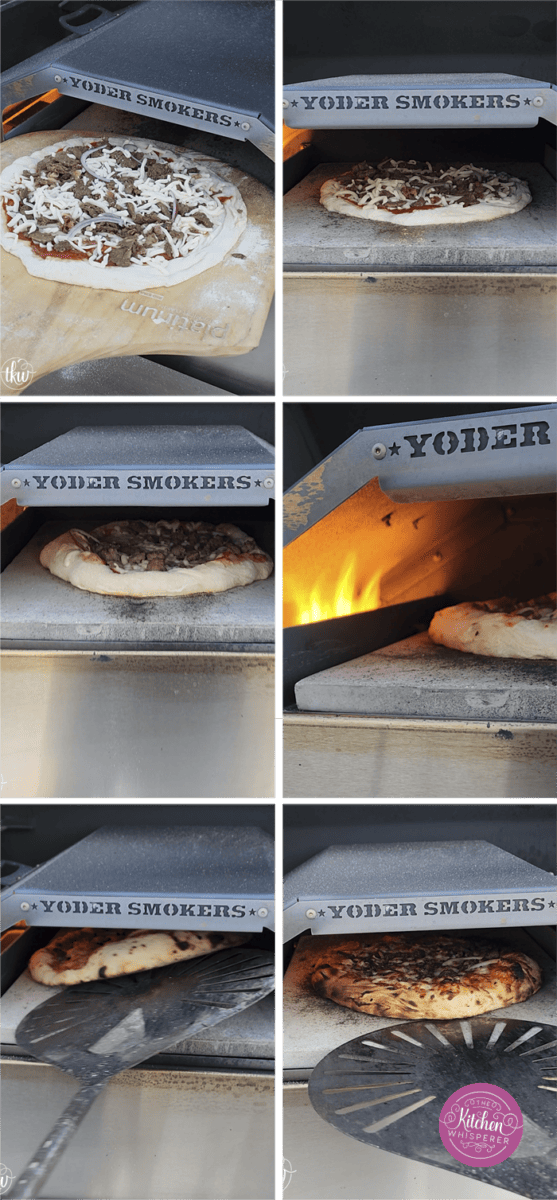
Using A Turning Peel
If you look at the pictures and watch the video, you’ll see how the flames come up the one side of the pizza oven. That’s similar to how a regular pizza oven is. This means you’ll need to turn the pizza.
- While the pizza starts to bake, hold the turning peel near the flames for a few seconds to warm up.
- After about 15-30 seconds, you’ll see one side of your pizza dough start to puff up (it’s developing the cornicione). Stick your warm peel under the pizza dough going in a circle (GENTLY) to help loosen it from the stone.
- Pull the peel partially out on one side lifting on an angle and turning the pizza in a circular motion. Give the pizza a good quarter-to-half turn.
- Let it cook for another 30 seconds and turn the pizza again.
- Towards the end of the cook, you’ll find that you’re turning your pizza pretty frequently.
This pizza, at a stone temp of 700F, took about 2 minutes to bake.
Pizza Tips
- Cold Fermentation – My dough recipe is best when you make it and let it cold ferment in the fridge for 48-72 hours.
- It allows the gluten to relax and makes the dough way easier to work with
- It develops a way better texture (hello webbing and ‘bat caves’!)
- The taste is so much more developed
- No parchment paper on this style of dough. You only need that for a gluten-free or alternative crust dough
- Rolling Pins – no, never
- Hole In Your Dough – don’t panic. Simply squeeze the hole together and close it up. You’re simply patching it like you would say a hole in your jeans.
- What type of flour should I use? – I ONLY use Le 5 Stagioni 00 flour. You want to use pizza flour. It makes a difference
- What do you proof your dough in? For home use, I love these Dough Tray Kits
- What mixer do you use for your pizza dough? I LOVE my Bosch Mixer! I can do 12 pounds of dough at a time!
The Best Pellet Smoker Pizza Made In The Yoder Smokers Pizza Oven
Authentic wood-fired pizzeria-style pizza made in your Yoder Smokers Pizza Oven. This is the must-have accessory for your Yoder Smoker! Don’t have a Yoder? Upgrade today!
- Prep Time: 5 minutes
- Cook Time: 3 minutes
- Total Time: 10 minutes
- Category: pizza, smoker, pellet grill, grill, chef tips, education
- Method: Smoker, Grill
- Cuisine: pizza, smoker, pellet grill, grill, chef tips, education
Ingredients
- 250–300G prepared pizza dough balls
- 1/2 cup pizza sauce per pizza
- 6–8 ounces freshly shredded pizza cheese
- Pizza toppings (3 strips crispy bacon, 3/4 cup cooked shaved Philly steak, 1/4 cup red onions sliced)
Instructions
- Set up the YS640 with the pizza oven accessory installed. Turn the YS640 on and set the temperature to 600F. Close the lid and let it heat up for at least 30 minutes.
- When you’re ready to make the pizza, take the temperature of the pizza stone to ensure that it’s up to temp.
- Shape the dough leaving the rim or cornicione untouched. You will start from the middle of the dough and push towards the edge, pressing down and around. By doing this you’re pushing the air to the crust but still, keeping it in the pizza dough. Don’t stretch your dough super thin either. It will be thin and light will shine through (called the windowpane effect) but the dough is still strong.
- Once you have your 10-12″ shape, place it on a pizza peel coated with your bench flour. If need be, you can adjust the shape.
- Add the pizza sauce, cheese, cooked Philly steak, crispy bacon, and red onions. In one quick jerking motion, launch the pizza onto the hot pizza stone.
- While the pizza starts to bake, hold the turning peel near the flames for a few seconds to warm up.
- After about 15-30 seconds, you’ll see one side of your pizza dough start to puff up (it’s developing the cornicione). Stick your warm peel under the pizza dough going in a circle (GENTLY) to help loosen it from the stone. Pull the peel partially out on one side lifting up on an angle and turning the pizza in a circular motion. Give the pizza a good quarter to half turn. Let it cook for another 30 seconds and turn the pizza again. Towards the end of the cook, you’ll find that you’re turning your pizza pretty frequently.
- This pizza should take roughly 2 minutes. When the pizza crust is puffed and cooked, remove the pizza from the oven, plate and enjoy!
Notes
*time does not include preheating the Smoker.




Leave a Reply