Freeze-drying chili is a total game changer when it comes to preserving your favorite meals. Not only does it eliminate waste by keeping every last bite, but it also turns your chili into a shelf-stable meal lasting up to 25 years!

Freeze Drying Is The Way To Go!
As a seasoned homesteader, I can tell you that freeze-drying chili is the best way to preserve your favorite meals! Imagine your prize-winning chili recipe being shelf-stable for 25 years!
This means that whether you’re stocking up for emergencies, simplifying meal prep, or want to savor your homemade chili anytime, freeze-drying gives you the ultimate convenience and longevity.

Freeze Dried Chili Ingredients
Getting started with freeze-drying is easier than you might think. With the right equipment, you can preserve a batch of chili, keeping all the nutrients and flavors intact. As a homesteader, I’ll walk you through the simple process so you can start freeze-drying your favorite dishes and build a stash of ready-to-eat meals perfect for any occasion.
This works with pretty much any chili. Today, I went with my Hearty Beef & Bean Chili.

- Prep4Life Freeze Dryer
- Cube Elite: $700 off the listed price (until 2/28/25)
- Cube Select: $240 off the listed price (until 2/28/25)
- Storage Containers – Mylar Bags
Freeze-Drying Your Food Is A Game Changer!
Whether you’re a Chef like myself, a homesteader, a prepper, or even if it’s just yourself, freeze-drying your food is the way to go.
In my case, I make anywhere from 5 to 10 recipes daily, meaning I have a ton of cooked foods. I freeze a lot, but I only have so much freezer space. I’ll also give it away or donate it. But now I can freeze-dry my meals, making them shelf-stable for up to 25 years!
Prepare Freeze Dryer Trays for Chili
- Place a silicone liner on a tray and spread out the chili. The thicker your tray of chili, the longer it takes to freeze, and it will also take much longer to freeze dry.
- When filling your tray, take it no more than two-thirds of the way up the sides of the tray.

- Grab your kitchen scale and place the tray on the scale.
- Mark down the weight on a piece of paper.

- Cover and place the tray(s) into the freezer for up to 24 hours or until solid.

Freeze Dried Chili at Home
What I love about my Prep4Life CUBE is its easy operation! Plug it in, turn it on, and follow the instructions on the screen. And you need zero previous knowledge or experience of how to do this!
- Press START. Select Frozen or Unfrozen (since mine is frozen, I selected Frozen).
- Make sure the drain is closed and press YES.
- When the chamber is ready, insert the food. Close the door and press Start.

- When the time is up (roughly 18-24 hours later), check your food following the instructions on the screen.

- If you do not need more drying time, press Complete.

How to Store Freeze Dried Chili
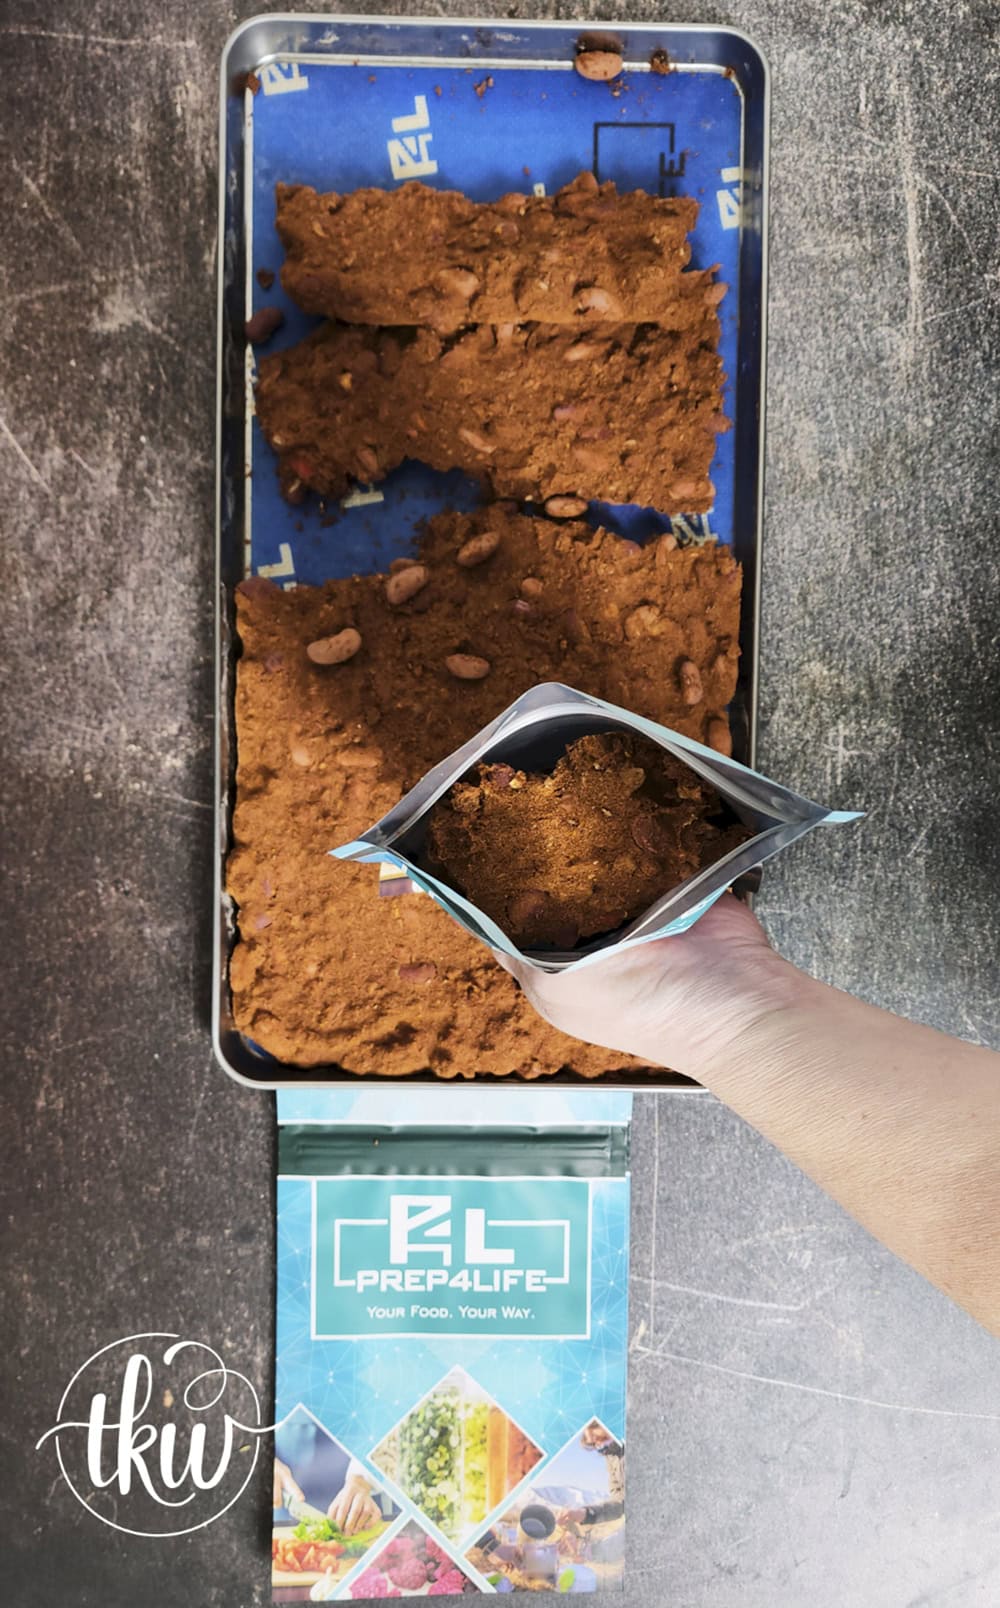
- Once the chili is perfectly freeze-dried, weigh the tray and mark it on the paper. This is important as you’ll need to know this to calculate how much liquid to add to rehydrate it.

- Break the chili up into equal portions. I went with six portions.

- Place the chili in the bags, add an Oxygen Absorber, and seal them up with a vacuum sealer.
- Please write the item’s name on the bag, the date, and how much liquid you need to add to rehydrate it.

How to Rehydrate Freeze Dried Chili
It’s pretty straightforward as long as you remember to weigh your trays before you freeze them or put them in the freezer dryer and then weigh them afterward. At that point, it’s simple math.
- Looking at the pre-freeze measurement, you’ll see that the chili weighed 2360 grams.
- When it came out of the freeze dryer, my trayed weighed 1158 grams.
- 2360-1158 = 1202. This means over 1200 grams of liquid was removed.
- I portioned my tray into 6 equal bags. To calculate how much water (or stock) to add, divide 1202 by 6. In my instance, I’d add 200 grams of liquid to each bag of freeze-dried chili.
- Add the freeze-dried chili to a bowl and then pour 200 grams of boiling/hot liquid over it. Gently stir to rehydrate. Voila! Perfect chili again!

How to Freeze Dry Chili
Freeze-drying chili eliminates waste by keeping every last bite, and it also turns your chili into a shelf-stable meal that can last up to 25 years!
- Prep Time: 10 minutes
- Freeze Drying: 18-24 hours
- Total Time: 0 hours
- Yield: 6
- Category: Freeze drying, homesteading, prepping, saving foods, zero waste
- Method: Freeze Dryer
- Cuisine: Freeze drying, homesteading, prepping, saving foods, zero waste
Ingredients
- 1 The CUBE Prep4Life Freeze Dryer
- ~9 cups of Beef & Bean Chili per tray
- Mylar Bags
- Oxygen Absorbers
Instructions
Prepare The Tray For the Freezer
- Place a silicone liner on a tray and spread out the chili. The thicker your tray of chili, the longer it takes to freeze, and it will also take much longer to freeze dry. My advice when filling your tray is to take it no more than two-thirds of the way up the sides.
- Grab your kitchen scale and place the tray on the scale.
- Mark down the weight on a piece of paper. Cover and place the tray(s) into the freezer for up to 24 hours or until solid.
Freeze Dry Your Chili
- Press START. Select Frozen or Unfrozen (since mine is frozen, I selected Frozen).
- Make sure the drain is closed and press YES.
- When the chamber is ready, insert the food. Close the door and press Start.
- When the time is up (roughly 18-24 hours later), check your food following the instructions on the screen.
- If you do not need more drying time, press Complete.
Packaging Freeze Dried Chili
- Once the chili is perfectly freeze-dried, weigh the tray and mark it on the paper. This is important as you’ll need to know this to calculate how much liquid to add to rehydrate it.


Leave a Reply